

Introduction
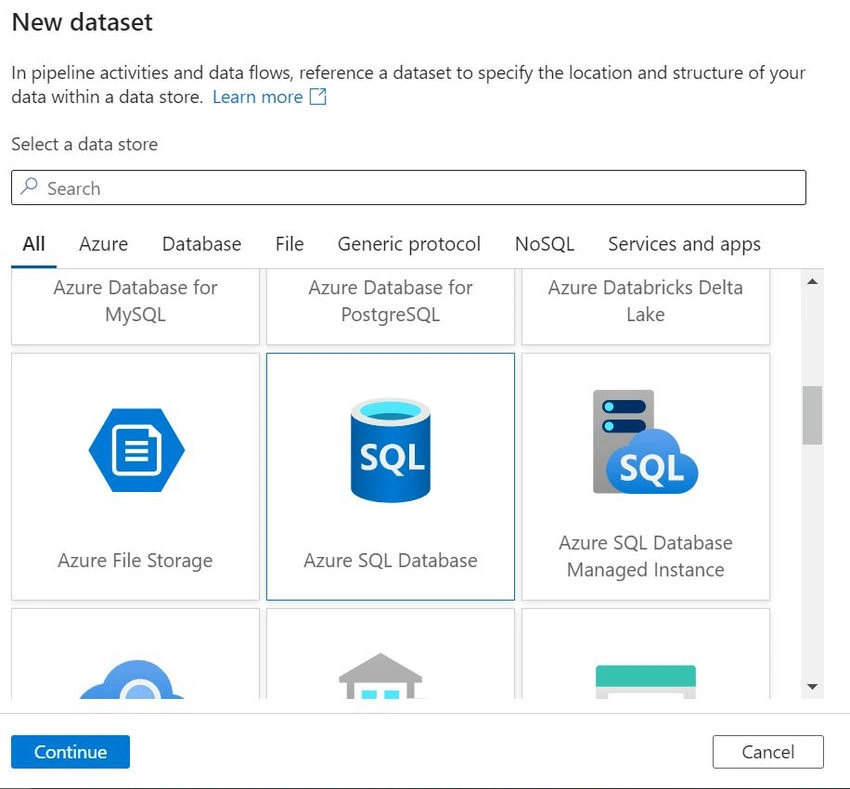
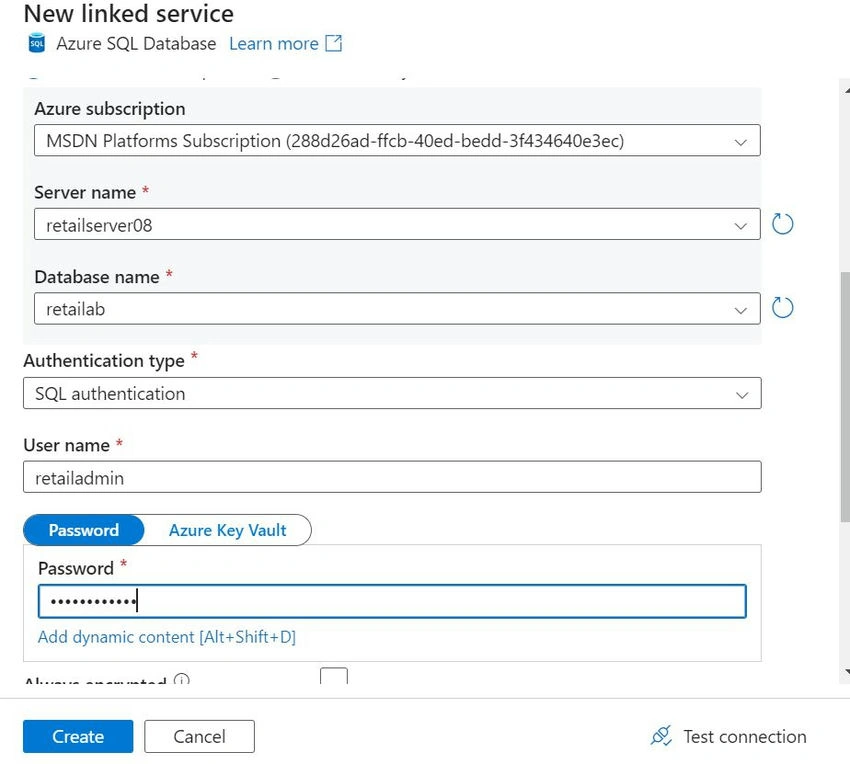
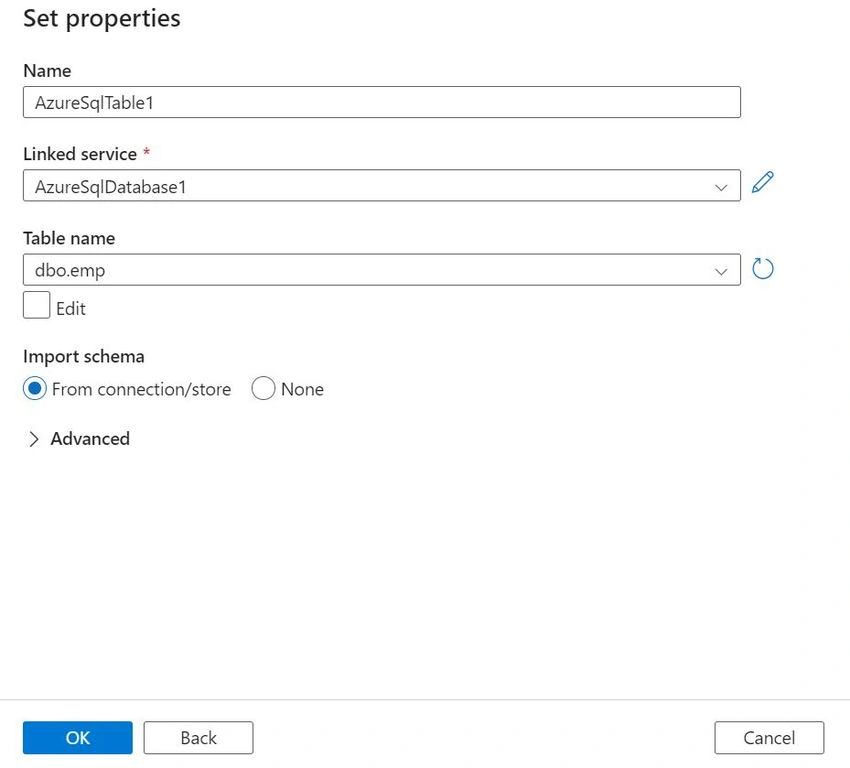
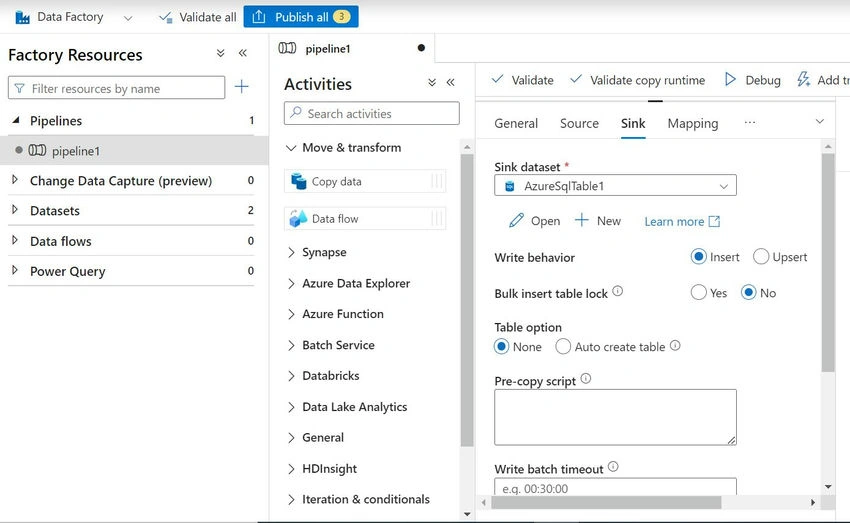
Nowadays, the organization is struggling to manage and extract insights from vast amounts of data; Azure Data Factory can be more efficient and cost-effective. This article will explain how to build the first Azure Data Factory Pipeline with a step-by-step comprehensive guide.
What is Azure Data Factory?
Azure Data Factory is the cloud-based ETL (Extract, Transform, and Load) and data integration service provided by Microsoft Azure. It allows you to interact with different data sources such as Azure SQL Database, Azure Blob Storage, Azure Data Lake Storage, and on-premises databases.
Steps to Create Azure Data Factory Pipeline
Here are 4 steps process to create Azure Data Factory Pipeline
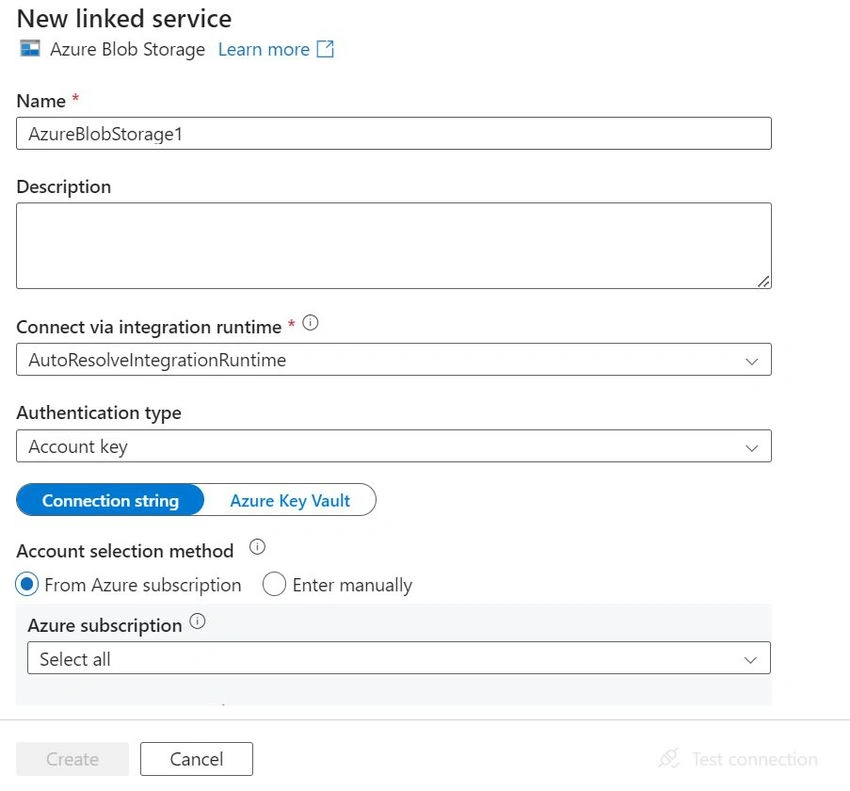
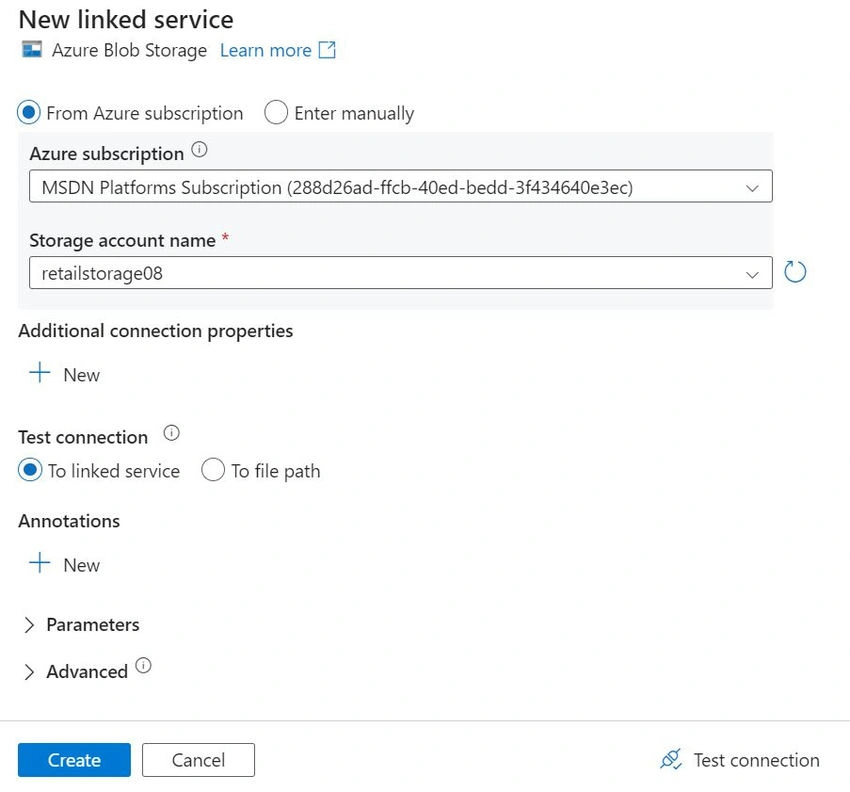
Step 1. Create Storage Accounts, especially Azure Blob Storage.
Step 2. Create Azure SQL Database service.
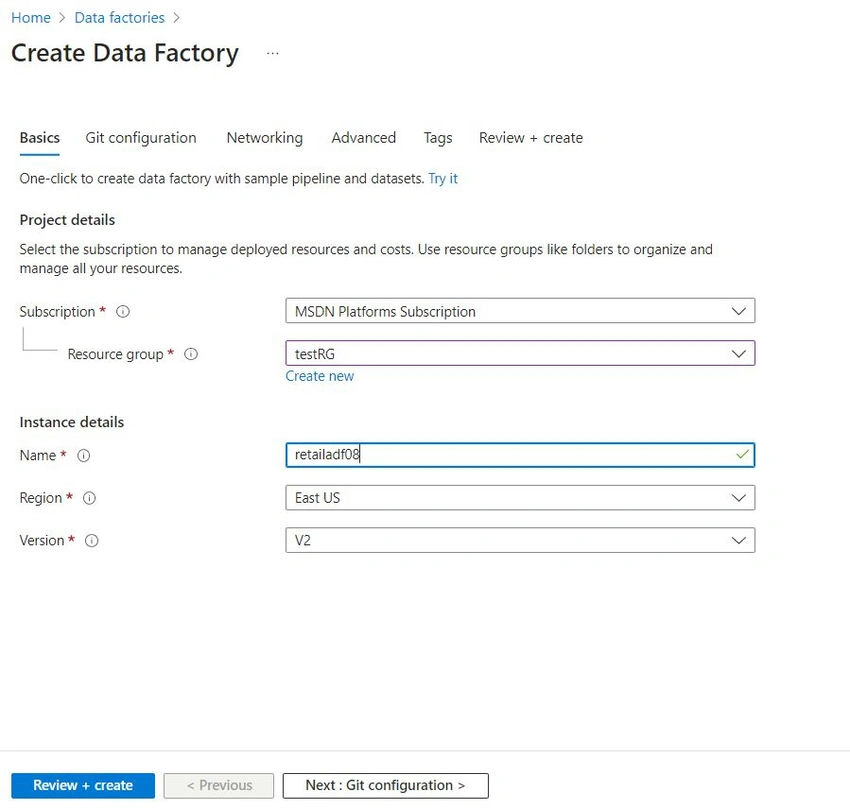
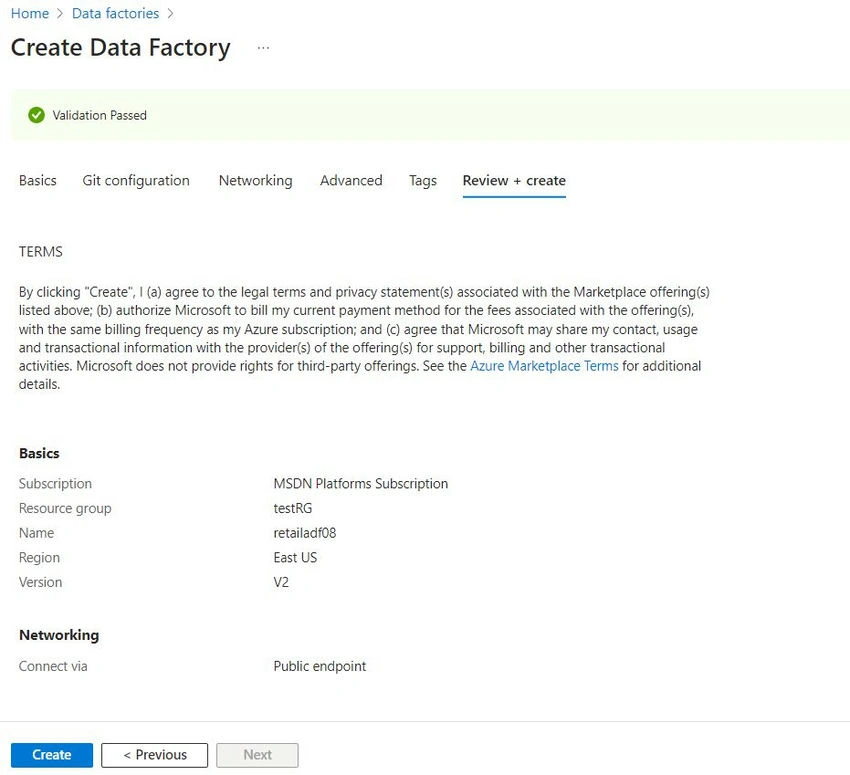
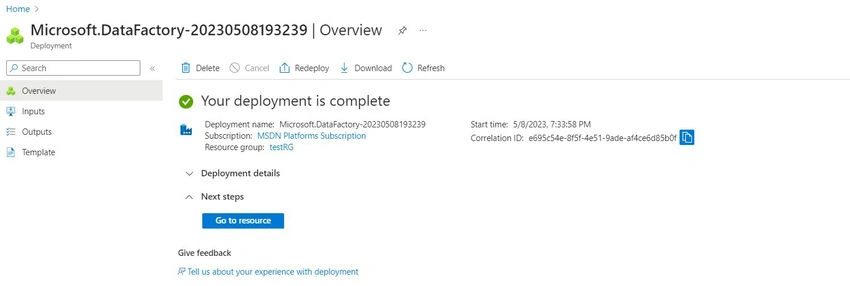
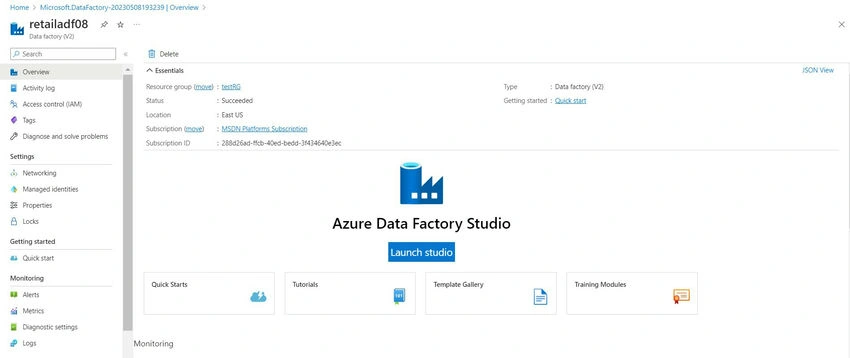
Step 3. Create Azure Data Factory.
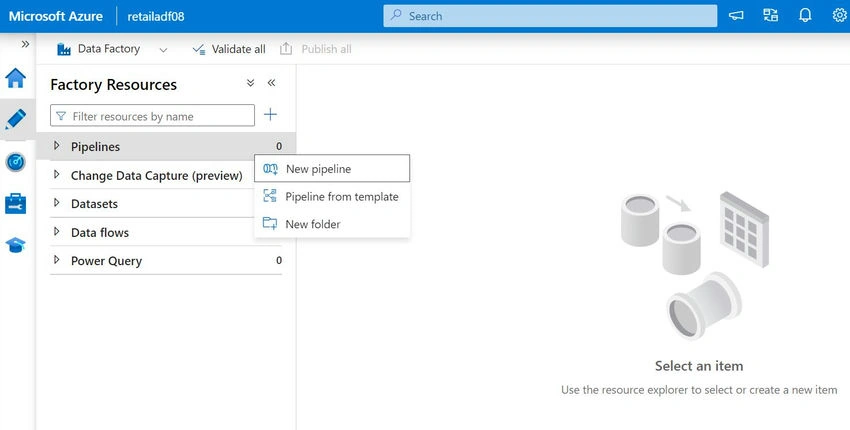
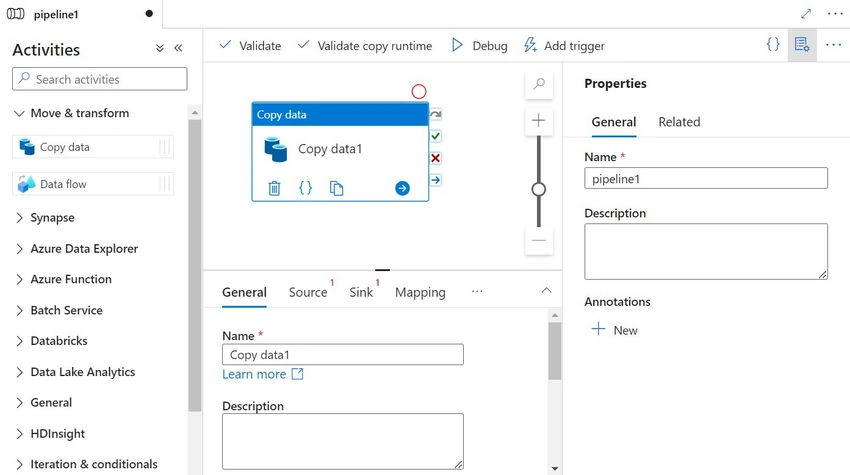
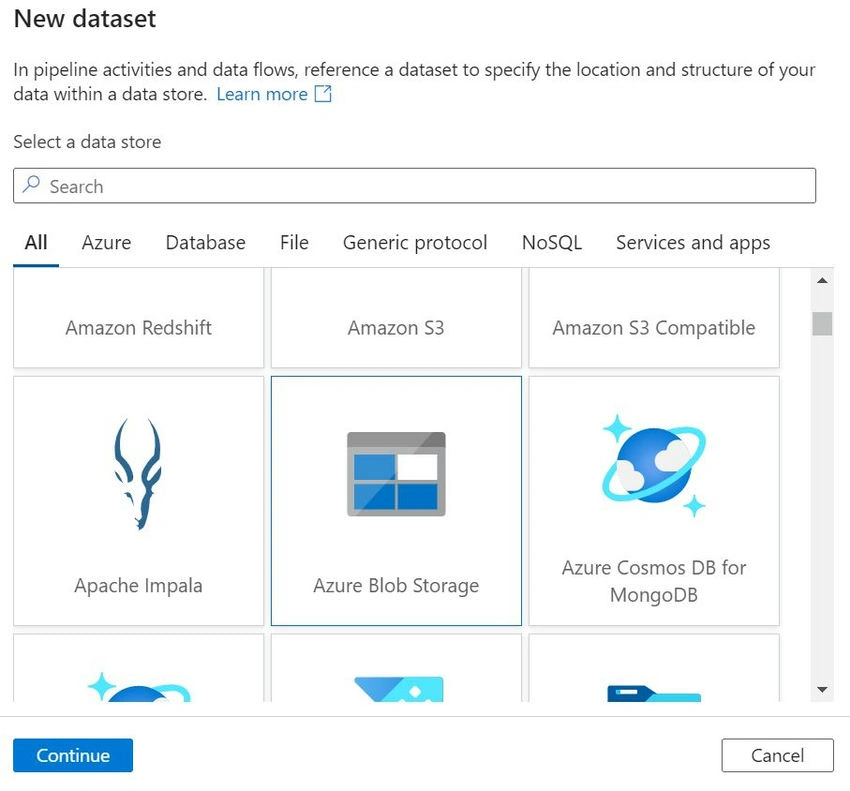
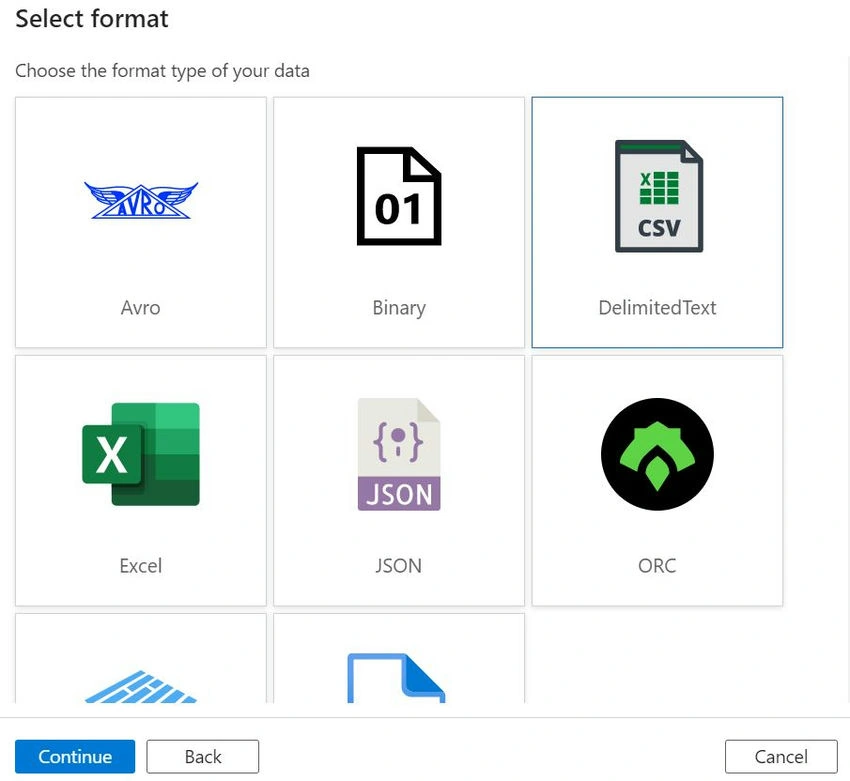
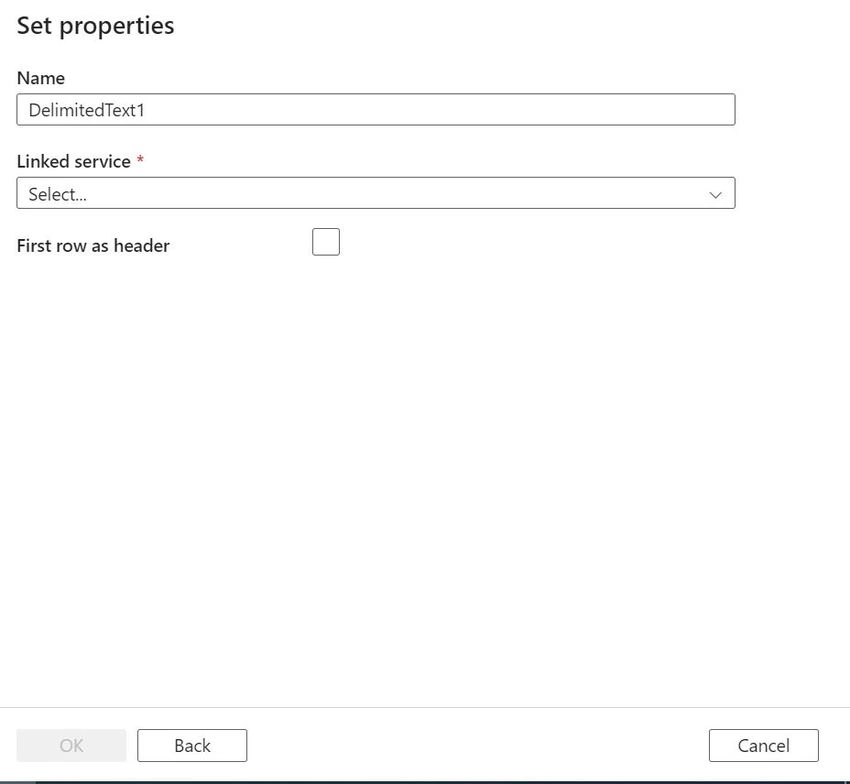
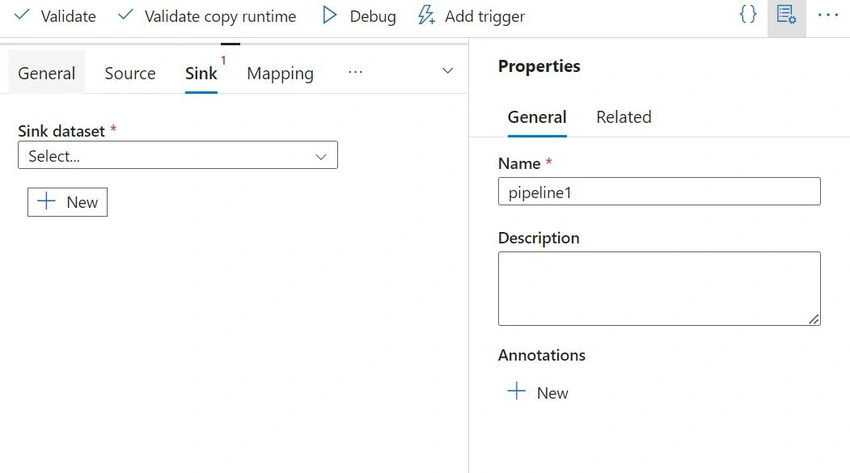
Step 4. Build first Azure Data Factory Pipeline.
Problem Scenario
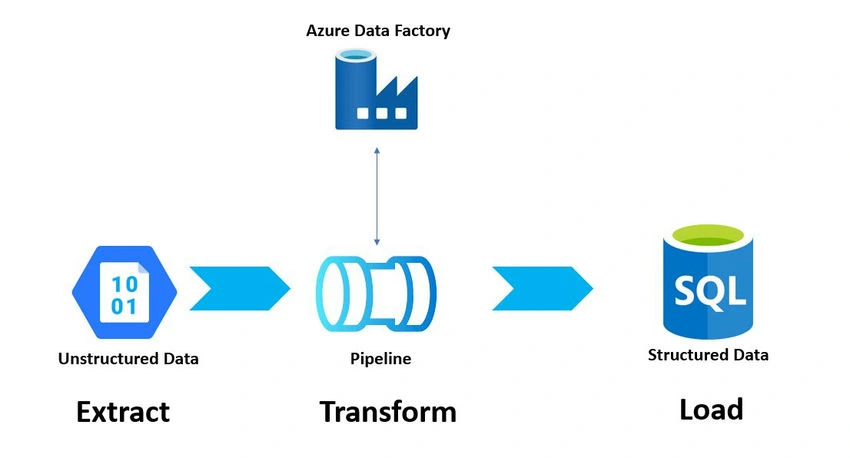
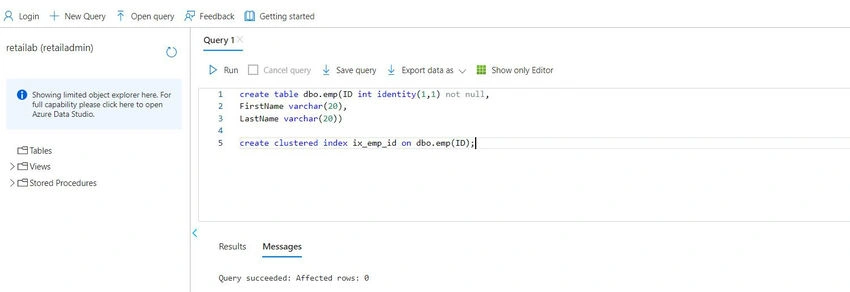
This scenario will take input from the CSV file, store this file in the Azure Blob storage, and create a table in the Azure SQL Database service with no data. After, we will create Azure Data Factory Pipeline.
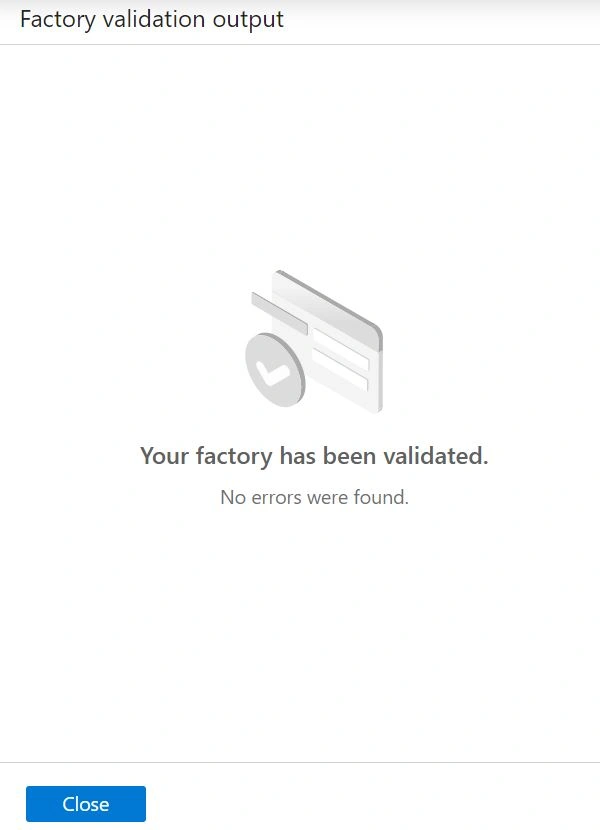
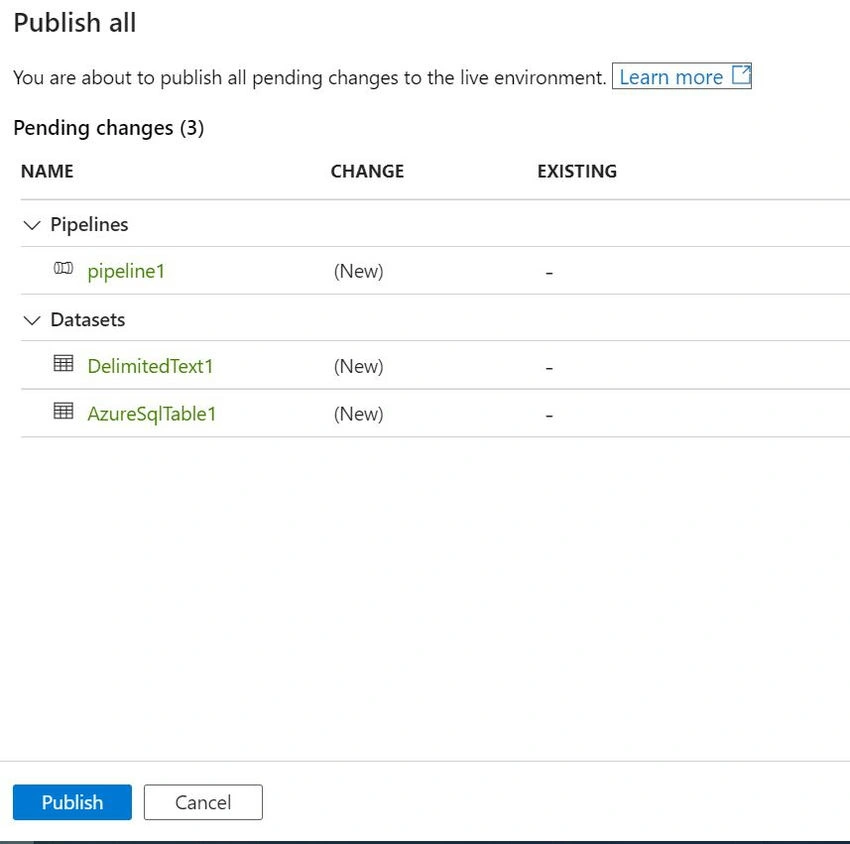
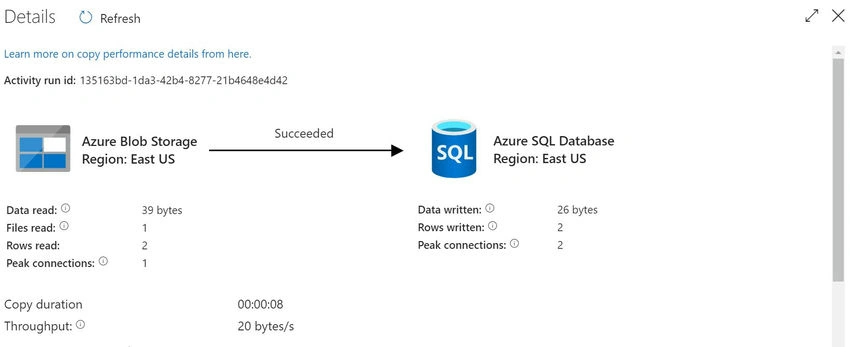
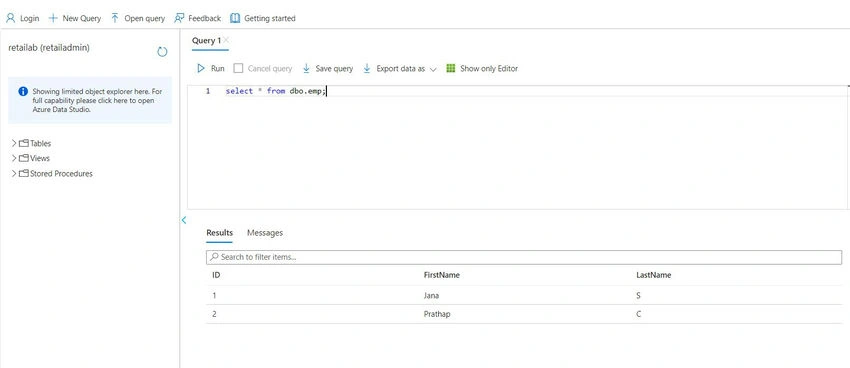
Once the pipeline is created and published the pipeline, it will write data from the pipeline to the Azure SQL Database service using Azure Data Factory.
Create a Storage Account
- Sign in to the Azure portal at https://portal.azure.com/
- Search Storage Accounts in the global search bar.
- First, provide an Azure subscription and create a new Resource group.
- Provide the storage account name as retailstorage08
- Choose the Region as US East US
- Provide Performance and Redundancy in the Basics tab.
- Leave the remaining tabs optional.
- Click the Review button.
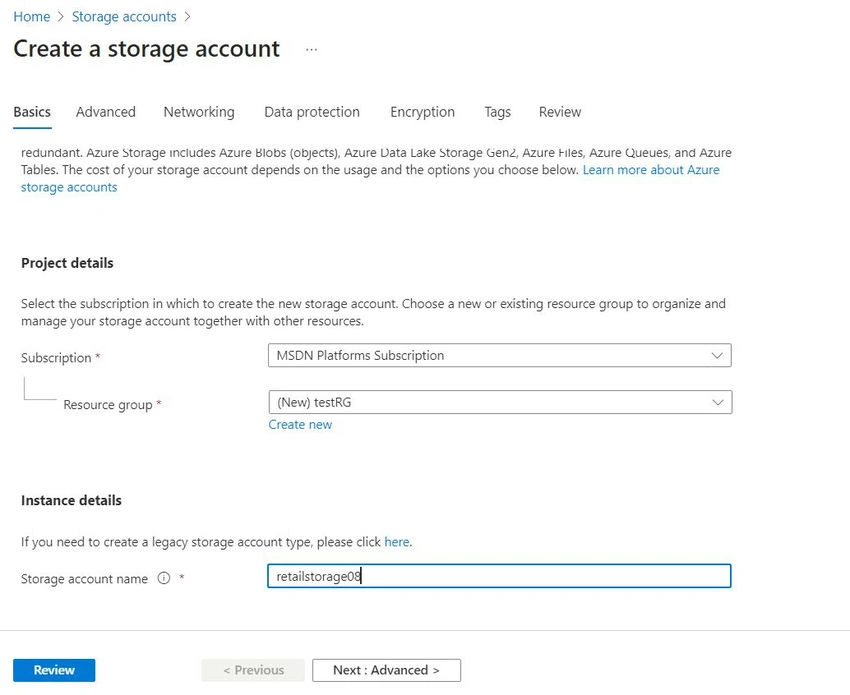
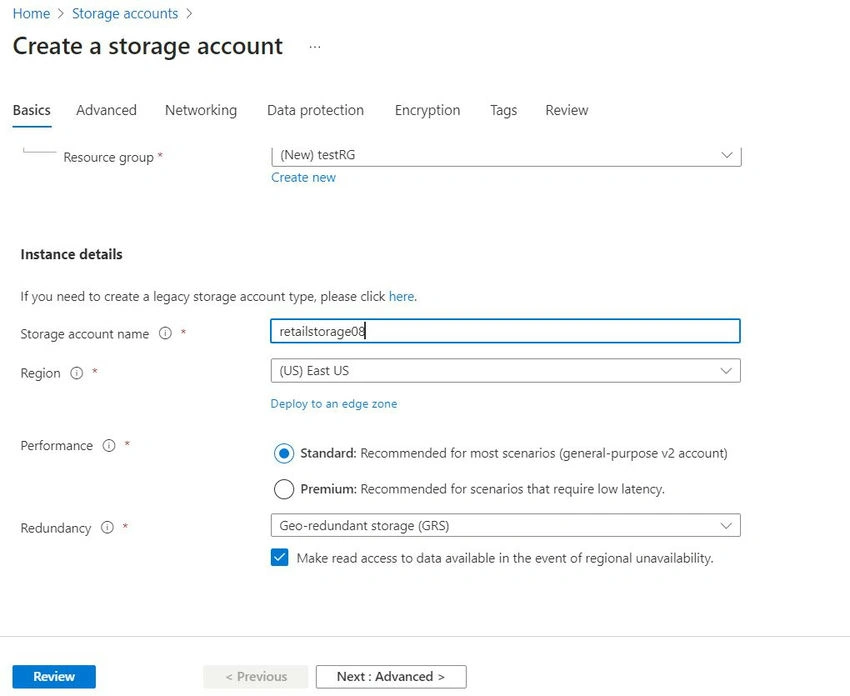
- Click Create button.
- Deployment started initialized in a minute or two this become successful.
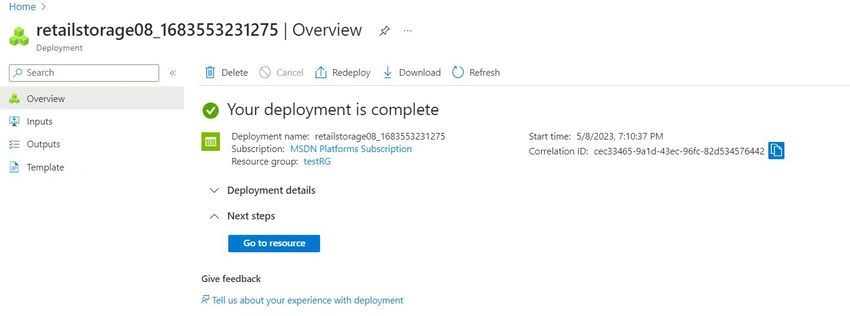
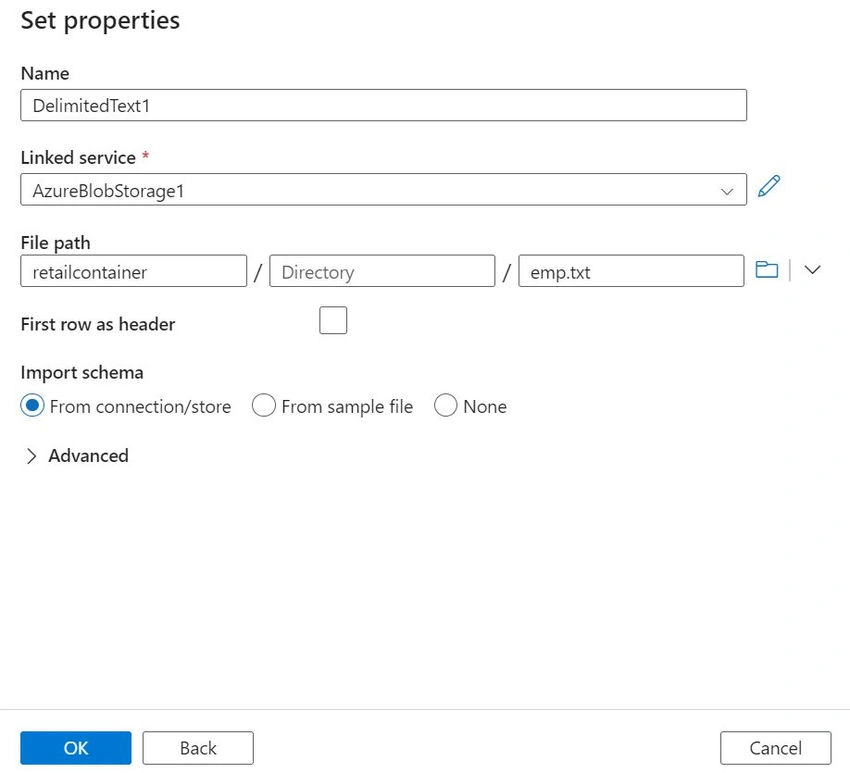
- Create a container named retail container.
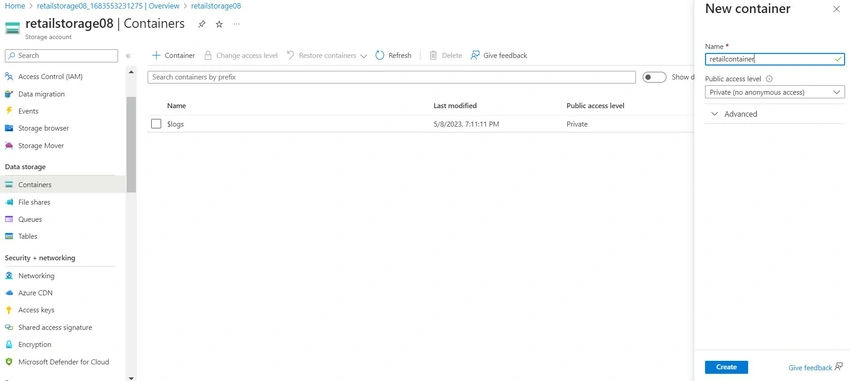
- Upload the blob in the container.
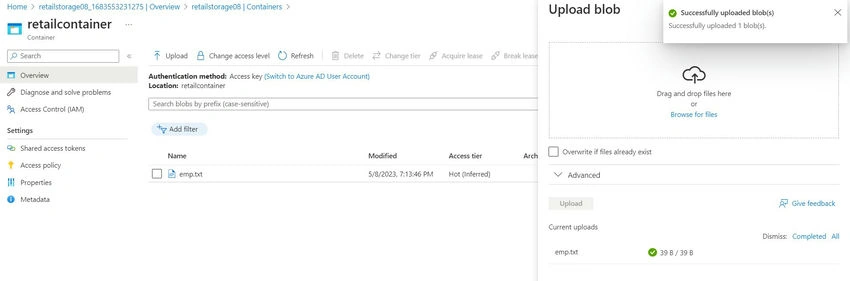
Create Azure SQL Database service
- In the search bar, type Azure SQL Database service.
- First, provide an Azure subscription and create a new Resource group.
- Create Database name and server.
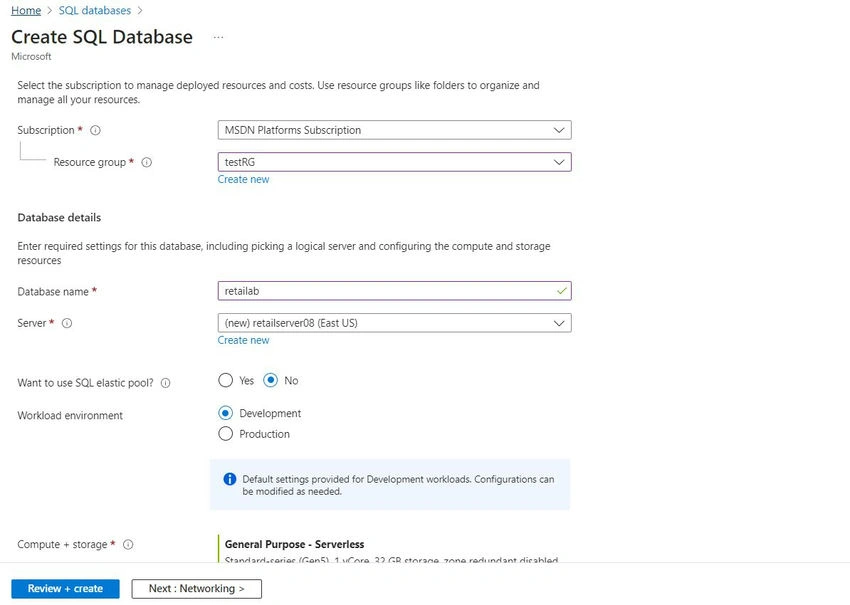
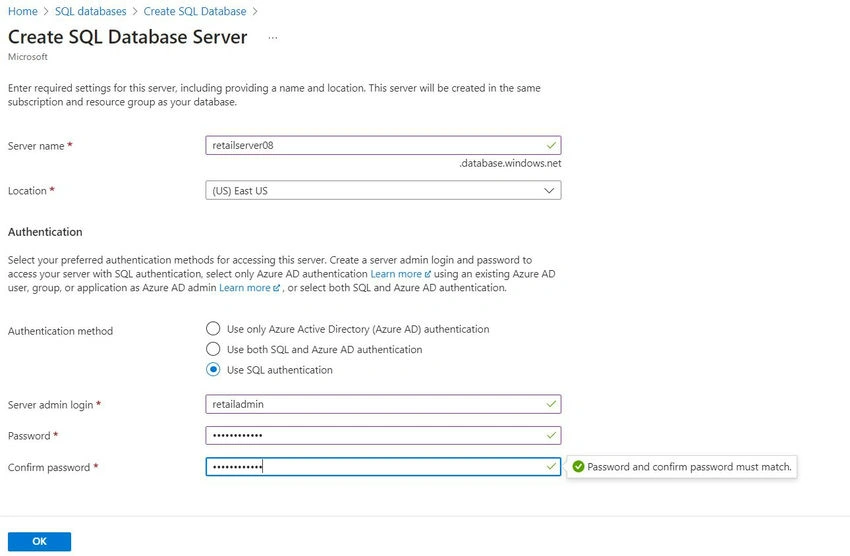
- Provide the Server name and location as follows below.
- Choose the Authentication method as SQL Authentication.
- Provide server admin login credentials.
- In the Networking tab, choose Public endpoint and provide yes to allow Azure services and resources to access this server.
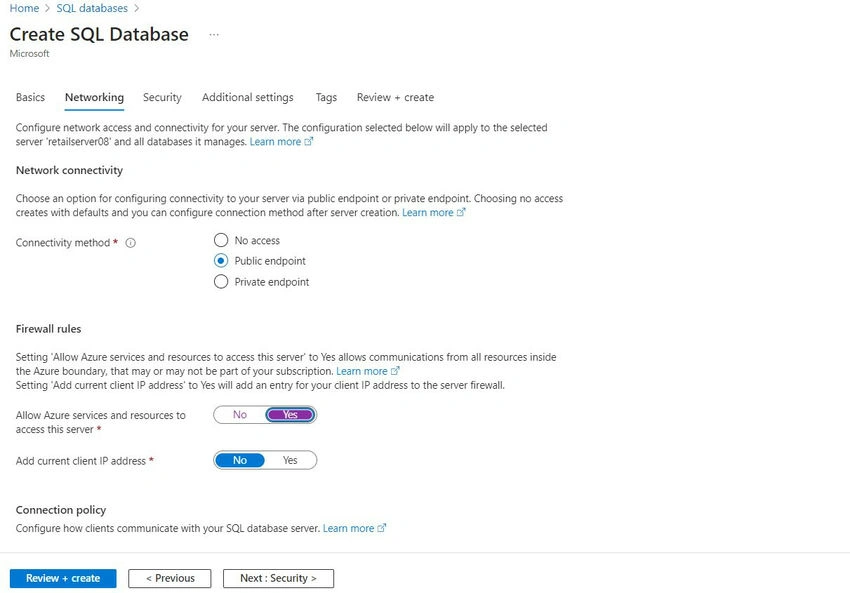
- In the Security tab, don't enable Microsoft Defender for SQL.
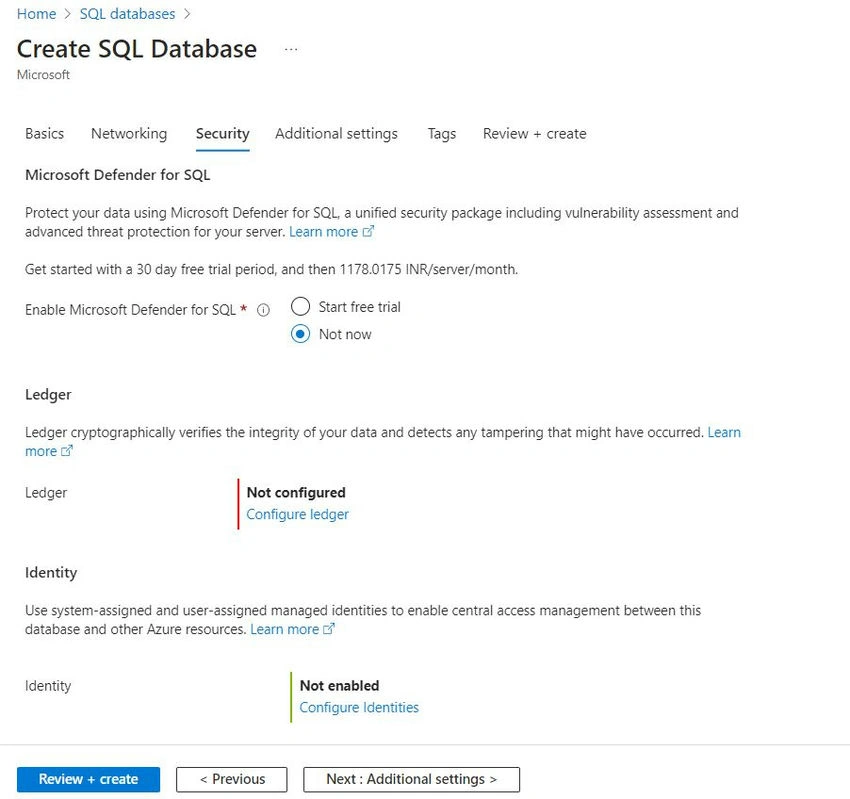
- In the Additional settings, tabl choose a None data source.
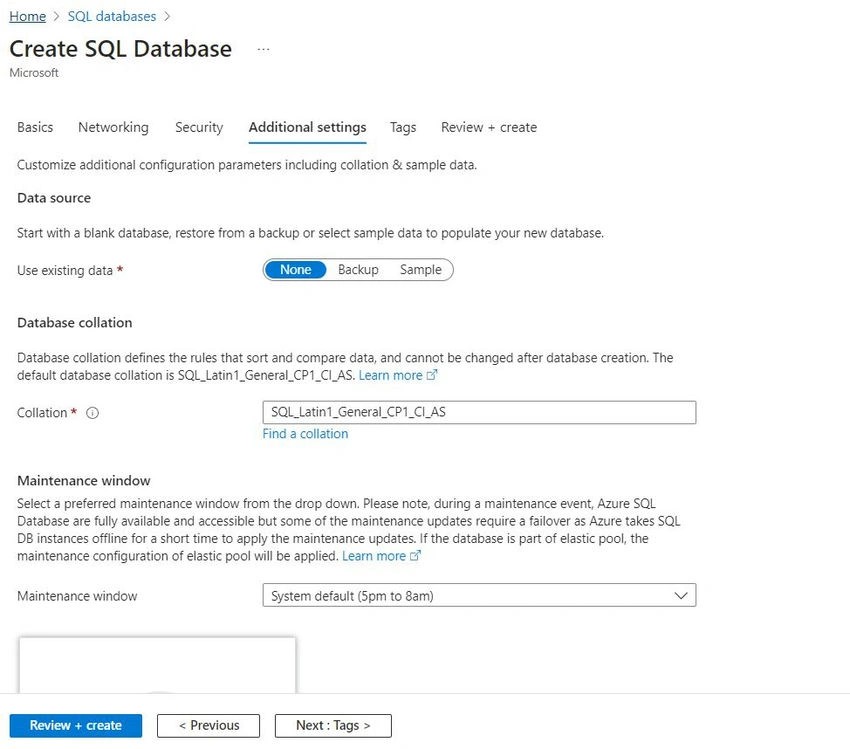
- Click Create button.
- Deployment started initialized in a minute or two this become successful.
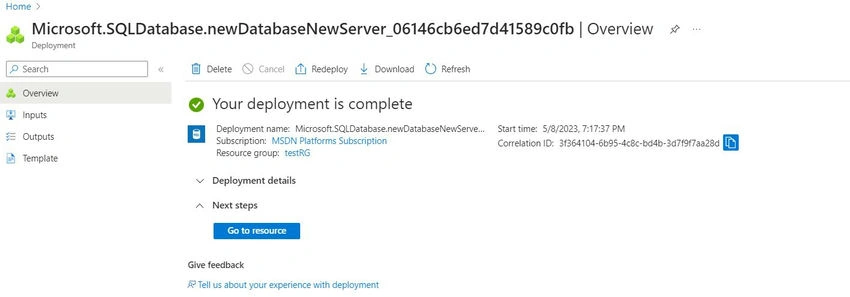
- Click the Goto resource button.
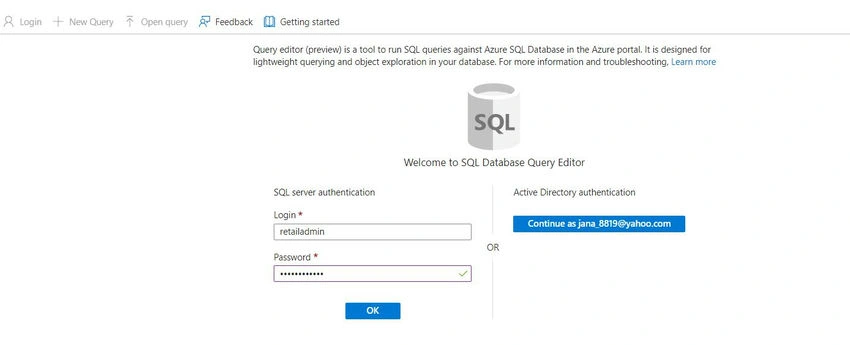
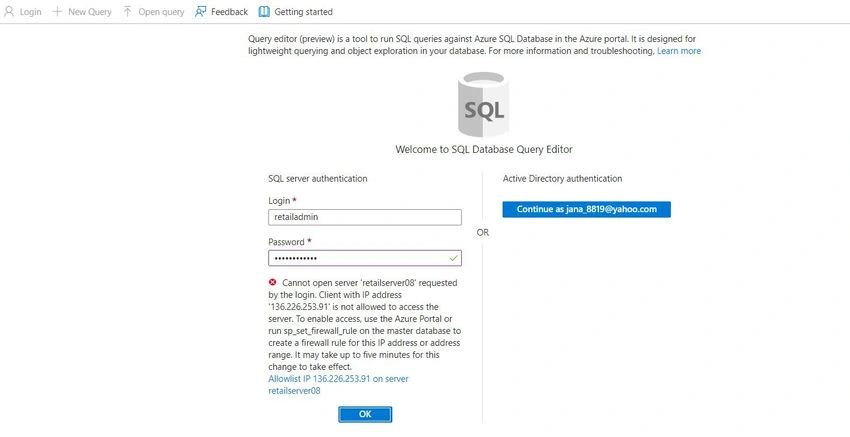
- In the Query Editor window, provide admin credentials to log in.

Subarta RayPosted Dec 24, 2023, 2:40 PM
Insightful read! Concise and thought-provoking, this article nails the key points.
Prathap ReddyPosted May 9, 2023, 10:06 AM
Nice article jana