

Introduction
I've been spending a lot of time lately dabbling with Microsoft's Blazor web framework and would love to share my learnings with the community. In this article, we'll learn to build a dead-simple Todo List application using Blazor.
Prerequisites
To start building the Blazor apps first thing you'll need is the .NET SDK (Software Development Kit). You could simply download and install the .NET SDK from the link mentioned below,
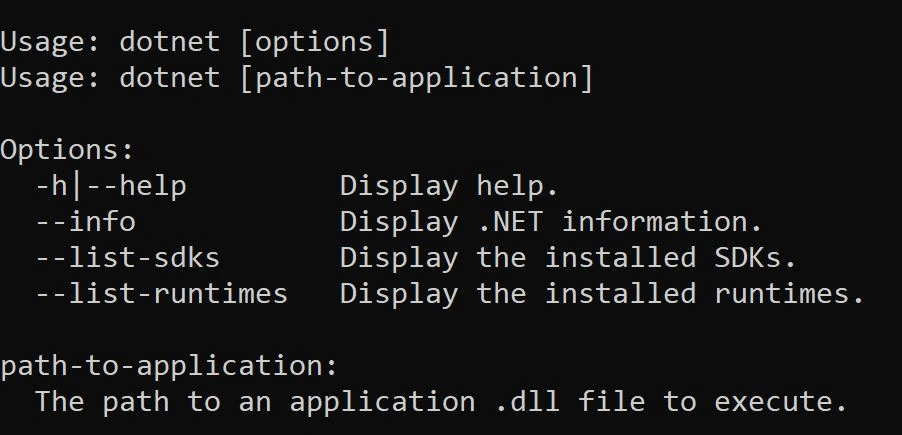
Once installed, open the command prompt and run the following command:
- dotnet
Creating the Todo app
In the command prompt, run the following command to create a new Blazor app:
- dotnet new blazorwasm -o TodoApp
Move to the TodoApp directory using the following command:
- cd TodoApp
Creating the Todo Component
- dotnet new razorcomponent -n Todo -o Pages
Use the above command to create a new component named Todo which will be located in the Pages directory of the project. The -n flag is used to specify the name of the component and -o is used to specify the location. The name of the file where the component code resides will be Todo.razor.
The Todo.razor fille will be pretty much empty at this moment.
- <h3>Todo</h3>
- @code {
- }
Adding the Route
Next, we'll use the @page directive to define a route for this component,
- @page "/todo"
- <h3>Todo</h3>
- @code {
- }
Add @page "/todo" at the top of the Todo.razor file and save your changes.
The next thing we need to do is to add the route to the navigation menu. To do this open the NavMenu.razor file located inside the shared directory. And add the following code to the unordered list and hit the save button.
- <ul class="nav flex-column">
- .
- .
- .
- <li class="nav-item px-3">
- <NavLink class="nav-link" href="todo">
- <span class="oi oi-list-rich" aria-hidden="true"></span> TodoApp
- </NavLink>
- </li>
- </ul>
Starting the application
Use the following command to start the application:
- dotnet watch run
Creating the TodoItem Class
Next, we'll be adding a TodoItem.cs file to the root of the project to create a class that represents a todo item.
- public class TodoItem
- {
- public string Title { get; set; }
- public bool IsComplete { get; set; } = false;
- public TodoItem(string title)
- {
- Title = title;
- }
- }
Adding UI elements to the Component
We'll start by adding an input box and a button to theTodo.razor file. This will enable the use to enter
- <input type="Enter a Todo">
- <button>Save</button>
Next, we'll wire up a binding and a click event with the input box and the button using the @bind and @onclick attributes.
- <input @bind="newTodoItem" type="Enter a Todo">
- <button @onclick="Save">Save</button>
We need to create the newTodoItem property and Save method which are registered with the @bind and @onclick attributes.
- @code {
- private string newTodoItem { get; set; }
- private void Save()
- {
- }
- }
Saving the Todo Items
We'll create a new List to save the todo items entered by the user.
- private List<TodoItem> todoList = new List<TodoItem>();
- private void Save()
- {
- todoList.Add(new TodoItem(newTodoItem));
- }
To make sure the user has entered a valid string in the input box we'll use the IsNullOrWhiteSpace method. And once the string is added to the list we'll clear the input box by assigning an empty string to it.
- if(!string.IsNullOrWhiteSpace(newTodoItem))
- {
- todoList.Add(new TodoItem(newTodoItem));
- newTodoItem = string.Empty;
- }
- @if (todoList.Count > 0)
- {
- <ul>
- @foreach (TodoItem todo in todoList)
- {
- <li>@todo.Title</li>
- }
- </ul>
- }
Now, once you start entering the todo items in the input box it'll start appearing in the unordered list.
One more thing we could do is add a checkbox before the todo text to indicate if the todo task is complete or not and bind the check box value with the IsComplete property
- <li>
- <input type="checkbox" @bind="todo.IsComplete" />
- <span style="@(todo.IsComplete ? "text-decoration: line-through" : "")">@todo.Title</span>
- </li>
We've also added a style binding to the span element wrapping around the todo text which will strike the text if checkbox before the span element is checked.
In the end, our Todo.razor file will look like this,
- @page "/todo"
- <h3>Todo</h3>
- <input @bind="newTodoItem" type="Enter a Todo">
- <button type="button" @onclick="Save">Save</button>
- @if (todoList.Count > 0)
- {
- <ul>
- @foreach (TodoItem todo in todoList)
- {
- <li>
- <input type="checkbox" @bind="todo.IsComplete" />
- <span style="@(todo.IsComplete ? "text-decoration: line-through" : "")">@todo.Title</span>
- </li>
- }
- </ul>
- }
- @code {
- private List<TodoItem> todoList = new List<TodoItem>();
- private string newTodoItem { get; set; }
- private void Save()
- {
- if (!string.IsNullOrWhiteSpace(newTodoItem))
- {
- todoList.Add(new TodoItem(newTodoItem));
- newTodoItem = string.Empty;
- }
- }
- }
Join the conversation! Your thoughts help the community grow.