

Introduction
In my first two articles, we first looked at the four common types of .NET applications we may find out in the field. We briefly discussed these four types of applications and then in the second article, we looked at the design and architecture at a high level which would apply to all these applications in general terms. Next, we build the first type of application, the .NET desktop application. After that we built the .NET web application. Today, we will look to move this web application to the cloud.
Requirements for building this application
Unlike the previous two articles where we built a .NET desktop and .NET web application, in this article we will not be building an application from scratch. Instead, we will be moving the .NET web application built in the previous article to the cloud. Hence, we will be deploying the application to Microsoft Azure. The requirements for this article are as below,
A Microsoft Azure account
You can easily sign-up for the one-month free Microsoft Azure account to implement the solution in this article. However, if you have already used this one free month, you can easily use a “Pay as you go” subscription as I have done so to deploy this application to the cloud.
The Data Source
Let us start by setting up the SQL database in Microsoft Azure. Log into your Microsoft Azure portal account and you will see the first screen as below,
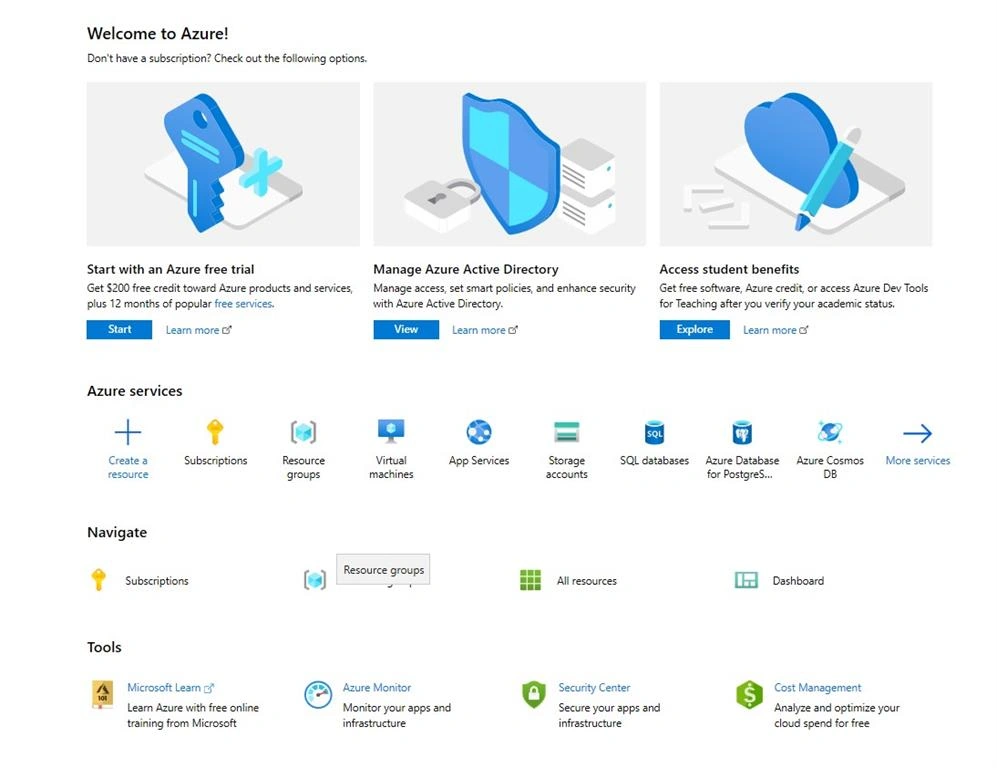
If you do not have a current subscription, then to add a new one, select subscriptions and you will be directed to a new page as below,
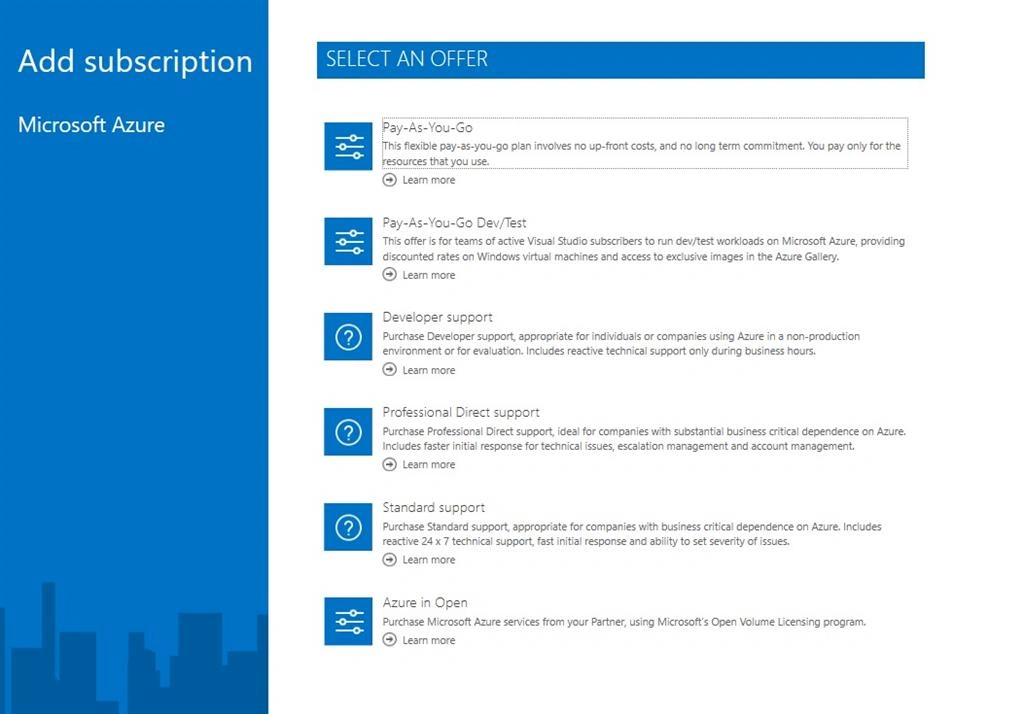
Here I selected the option “Pay-As-You-Go” and signed up for this. The name of this subscription is also “Pay-As-You-Go”. After that we see the Microsoft Azure main page as below,
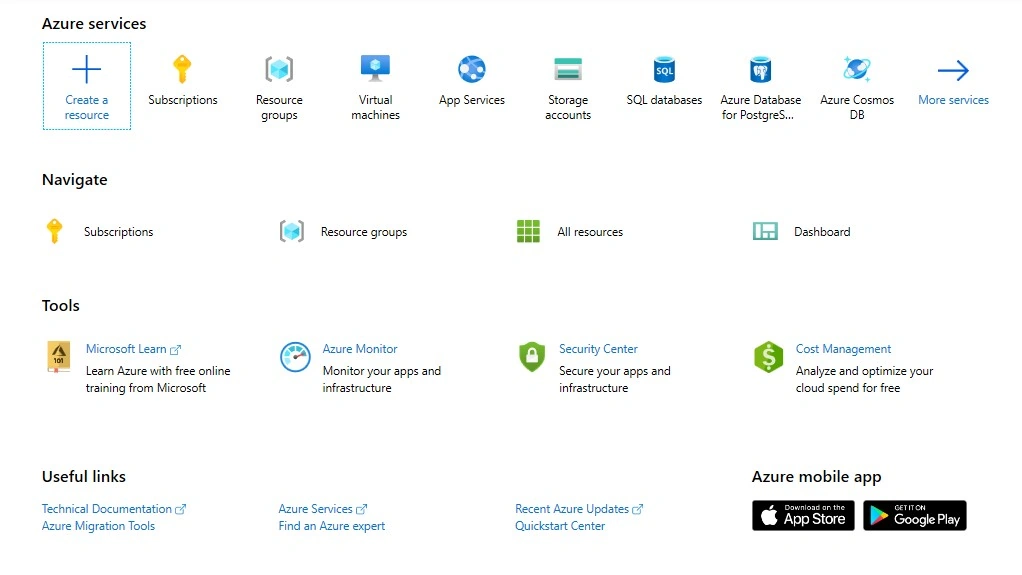
Here, we will start by creating a database using the “SQL databases” option.
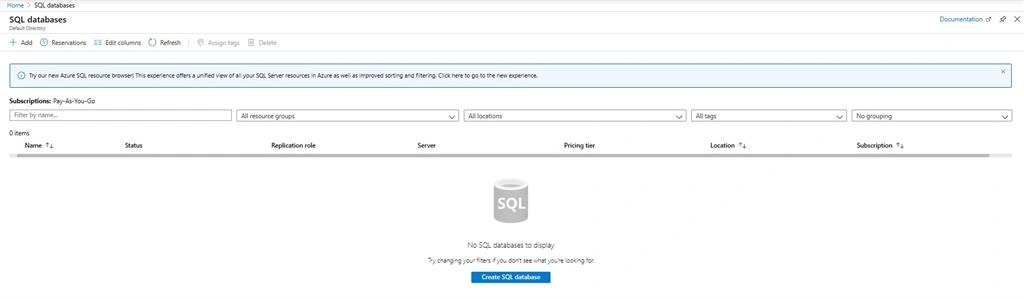
This is a PAAS (Platform-As-A-Service) feature. As you can see there are no existing databases currently in our subscription. We start to create a new database,
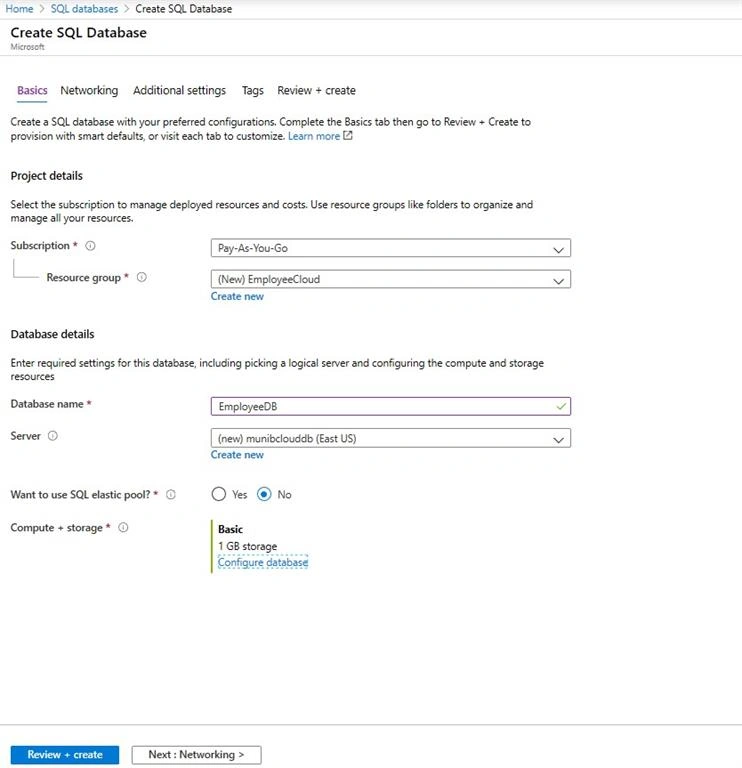
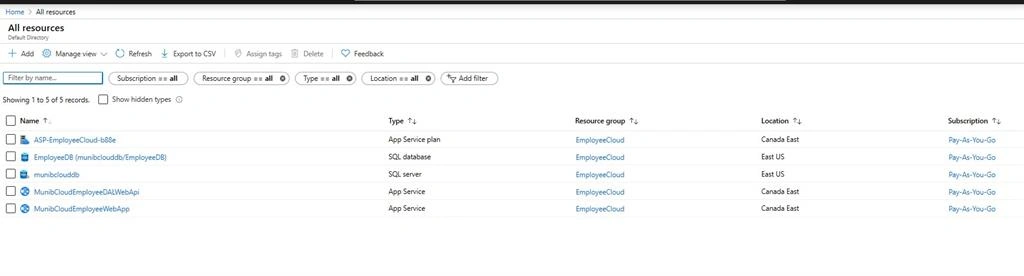
Here we create a new resource group called “EmployeeCloud”. We will place all resources in this resource group. This will make it easy to maintain all resources. We name the server “munibclouddb” and place it in the “East US” region. The database is named “EmployeeDB”. We also use the most basic “Compute + storage” tier which is “Basic” and this gives us a storage of 1GB. We also setup the administrator account for the server (munibadmin).
Once created, we see the below,

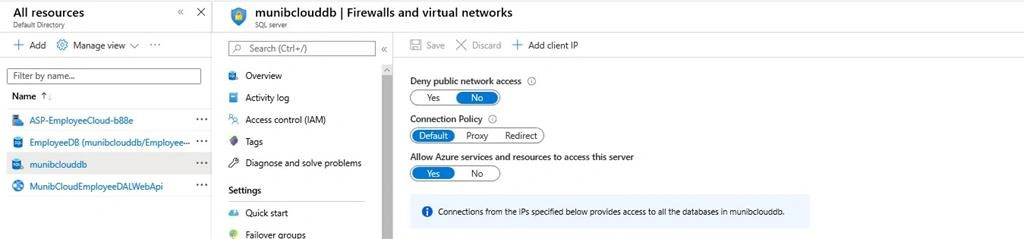
Here we see that two resources have been created, A SQL sever and SQL database. Next, in order to maintain this database server from our local machine, we need to open the firewall to it from our machine.
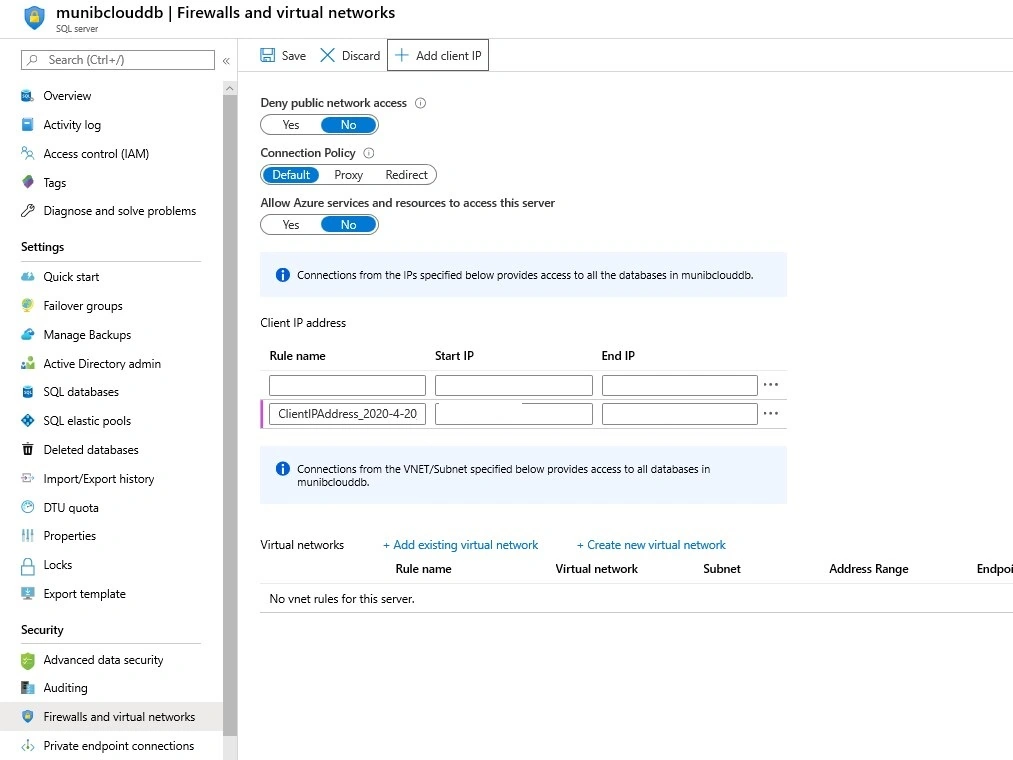
As seen above, select the option “Firewalls and virtual networks” and add your Client IP address to the rules and click “Save”. You can now access this database server from SQL Server Management Studio on your local machine.
Next, go to the option “Query editor (preview)” and create the table used in the previous article as below,
- CREATE TABLE [dbo].[Employees](
- [Employee_ID] [int] IDENTITY(1,1) NOT NULL,
- [First_Name] [nvarchar](50) NOT NULL,
- [Last_Name] [nvarchar](50) NOT NULL,
- [Date_Birth] [smalldatetime] NOT NULL,
- [Street_Address] [nvarchar](100) NULL,
- [City] [nvarchar](50) NOT NULL,
- [Province] [char](2) NOT NULL,
- [Date_Joining] [smalldatetime] NOT NULL,
- [Date_Leaving] [smalldatetime] NULL,
- CONSTRAINT [PK_Employees] PRIMARY KEY CLUSTERED
- (
- [Employee_ID] ASC)WITH (PAD_INDEX = OFF, STATISTICS_NORECOMPUTE = OFF, IGNORE_DUP_KEY = OFF, ALLOW_ROW_LOCKS = ON, ALLOW_PAGE_LOCKS = ON) ON [PRIMARY]
- ) ON [PRIMARY]
- GO
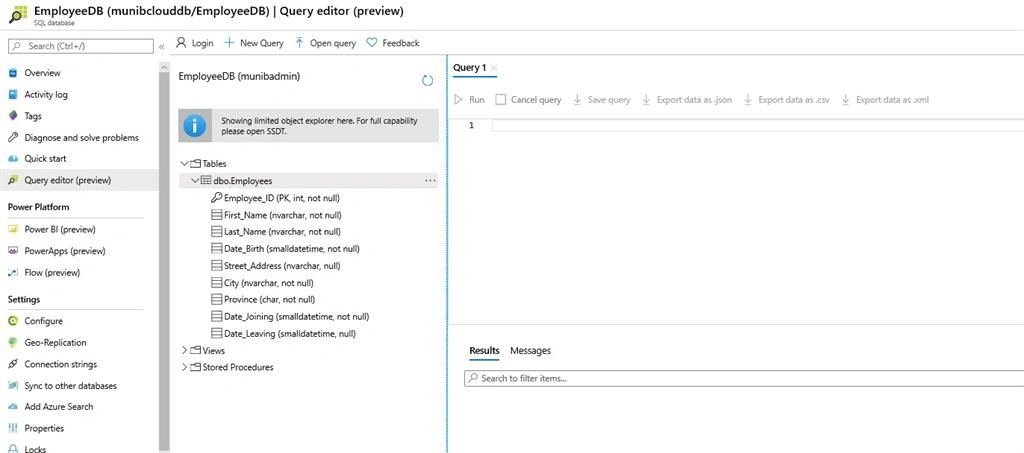
also, add a new record using the below query,
INSERT INTO [dbo].[Employees] (First_Name, Last_Name, Date_Birth, Street_Address, City, Province, Date_Joining)
VALUES ('John', 'Doe', '1980-10-01', '100 Street West','Toronto','ON','2020-01-15')
VALUES ('John', 'Doe', '1980-10-01', '100 Street West','Toronto','ON','2020-01-15')
Now, if we open the database in SSMS we see the below,
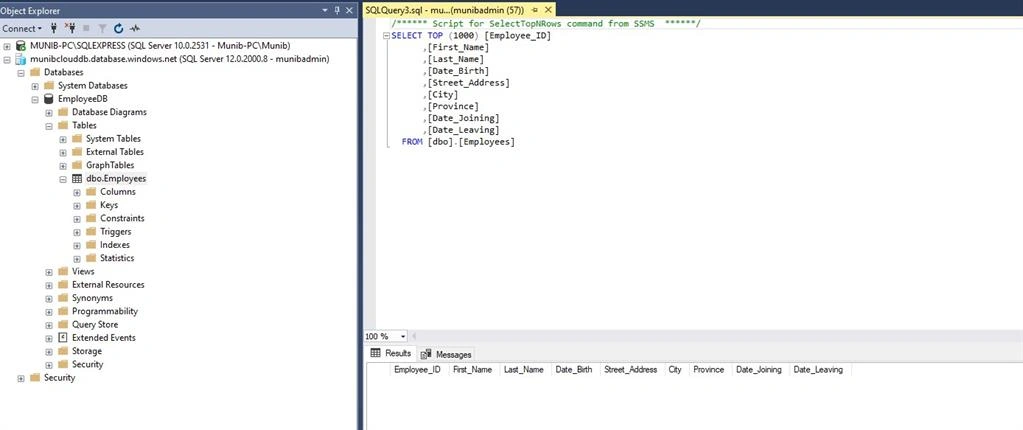
At this point, we have created our SQL server and database in Microsoft Azure. We will now proceed to setting up the data access Web API application.
The Data Access Layer
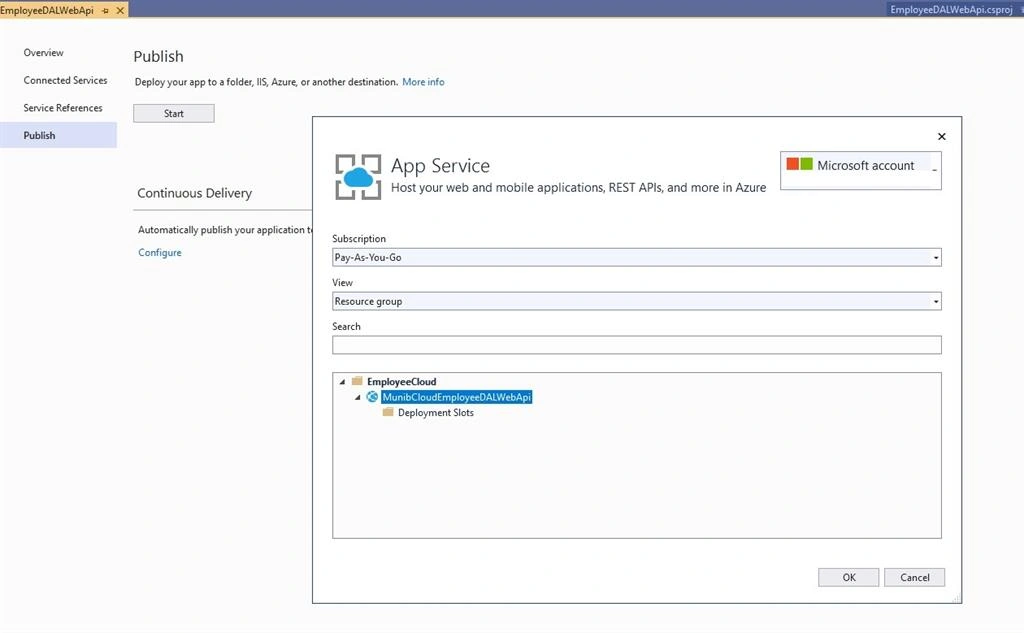
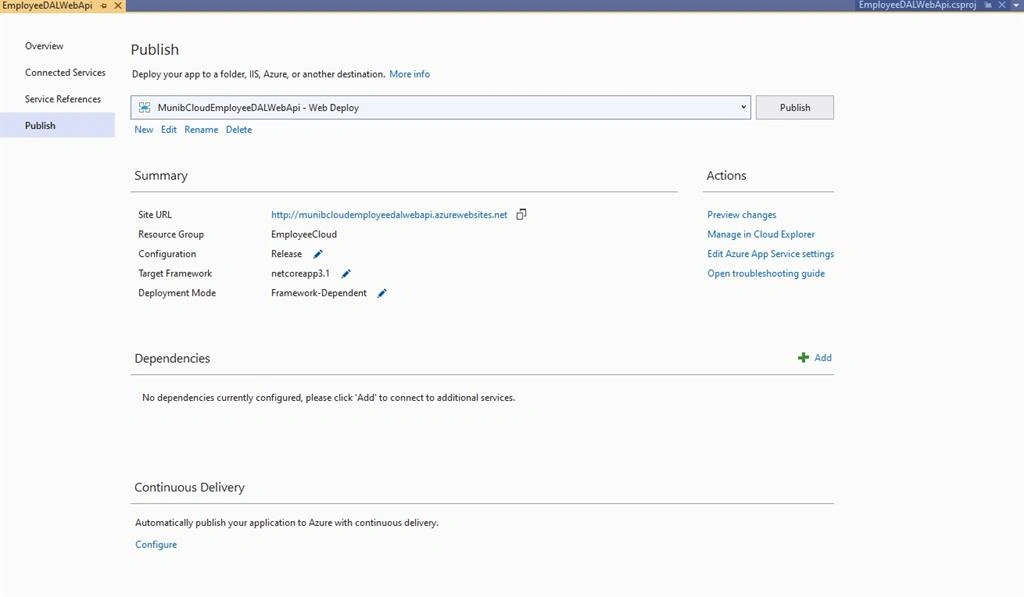
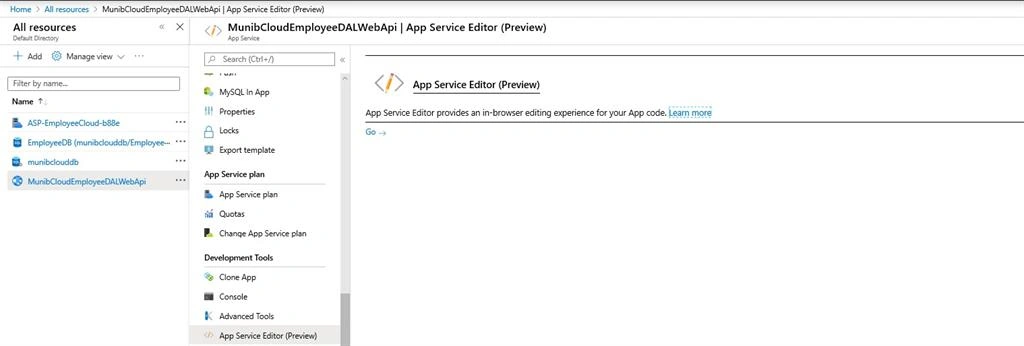
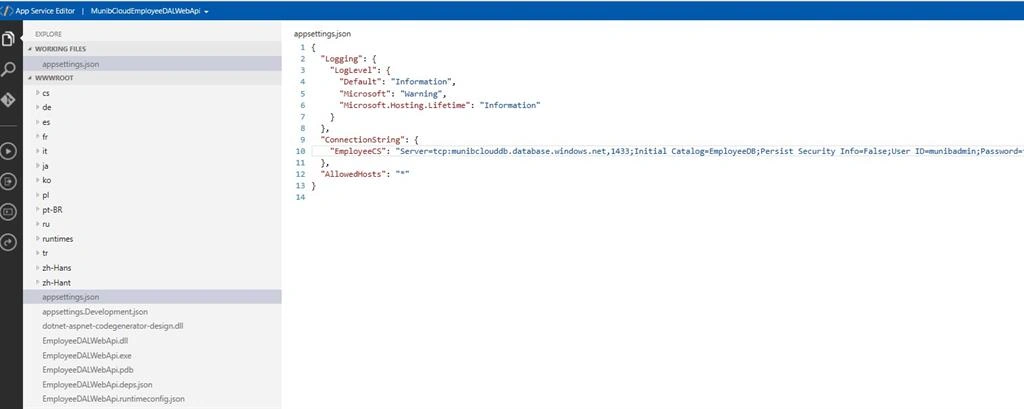
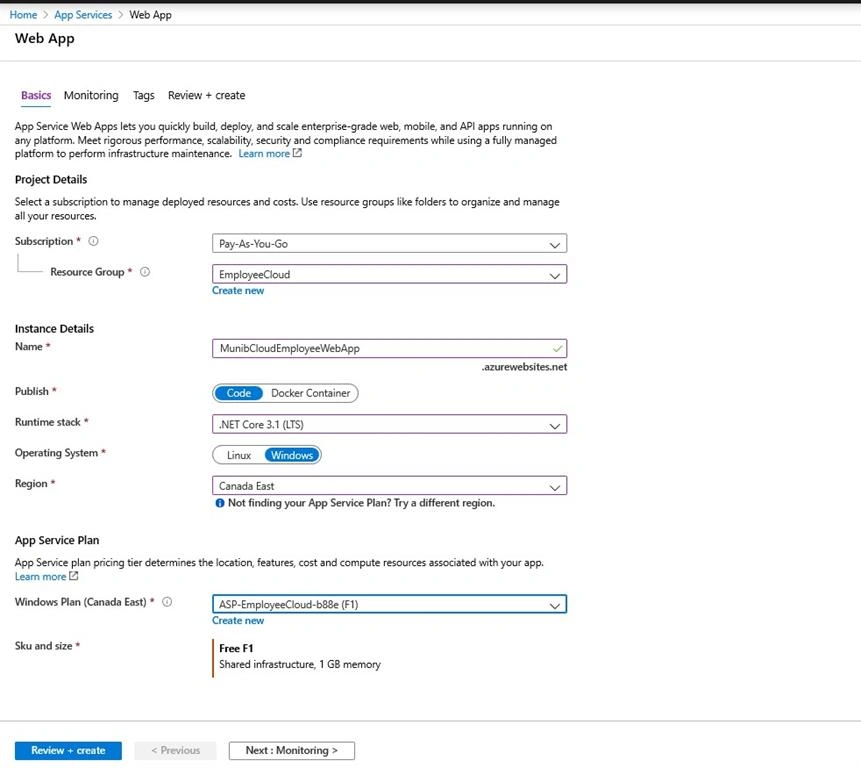
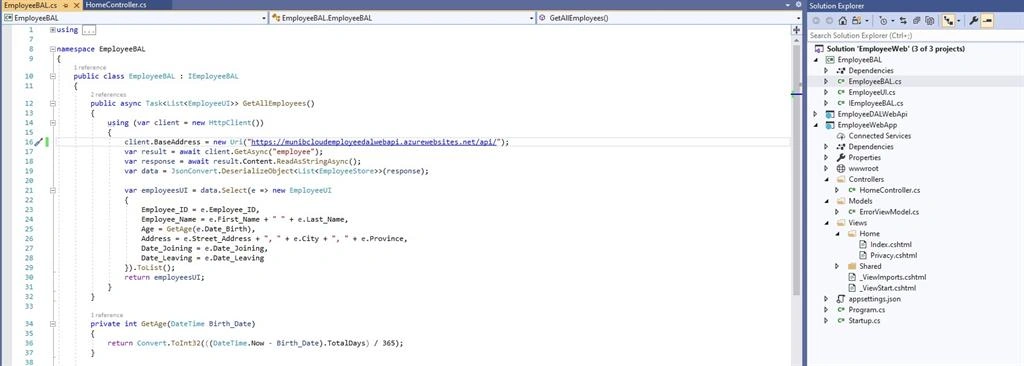
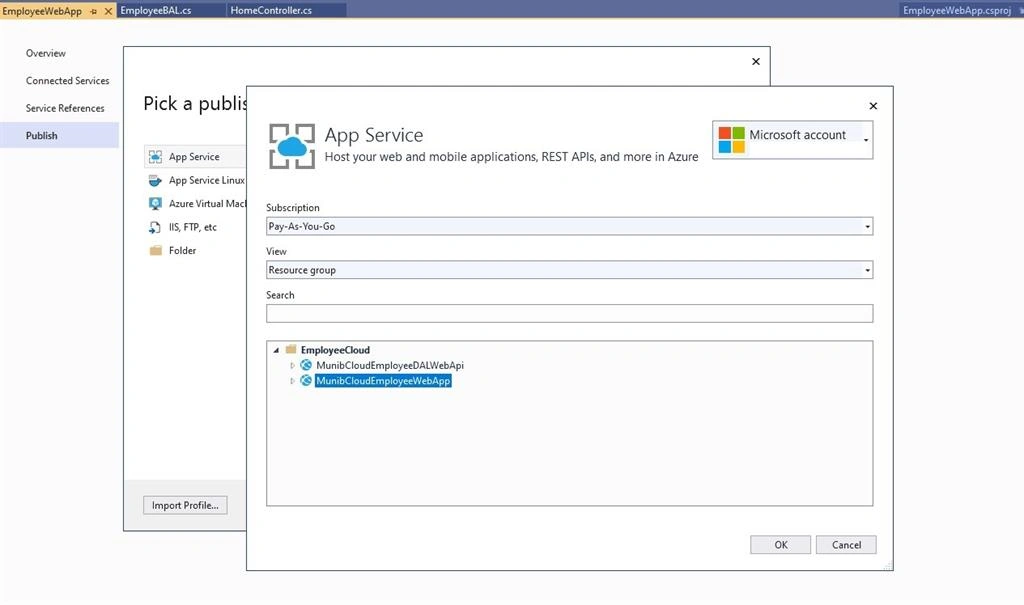
The data access layer application would be deployed as a Web App under the Azure App services. This is also a PAAS solution. We will be deploying the “EmployeeDALWebApi” application created in the previous article here.
We navigate to the “App Services” main page as below,
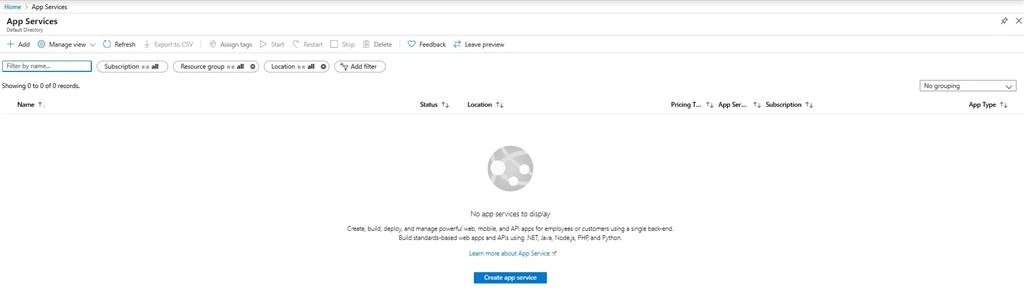
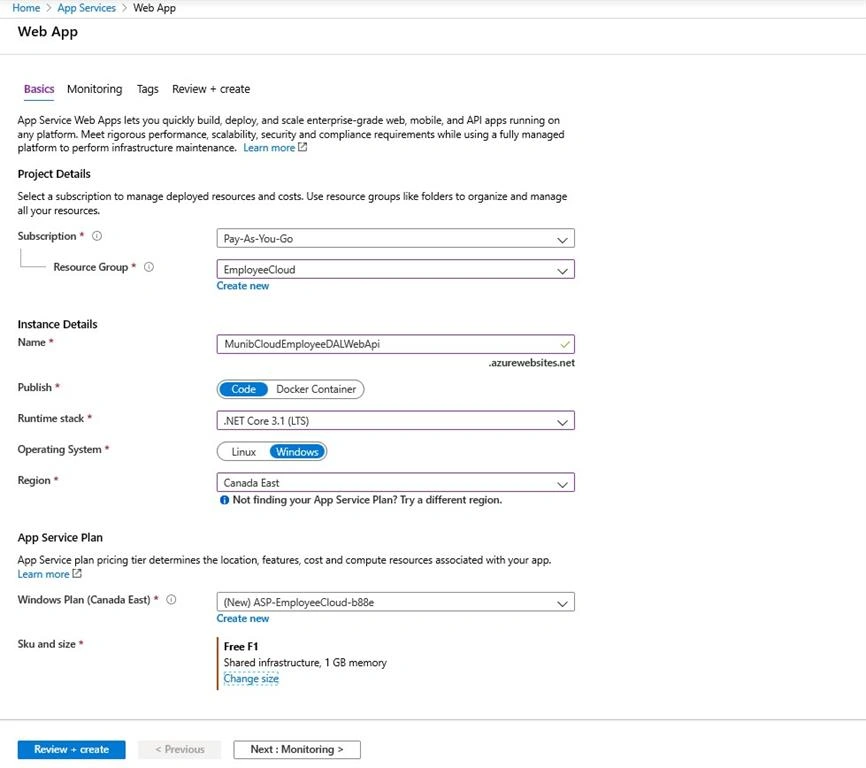
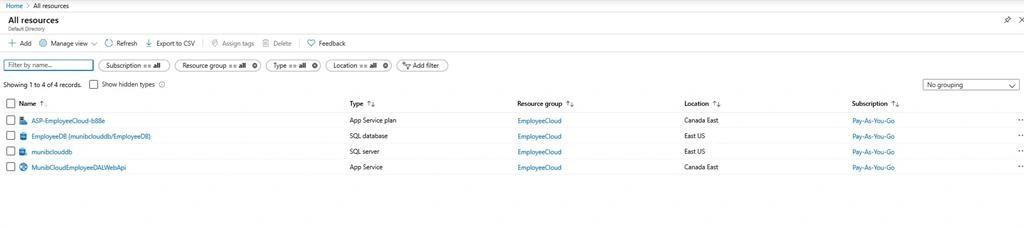
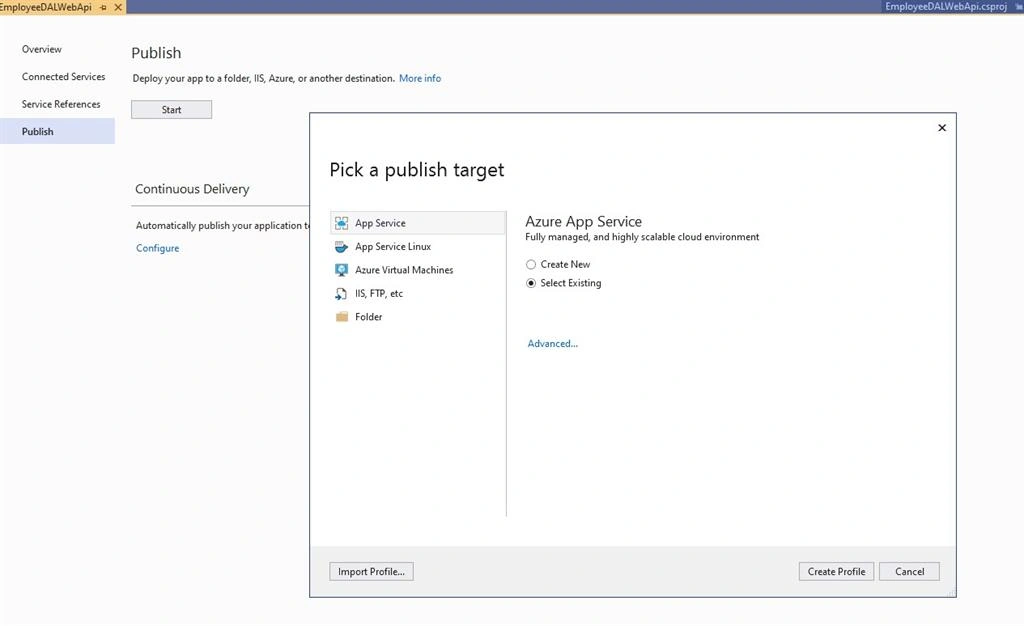
Here we create a new “App Service” as below,


Rikam PalkarPosted Apr 26, 2020, 1:51 AM
Interesting.
Aktham MahmoudPosted Apr 23, 2020, 1:03 PM
Thanks so much, I'll try your lesson. so amazing