

Here we will see how to create tables as well as establish relationships among tables in LightSwitch using Visual Studio 2012.
This article describes how to establish a relationship among tables.
Step 1
Open the Solution Explorer.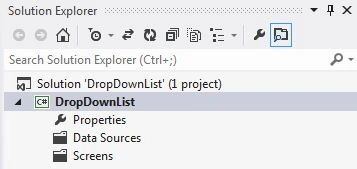
Step 2
In the Solution Explorer, right-click on the Server and choose "Add Table". 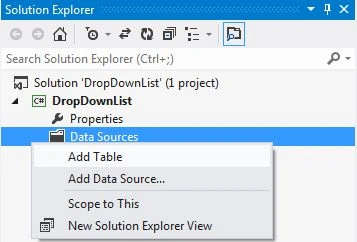
Step 3
Here we will add three tables.
Company Table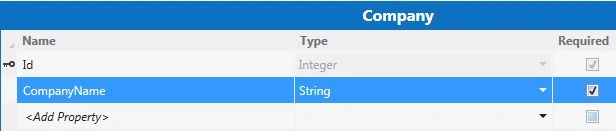
Employee Table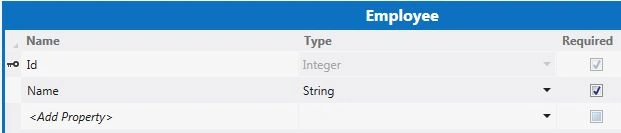
Project Table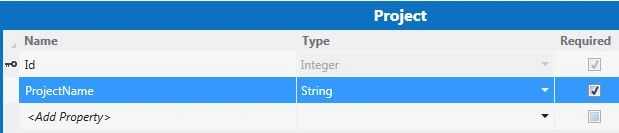
Step 4
Now we are going to add a relationship among the tables.
To add relationships among the tables, go to the menu bar and click on the "Add Relationship" button.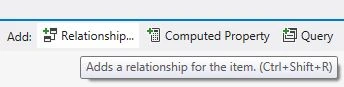
The Add New Relationship dialog box appears. In that, establish the relationship in such a way that one Company can have more than one Employee.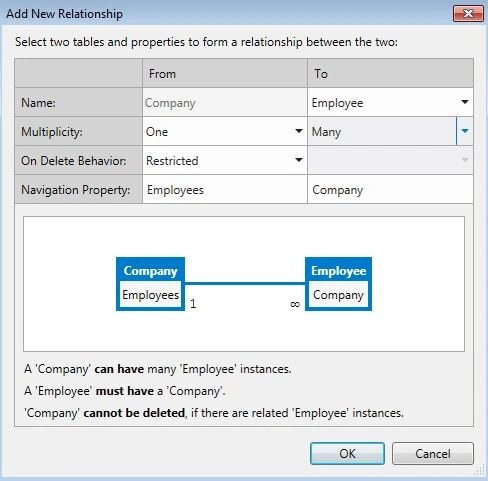
One Employee can have more than one project.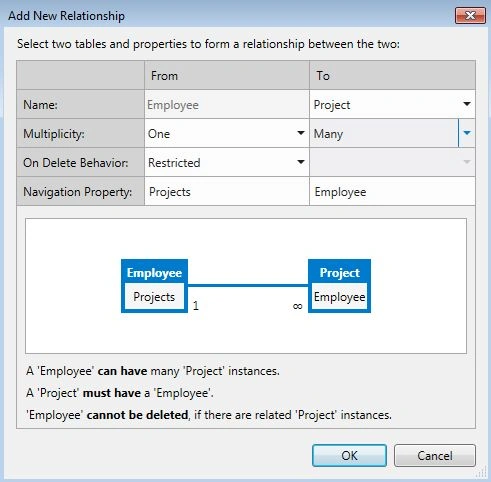
Step 5
In the Solution Explorer, right-click on the Screens and choose Add Screen.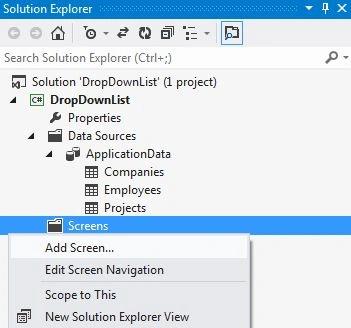
The Add New Screen dialog box appears. Select the "Editable Grid Screen" from the Screen Template, under screen information, choose "Company" under screen data and provide a name to the Screen and click the "OK" button.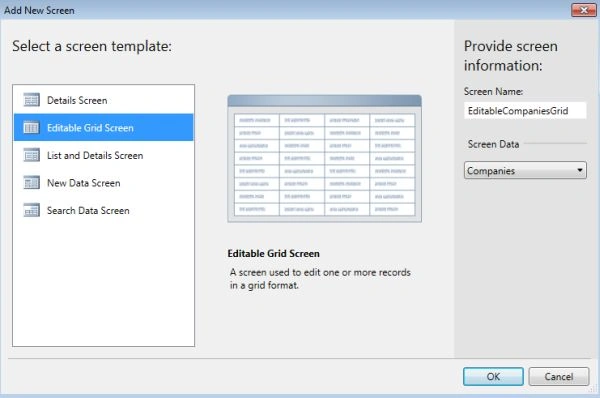
In this way we will add two more Editable Grid Screens, one for Employee and another one for the project.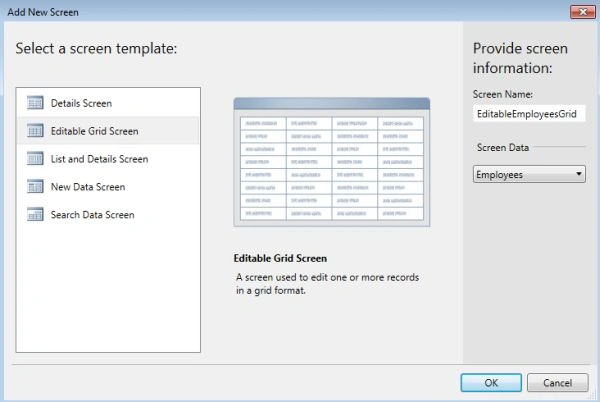
The Editable Project Screen is shown below.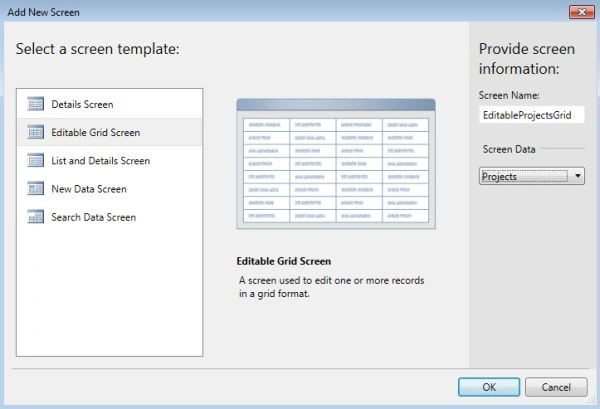
Step 6
Press F5 to run the application. 
The output for the Editable Employee Grid:
The output for the Editable project Grid is shown below.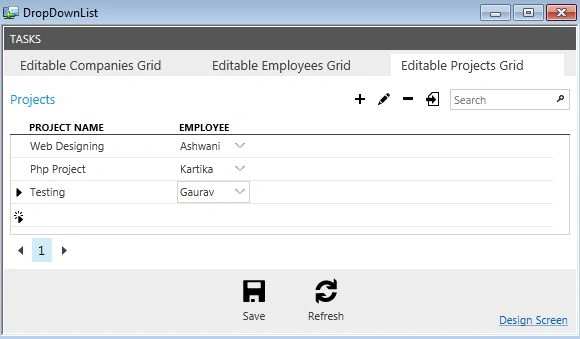
Join the conversation! Your thoughts help the community grow.