

Introduction
In our previous article, we learned how to deploy the Azure firewall; in this article, we will learn how to connect our Virtual machine using the Azure Firewall. Currently, our Virtual machine doesn’t have a public IP address, and we are going to connect our virtual machine using the Azure firewall’s public IP address.
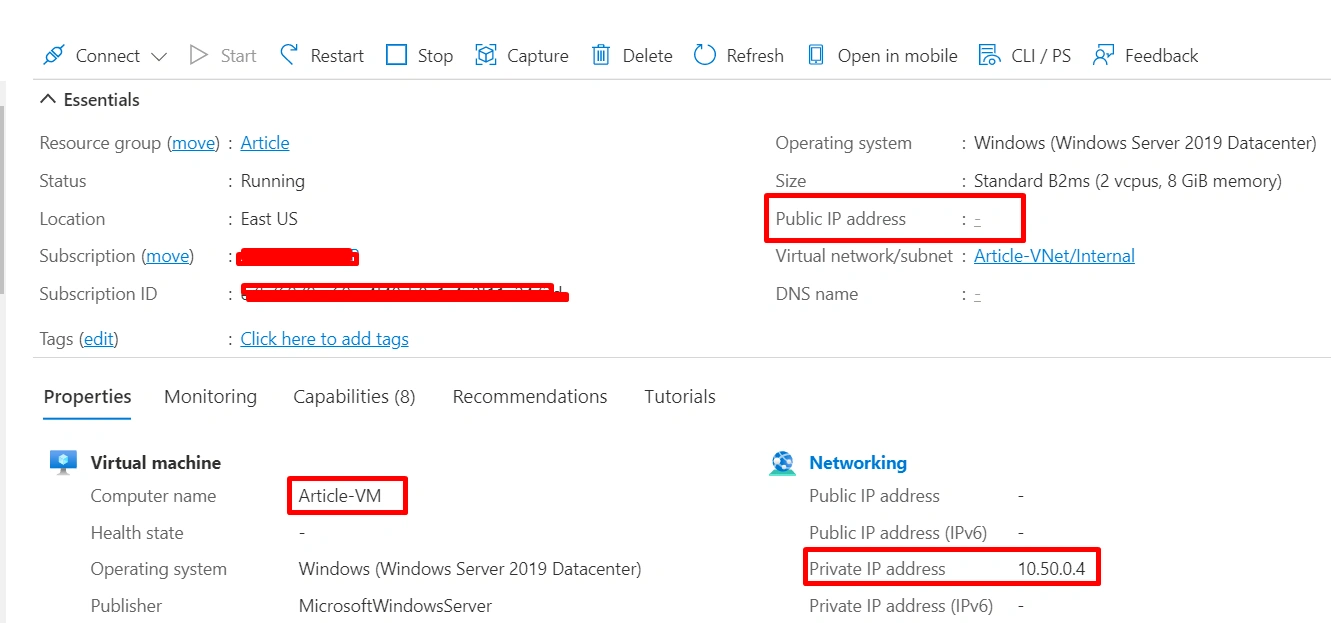
Step 1: Open the Virtual Machine and copy the Private IP address.
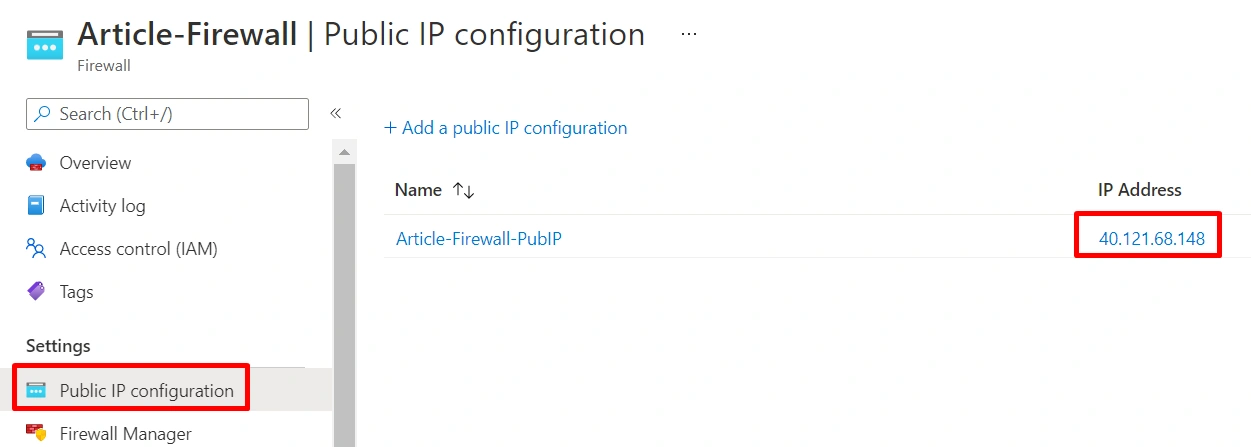
Step 2: Open the Azure Firewall, select Public IP configuration under the Settings, and copy the Public IP address.
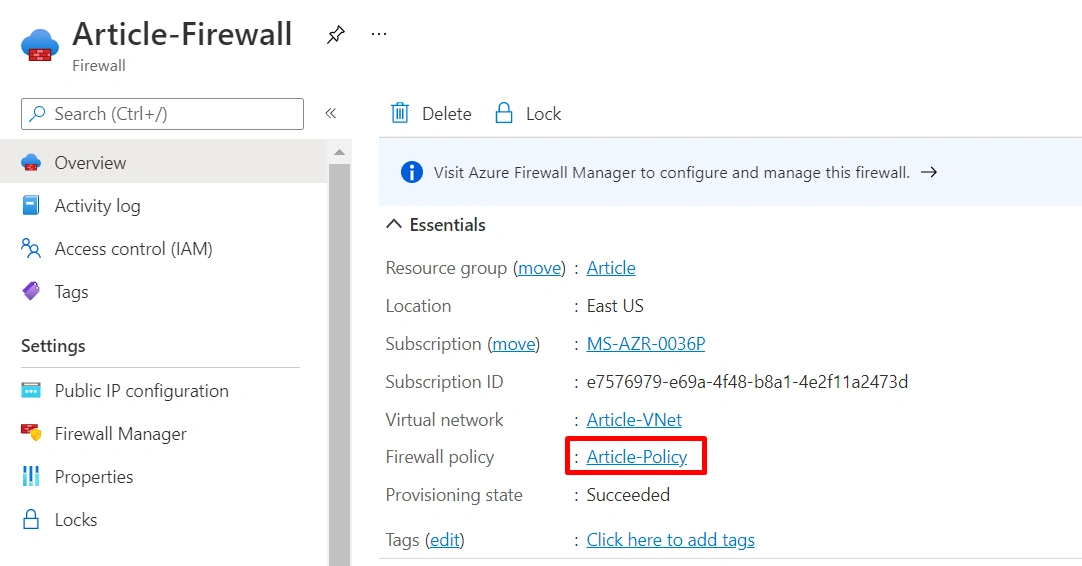
Step 3: In the Azure Firewall, Select the Policy to create the DNAT Rules
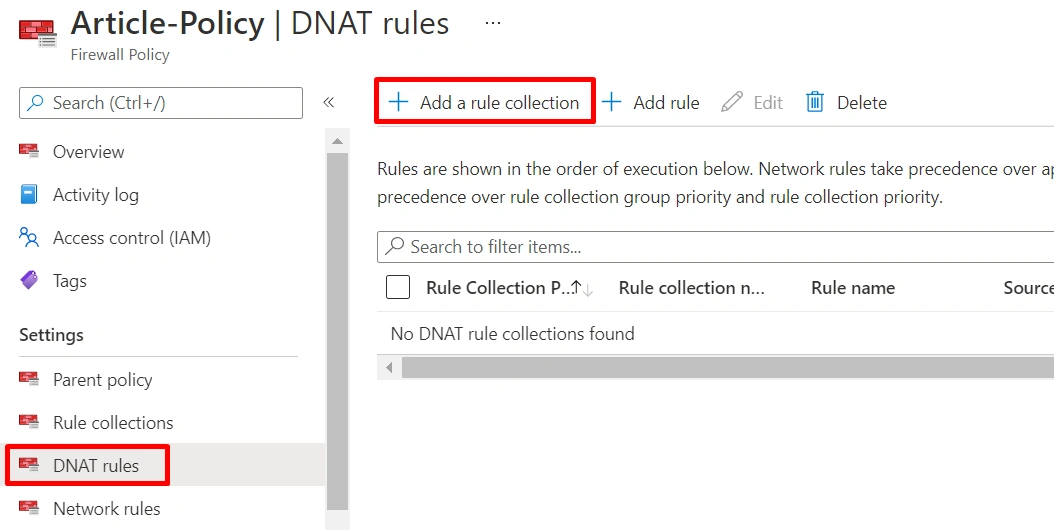
Step 4: In the Firewall Policy page, Select the DNET under the Settings and click + Add a rule collection.
Step 5: To configure the DNAT rule, we need the below details;
- Virtual Machine’s Private IP: 10.50.0.4
- Firewall’s Public IP: 40.121.68.148
- Our Local Computer Public IP: to get the public IP, search what is my IP on google, and we will get it. my current Public IP is 112.134.185.186
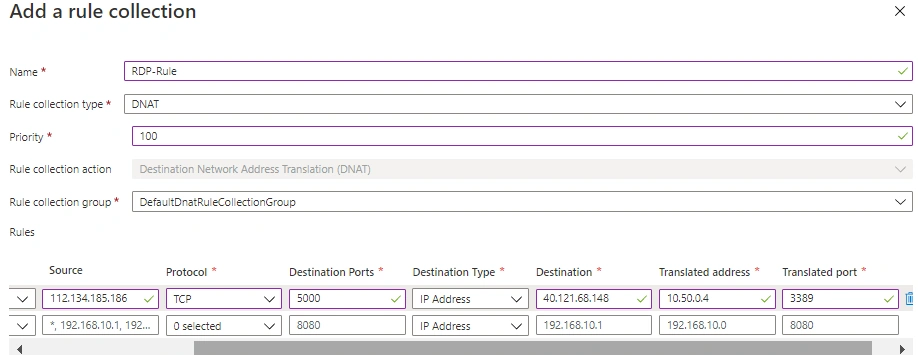
- Name: Our Virtual Machine Name (Article-VM)
- Source type: IP Address
- Source: Our Local computer’s public IP (112.134.185.186)
- Destination Ports: We can choose any port number (5000)
- Destination Type: IP Address
- Destination: Our Firewall Public IP (40.121.68.148)
- Translated Address: Our Virtual Machine’s Private IP address (10.50.0.4)
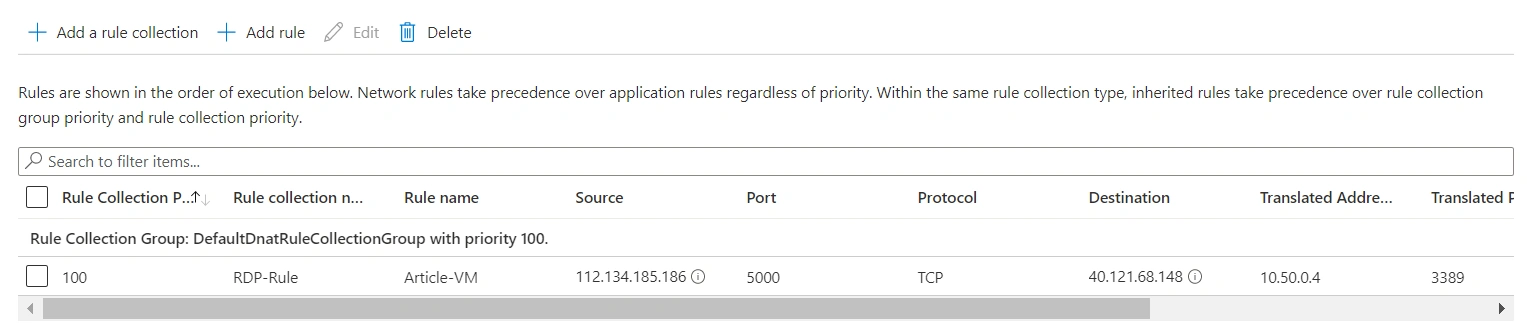
Step 6: Finally, we have created the DNAT rule.
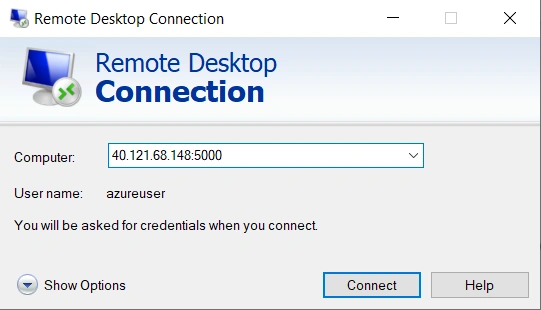
Step 7: Open the Remote Desktop Connection, and enter the Firewall’s Public IP address with the Port number.
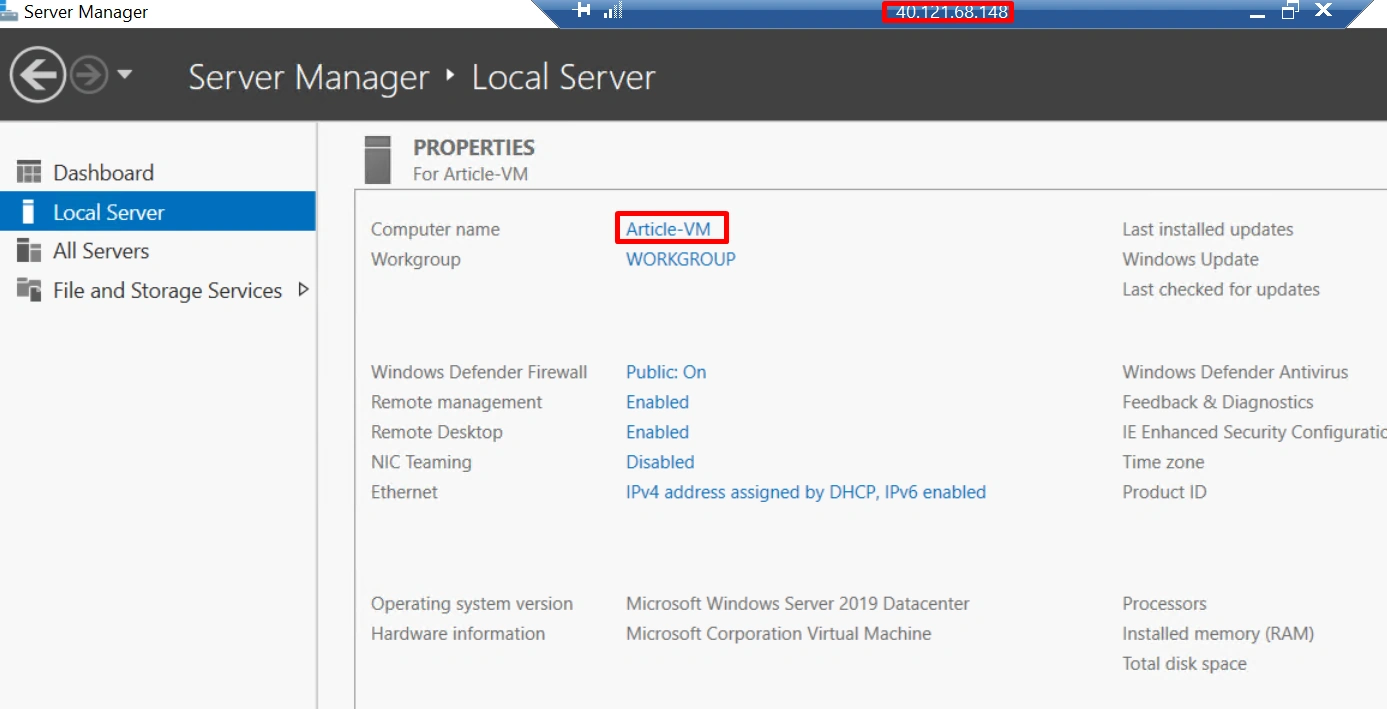
Step 8: Now, our Virtual machine is connected to the Azure Firewall public IP address.
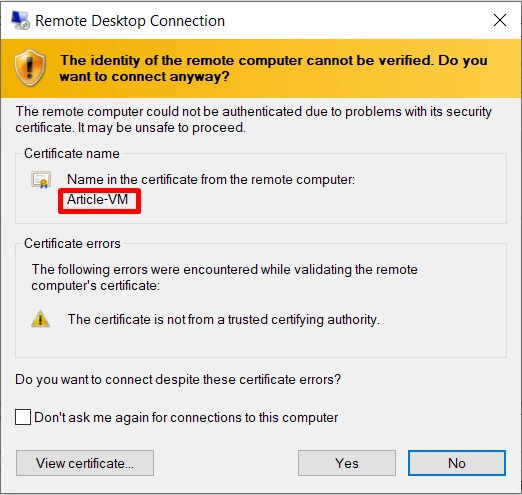
Step 9: We have successfully connected our Virtual machine using the Azure Firewall public address.
Hadshana KamalanathanPosted Oct 12, 2022, 1:42 AM
Nice Article!