

Introduction
This article will cover the following.
- Prerequisites
- Implementation – Getting connected with Twitter Social App
Prerequisites
- Read the following article to create an Azure account and for some basic information about Azure to get started.
- Read the following article to get an idea of Azure connectors.
Implementation – Getting connected with Twitter Social App
Steps to be followed:
- Go to the Resources section and locate the "Logic app connector".

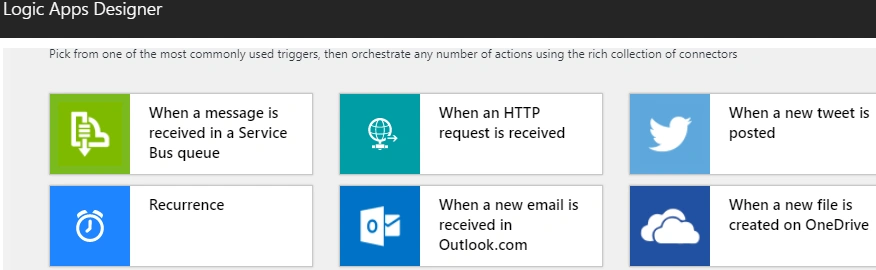
- Click on the option “When a tweet is posted."
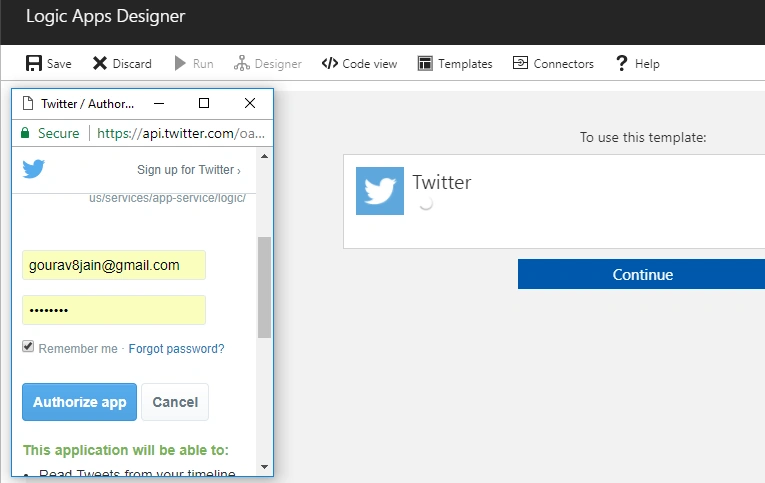
- Sign-in with the Twitter account and fill-in the username and password. Then, click “Authorize app” and after that, click on the "Continue" button.
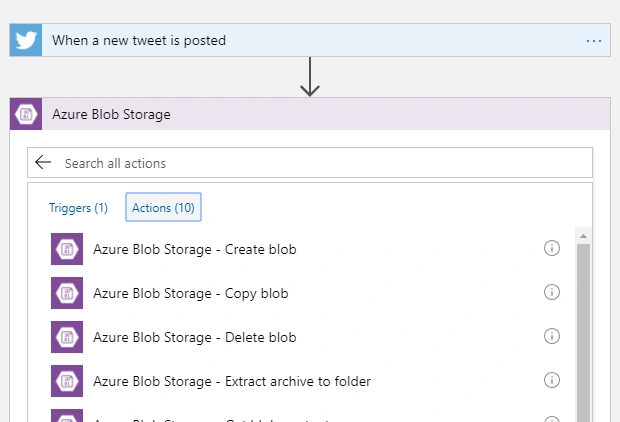
- Enter the Search text by which Twitter posts will be noticed if the post contains “test”. Then, click on the new step (Add Action) and choose the step to be executed once there is a post with text “test”. Choose the Azure Storage Connector
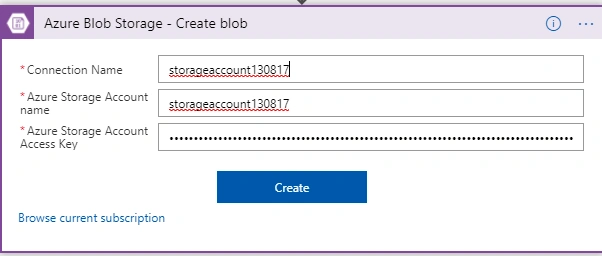
- Then, fill in the details for the existing storage account after extracting it from the storage account properties.
- Fill in the details for the Folder path, Blob name, and Blob content so that whenever the post happens, the tweeted text would be stored in the blob. Click on "Save" and press the “Run” button.
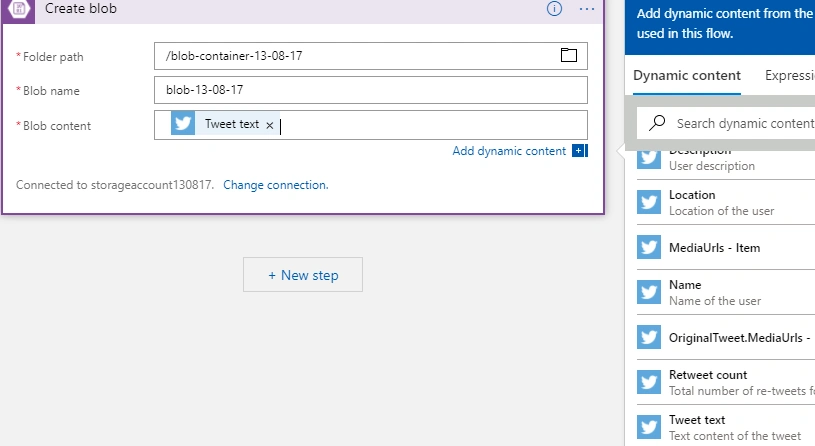
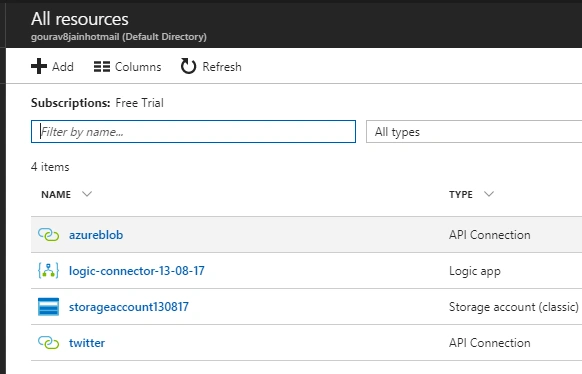
- After this, we will be able to see a few extra resources for Azure Blob and Twitter.
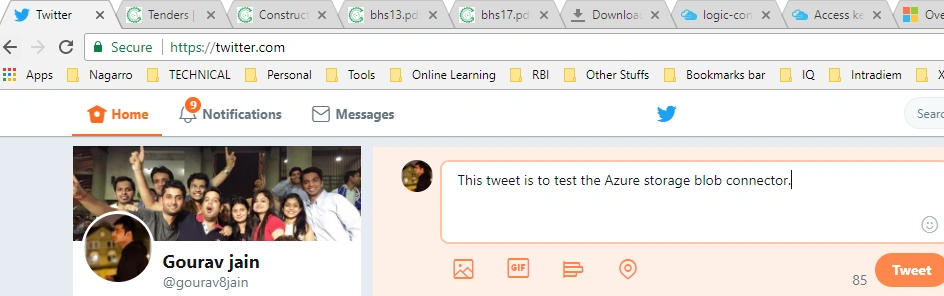
- To see this work, I will post a tweet in my profile and will see the stats here in Azure. Go to the Twitter account and post a tweet with text “test” and click on “Tweet”.
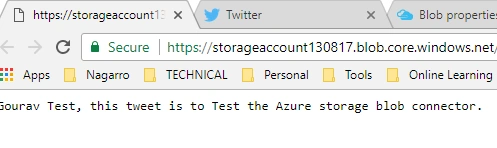
- Wait a minute, click on the blob-container and see a new blob being created with the name – “blob-13-08-17”. You can see the content with-in that.
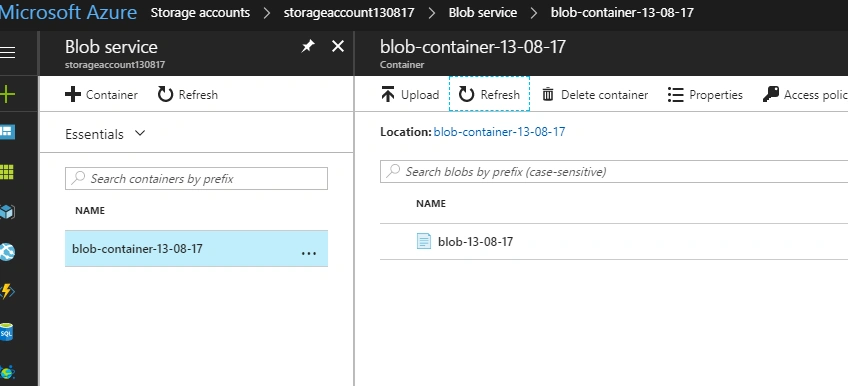
- Click on the new blob created there.
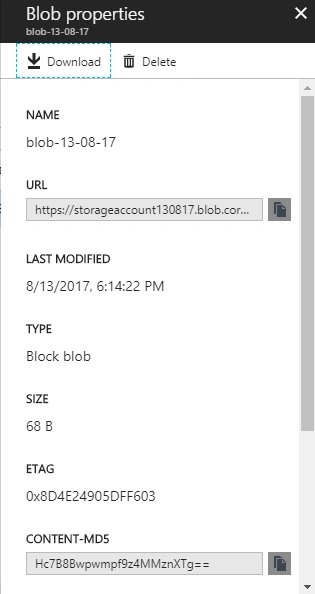
- Click on the "Download" button and see the result in the browser.
Happy learning!
Join the conversation! Your thoughts help the community grow.