
In this article I would like to explain how to create a Document Library and how to add, edit and delete the documents in the Document Library.
Step 1: Click the settings menu near the User Account (System Account). The following popup will appear. In that item details click the Site contents.
Step 2: The following site contents page will appear. Click "Add an app menu".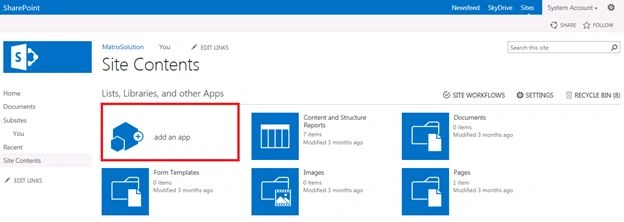
Step 3: In your apps page click the Document Library menu.
Step 4: The following popup will show. Enter the Document Library name and click the "Create" button.
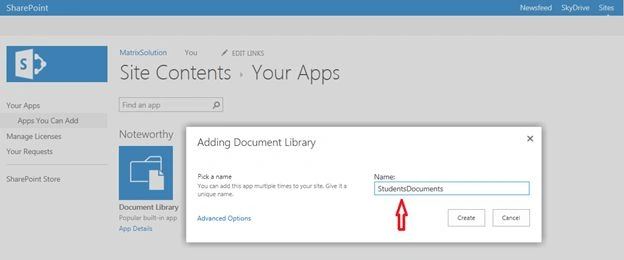
The Document Library will be created and it shows under the site contents page as in the following image.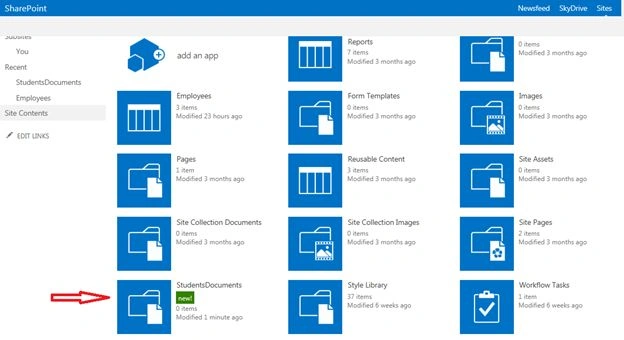
Once we click the “StudentsDocuments” menu, the list will be displayed like under the image.
Create a column in SharePoint Document Library
Step 1: Click the create column under the List ribbon.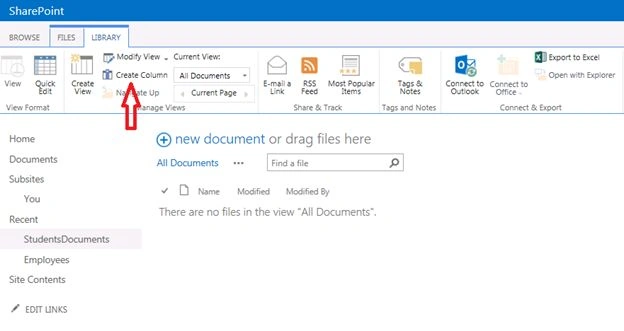
Step 2: The following popup will appear. In that popup provide a column name and select the data type and click the "Ok" button like the following images.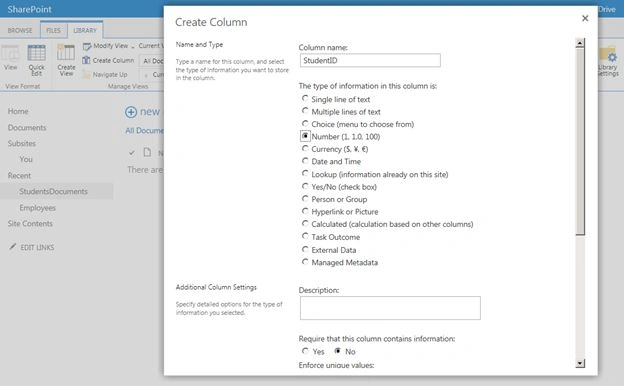

The created column will be shown by the following.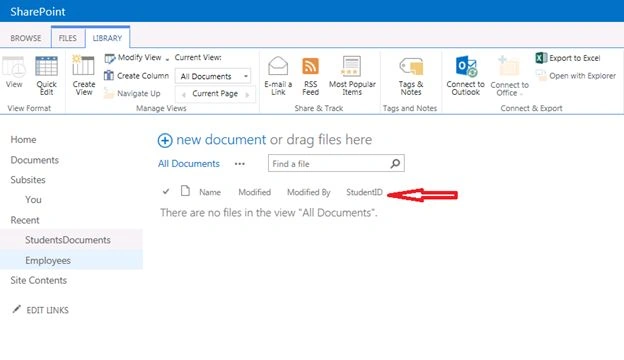
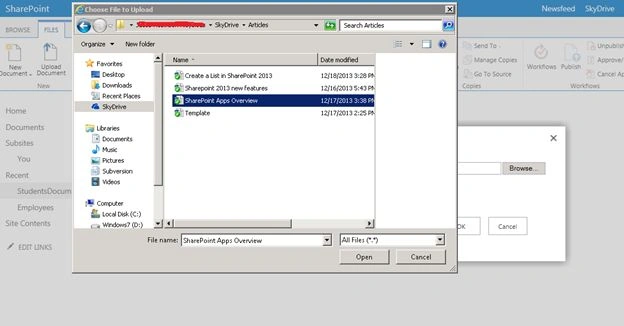
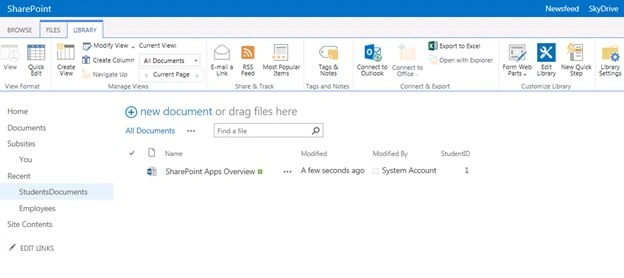
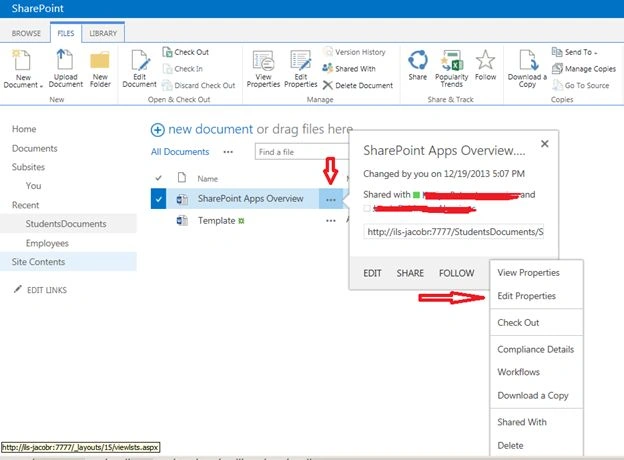
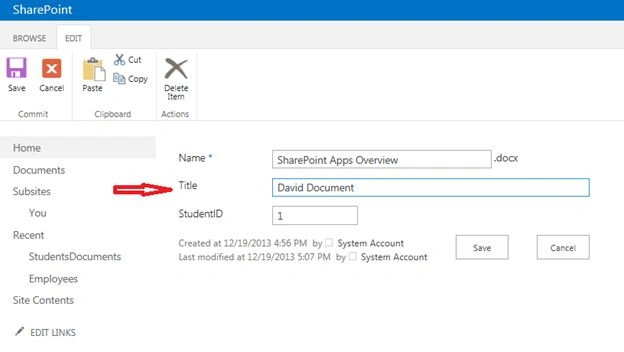
Add a Document in SharePoint Document Library
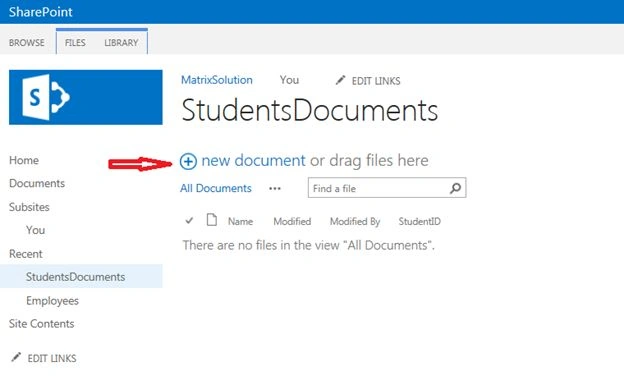
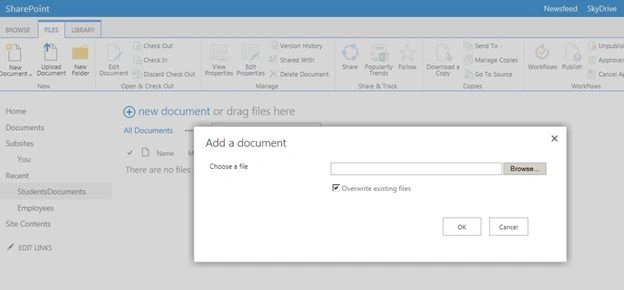
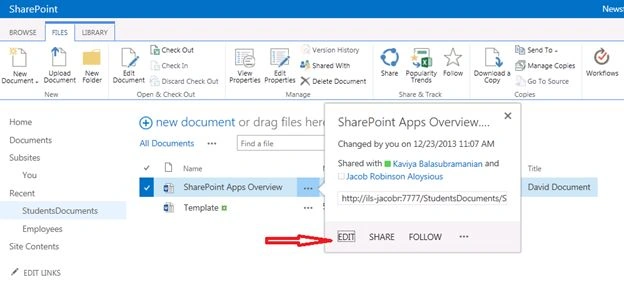
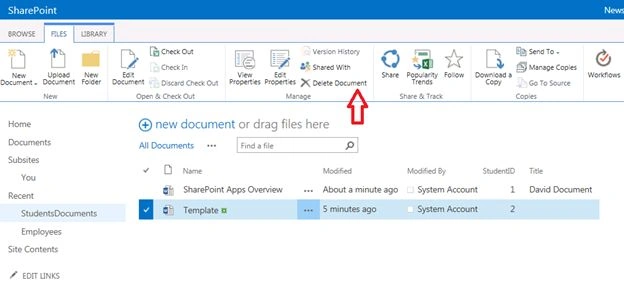
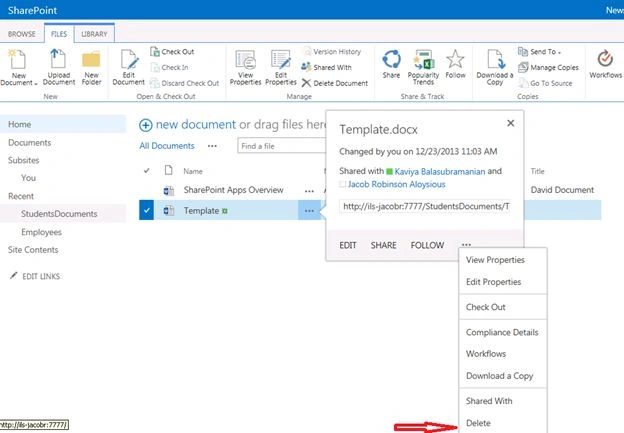
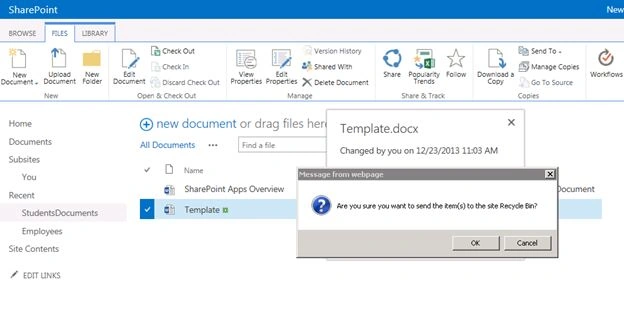
There are two types available for adding a document in a SharePoint Document Library.








Comments
Join the conversation! Your thoughts help the community grow.