

Introduction
- Android Studio 2.1.3.
If you want to create a ViewFlipper Android app, it should follow the given steps.
Step 1
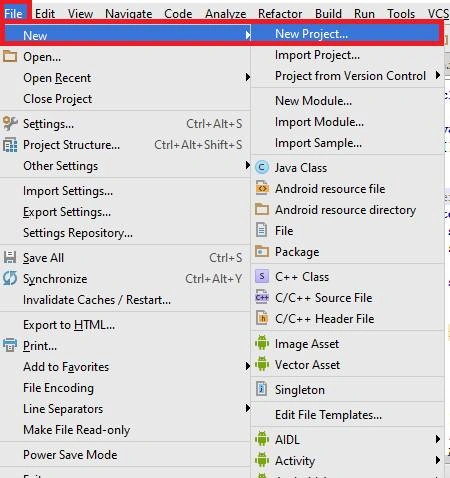
Now, open Android Studio and you can choose the File and subsequently New. Afterward, choose the New Project.
 Step 2
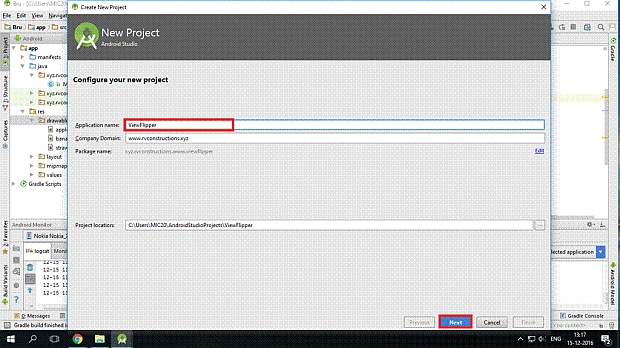
Here, you can create your application name and choose where your project should be stored on the location and click the Next button.
Step 2
Here, you can create your application name and choose where your project should be stored on the location and click the Next button.
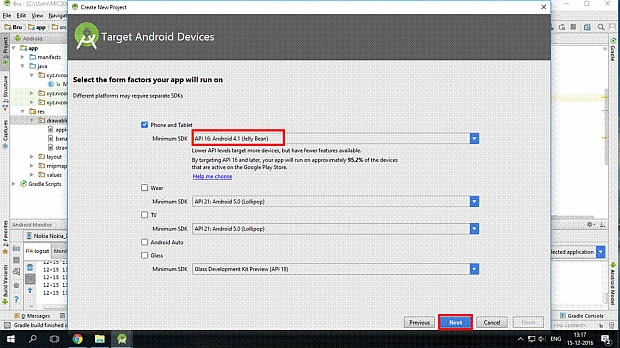
 Now, we can select the version of Android, which is Target Android Devices.
 Step 3
Here, we can add the activity and click the Next button.
Step 3
Here, we can add the activity and click the Next button.
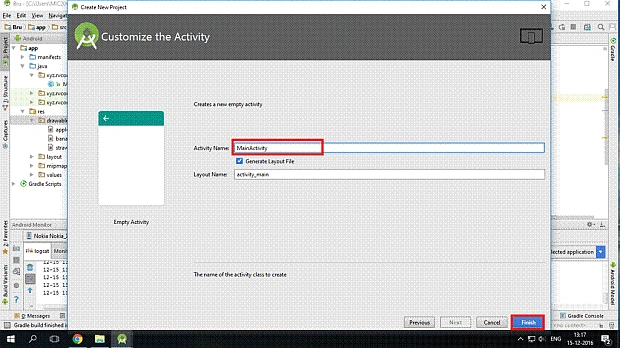
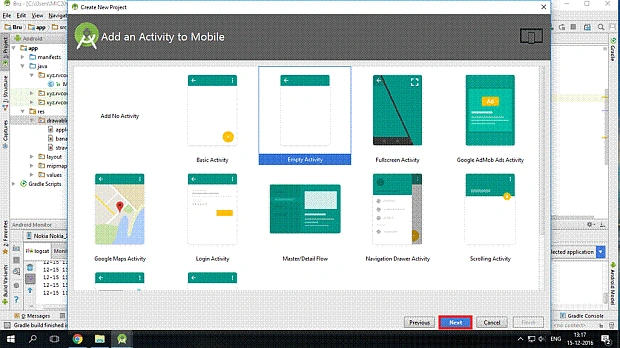 Now, we can write the activity name and click the Finish button.
 Step 4
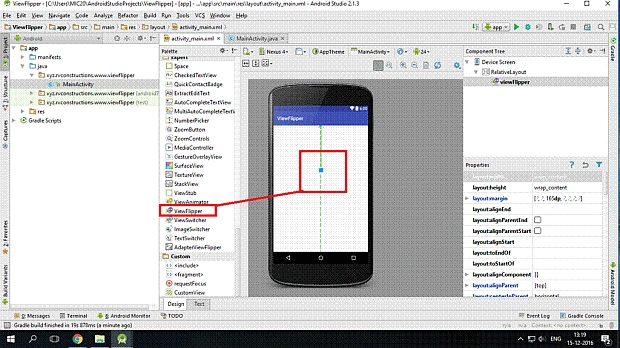
Now, open your project and you will go to activity_main.xml. Afterward, you will build the design, which should be chosen with the toolbox and if you want some option like (ViewFlipper), it is possible with the help of the drag and drop method. Now, you will add the image on the Drawable folder.
Step 4
Now, open your project and you will go to activity_main.xml. Afterward, you will build the design, which should be chosen with the toolbox and if you want some option like (ViewFlipper), it is possible with the help of the drag and drop method. Now, you will add the image on the Drawable folder.
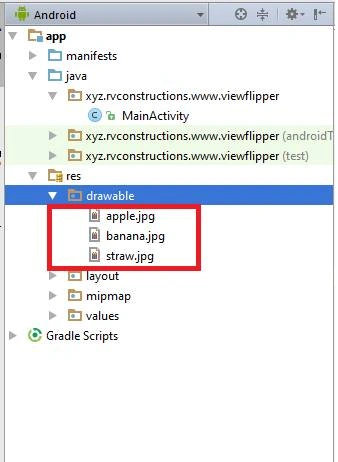
 Here, we can see the image in the Drawable folder.
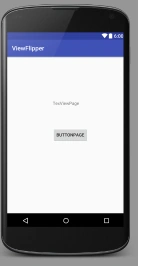
 Now, we can see the Graphical User Interface design.
 Step 5
Here, you will build on the design and write the.XML code.
Activity_mai.xml code
Step 5
Here, you will build on the design and write the.XML code.
Activity_mai.xml code
- <?xml version="1.0" encoding="utf-8"?>
- <RelativeLayout xmlns:android="http://schemas.android.com/apk/res/android"
- xmlns:tools="http://schemas.android.com/tools"
- android:layout_width="match_parent"
- android:layout_height="match_parent"
- android:paddingBottom="@dimen/activity_vertical_margin"
- android:paddingLeft="@dimen/activity_horizontal_margin"
- android:paddingRight="@dimen/activity_horizontal_margin"
- android:paddingTop="@dimen/activity_vertical_margin"
- tools:context="xyz.rvconstructions.www.viewflipper.MainActivity">
- <ViewFlipper
- android:layout_width="wrap_content"
- android:layout_height="wrap_content"
- android:id="@+id/viewFlipper"
- android:layout_alignParentTop="true"
- android:layout_centerHorizontal="true"
- android:layout_marginTop="128dp" >
- <TextView
- android:layout_width="wrap_content"
- android:layout_height="wrap_content"
- android:text="TexViewPage"
- android:id="@+id/textView"
- android:layout_centerVertical="true"
- android:layout_alignParentRight="true"
- android:layout_alignParentEnd="true" />
- <Button
- android:layout_width="wrap_content"
- android:layout_height="wrap_content"
- android:text="buttonpage"
- android:id="@+id/button"
- android:layout_centerVertical="true"
- android:layout_alignLeft="@+id/viewFlipper"
- android:layout_alignStart="@+id/viewFlipper" />
- </ViewFlipper>
- </RelativeLayout>
Step 6
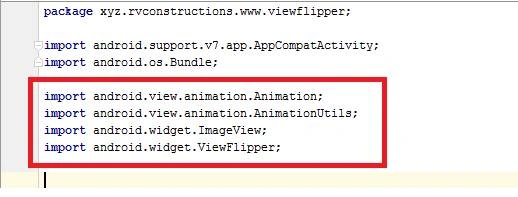
- package xyz.rvconstructions.www.viewflipper;
- import android.support.v7.app.AppCompatActivity;
- import android.os.Bundle;
- import android.view.animation.Animation;
- import android.view.animation.AnimationUtils;
- import android.widget.ImageView;
- import android.widget.ViewFlipper;
- public class MainActivity extends AppCompatActivity {
- private ViewFlipper ViewFlipper1;
- int[] images = {
- R.drawable.apple,
- R.drawable.straw,
- R.drawable.banana
- };
- @Override
- protected void onCreate(Bundle savedInstanceState) {
- super.onCreate(savedInstanceState);
- setContentView(R.layout.activity_main);
- ViewFlipper1 = (ViewFlipper) findViewById(R.id.viewFlipper);
- for (int i = 0; i < images.length; i++) {
- ImageView imageView = new ImageView(this);
- imageView.setImageResource(images[i]);
- ViewFlipper1.addView(imageView);
- }
- Animation in = AnimationUtils.loadAnimation(this, android.R.anim.slide_in_left);
- Animation out = AnimationUtils.loadAnimation(this, android.R.anim.slide_out_right);
- ViewFlipper1.setInAnimation( in );
- ViewFlipper1.setOutAnimation(out);
- ViewFlipper1.setFlipInterval(3000);
- ViewFlipper1.setAutoStart(true);
- }
- }
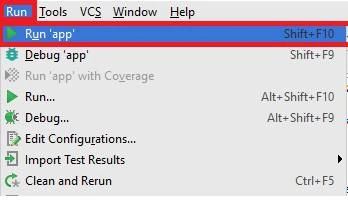
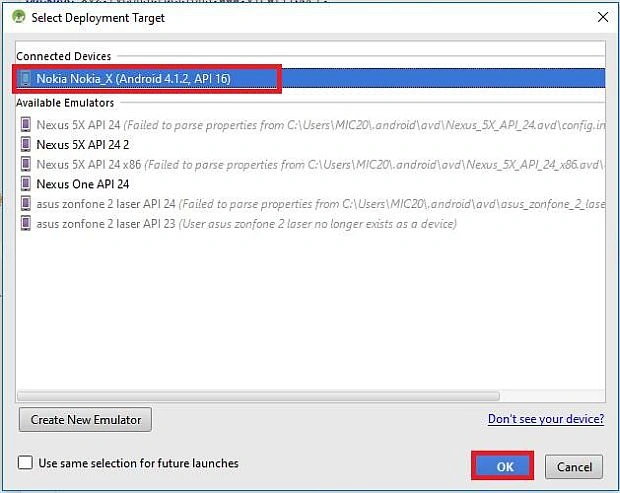


Now, you can see that button view page.
Join the conversation! Your thoughts help the community grow.