

Here are the steps:
Step 1: Firstly, we will create a simple Universal Windows Blank Project in Visual Studio 2015.
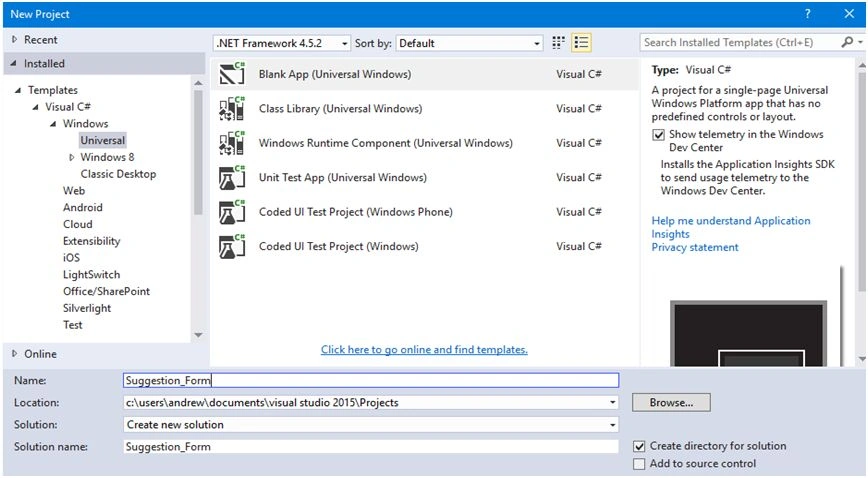
Step 2: In the Xaml editor define your rows by using the following lines of code.
Step 2: In the Xaml editor define your rows by using the following lines of code.
- <Grid.RowDefinitions>
- <RowDefinition Height="0.15*"></RowDefinition>
- <RowDefinition Height="0.85*"></RowDefinition>
- </Grid.RowDefinitions>
Step 3: Add border by using the following lines of code.
- <Border Background="Plum" Grid.Row="0">
- <TextBlock Text="Suggestions Form" TextAlignment="Center" HorizontalAlignment="Center" VerticalAlignment="Center" FontSize="30" Foreground="Salmon" FontWeight="ExtraBlack" />
- </Border>
- <StackPanel Grid.Row="1">
- <TextBox PlaceholderText="First Name" Margin="10"></TextBox>
- <TextBox PlaceholderText="Last Name" Margin="10"></TextBox>
- <TextBox PlaceholderText="Enter Email" Margin="10"></TextBox>
- <TextBox PlaceholderText="Suggestions and Feedback" Height="250" Margin="10"></TextBox>
- <Button Width="100" Height="60" HorizontalAlignment="Center" Name="submitbtn1" Click="submitbtn1_Click">
- <Button.Background>
- <ImageBrush Stretch="Fill" ImageSource="Assets/images.jpg" />
- </Button.Background>
- </Button>
- </StackPanel>
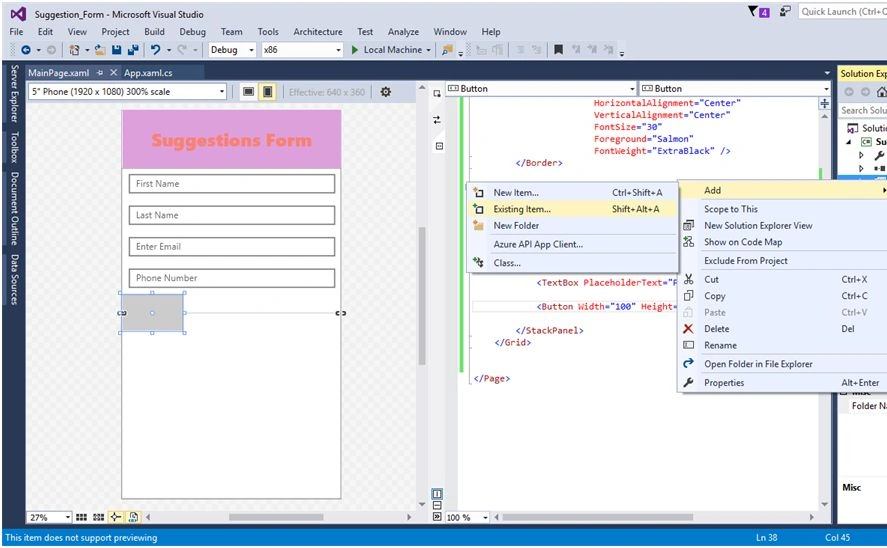
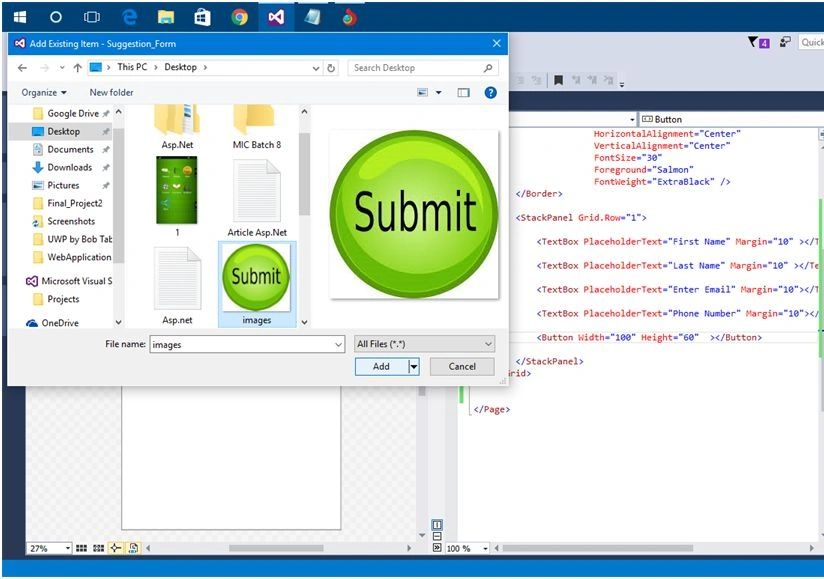
Step 5: You can add image on a button by going into the Assets folder, right click on it and click "Existing Item" and browse some image from your system and click OK.

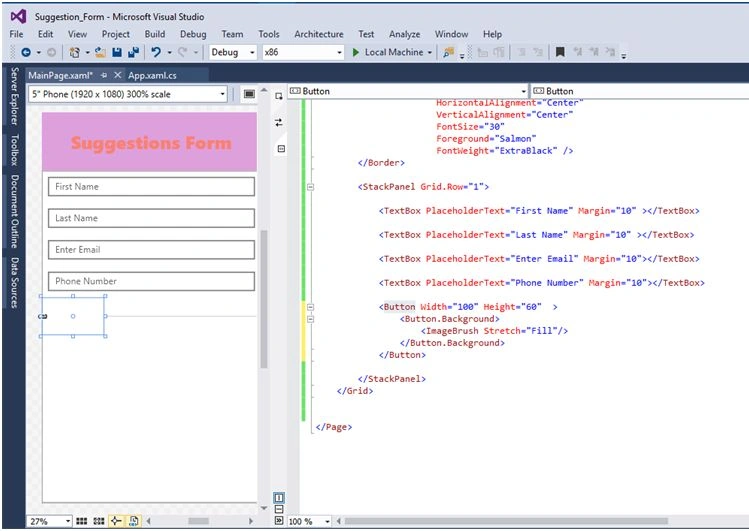
Now go to the property window of your button and click Tile brush, then select Image source.

Ammar ShaukatPosted Feb 1, 2016, 5:04 PM
Nice
sreenivasa kPosted Jan 29, 2016, 9:24 PM
good one
Santhakumar MunuswamyPosted Jan 29, 2016, 2:10 AM
Welcome
Santhakumar MunuswamyPosted Jan 29, 2016, 2:10 AM
Good Start