

Maps have become a vital part of our life. In our day to day life, everyone is using maps for different purposes. So, here we are going to learn how to create a Google Map using custom list in SharePoint Online. For this purpose, we are going to use an Office app, downloaded from Office Store.
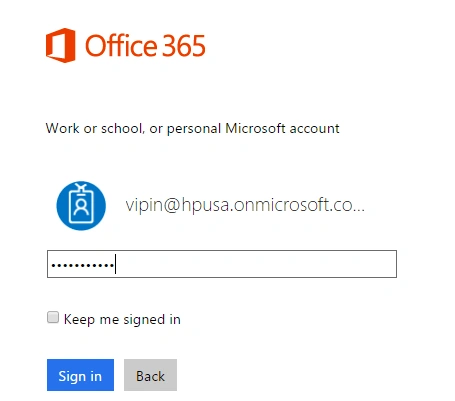
So, we follow the below scenario to create the Map. First of all, log into your SharePoint Online tenant, using your credentials.
After logging into your tenant, create a custom list to store the location related Information, like Location name, Latitude, Longitude etc.
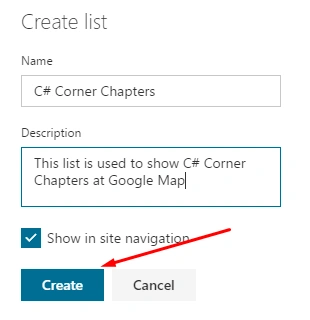
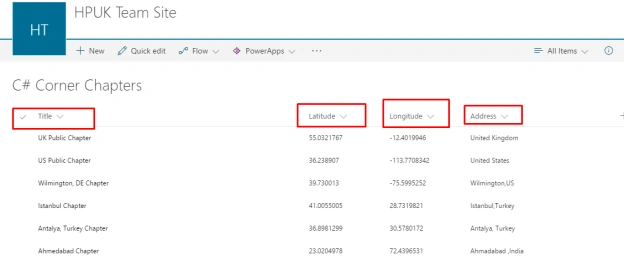
Create list columns and store data into list.
Note - Our column names depend on the Apptex documentation to create Google Map using Apptex.
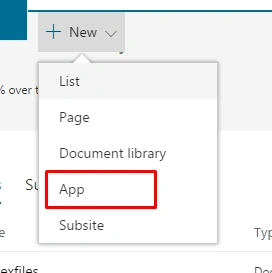
Now, go to the SharePoint Store to install the Apptex app from there.
Click on New --> App.
In the left side navigation, click on SharePoint Store that redirects you to the SharePoint Store where you can download different free and paid apps from the market. Search for Apptex in search navigation and you will find an app named Apptex Designer.
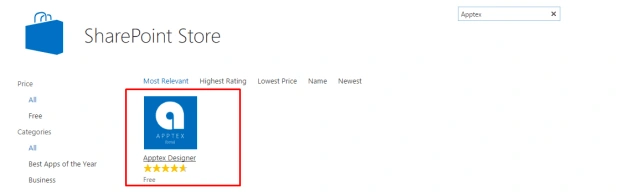
As we have already installed this app into our SharePoint tenant, we are not able to add it again but it is very simple to add the Apptex Designer into your SharePoint environment.
After some time, the Apptex icon gets shown under your site content, as shown below.

Apptex creates a default library named Apptexfiles to store the JavaScript and CSS files, required to create a Google Map.
Now, create a new web part page (CSharp Corner Chapters) and add your previously created C# Corner Chapters list as a list view webpart. It looks like below.
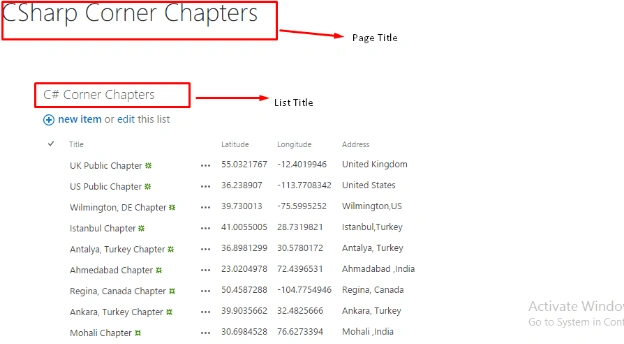
Now, the actual journey to create the Map starts here.
Open Apptex app that is installed in your SharePoint site.
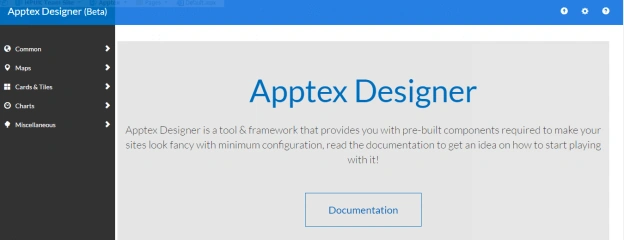
Image- Landing page of Apptex Designer app.
Note - Apptex provides a complete documentation on how to use Apptex Designer.
Click on Maps in the left pane. It expands like an accordion. Click on Custom Google Map.
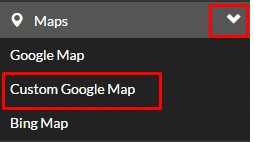
In Custom Google Map overview tab, it shows all the requirements for us to create the Map. One important point is that you should only have the appropriate column from your list (View), set at your page where you are going to show your Map.
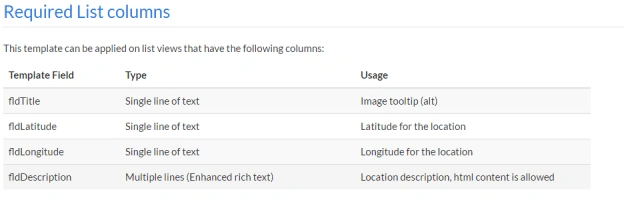
Now, click on "Apply" tab at the top, which opens a window to apply different settings. Here, it is important that you fill all the details carefully.
Target Page- The page on which you added your list to create a Map.
Target List View- Select the list in which you are going to apply the JS file to create Google Map.
Note - Actually, Apptex creates a JavaScript file for us that is used to apply onto the list and it creates a map for us.
Fields Mapping- Map the fields according to their title.
After selecting all the fields, click on "Apply" button at the end.
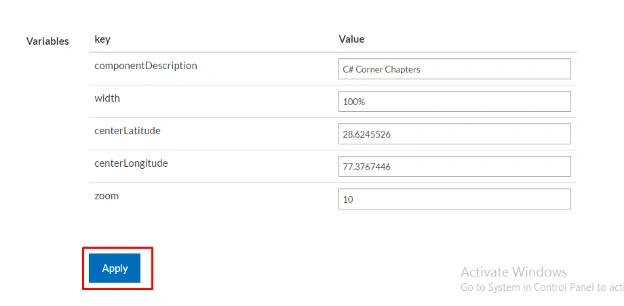
It creates a JS file for us. Copy the JS file address and paste it to the JS Link property of C# Corner Chapters list that we added on the "CSharp Corner Chapters" page.

Open "Charp Corner Chapters" page and edit it. While editing the Webpart properties of C# Corner Chapters list, you will find a JS Link Property under Miscellaneous option. Paste the copied JS file path in JS Link. Click "Apply" and then, OK.
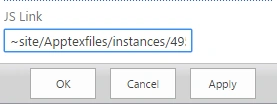
Stop editing the page. Oops!!!!!!!!
What happened to your page? It is showing some error and not displaying well.
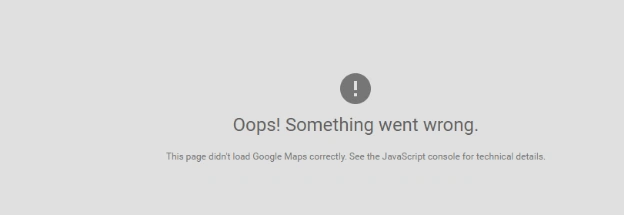
Do not worry at all. Press F12 to open the Developer tool and see what happened to your page. The Console shows an error stating it is the problem of Google Map Key.

Click on the error and it redirects to developers.google.com.

Click on API keys and client IDs.

Generate a key to use.
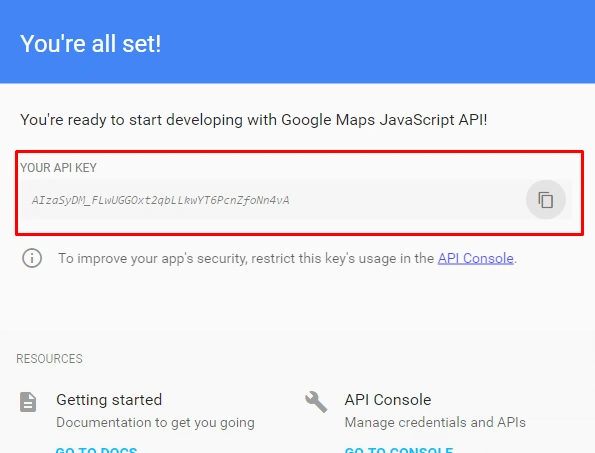
Image Google Map API Key
Copy the key and apply it to your JS file that you applied to JS Link property of C# Corner Chapters listView Webpart.
Find the path from JS Link for the JS file.
site/Apptexfiles/instances/4959a172-b212-47bf-abbe-f0df85316123.js
Go to the Site Contents and open Apptexfiles libray where our JavaScript file is stored. Download that file to your local drive and open in an editor like notepad++.
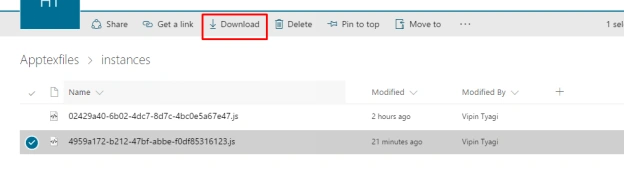
Apply the Google Map Key which we generated earlier to the downloaded JavaScript file at "maps.googleapis.com js source".

Image- JS file to update Google Map key
Save the file and upload it to replace the existing file in the library from where we have downloaded it.
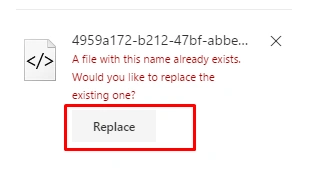
Now, everything is done.
Go back to your page and hit "Refresh". Your page looks like the below image. Zoom in and Zoom Out to see all the locations onto the Map.
Sometimes, it takes time to reflect the Map on our page but don’t worry, it will definitely work. If it is not working, do two things. Hit ctrl+F5 or replace the new key in the JS file that we modified.
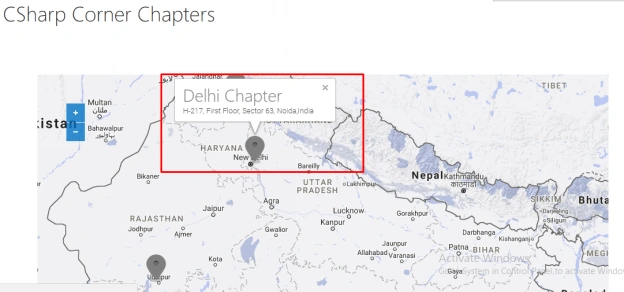
Image-Custom Google Map
Summary
So, this is how we can create a Google Map with the help of third party app Apptex. Hope, you enjoyed the article, and are ready to give your valuable feedback.
Tejashree BhoirPosted Jan 9, 2019, 3:31 AM
I have done this following everything runned smooth just wanted to ask why on my maps it is coming in written For Developer use only.