

This article shows how to create paging in a LightSwitch Application (Visual C#) in Visual Studio 2012.
The following is the procedure to create paging in LightSwitch 2012.
Step 1
Open the Solution Explorer.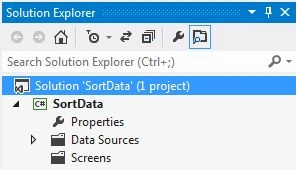
Step 2
In the Solution Explorer, right-click on the server and choose "Add Table".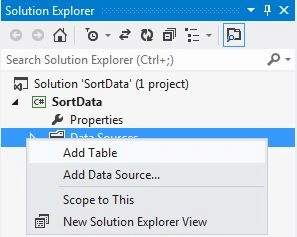
Step 3
The table appears.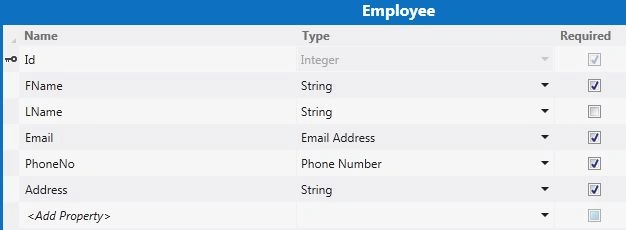
Step 4
In the Solution Explorer, right-click on the Screens and choose "Add Screen".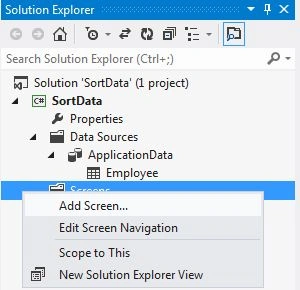
Step 5
The Add New Screen dialog box appears. Select the "Editable Grid Screen" from the Screen Template, under screen information, choose "Employee" under screen data and provide some name to the screen and click the "OK" button.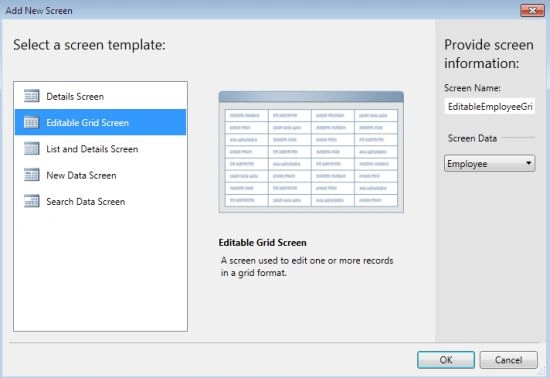
Step 6
The Screen Designer appears.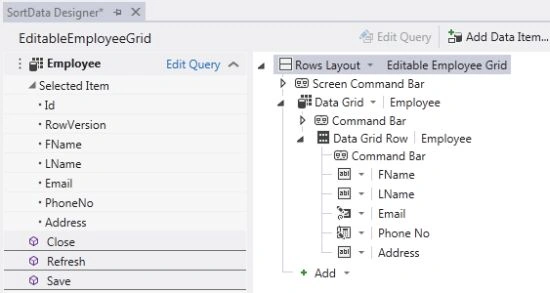
Step 7
Press F5 once again to run the application. Insert some record in the following fields. By default paging option is present on the output screen.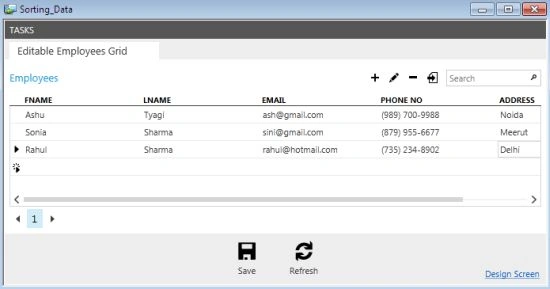
Step 8
Now stop debugging and go to the screen designer and click on the Employees Screen on the left side of the screen designer.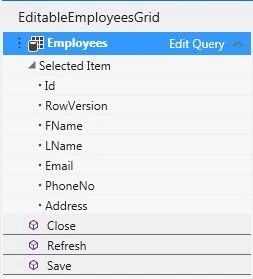
Go to the property window, there is a "Supporting Page" Checkbox which is checked by default and there is also a TextBox that shows "Number of items to display per page".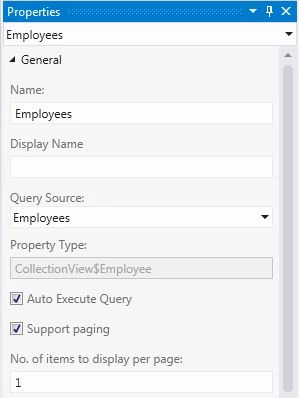
Step 9
To enable paging, mark the checkbox as checked and enter the number in the TextBox.
Press F5 to run the application.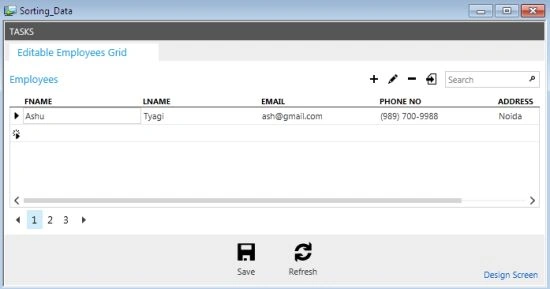
Step 10
To disable paging uncheck the checkbox.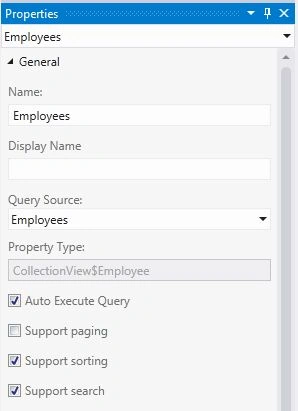
Once again press F5 to run the application.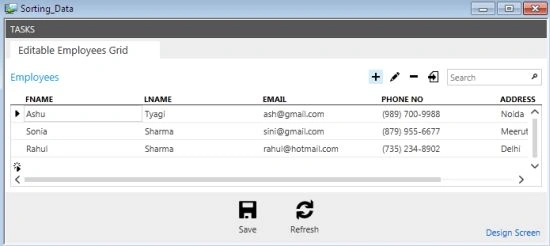
Join the conversation! Your thoughts help the community grow.