

Here are the steps,
Open the URL using your trial account username and password.
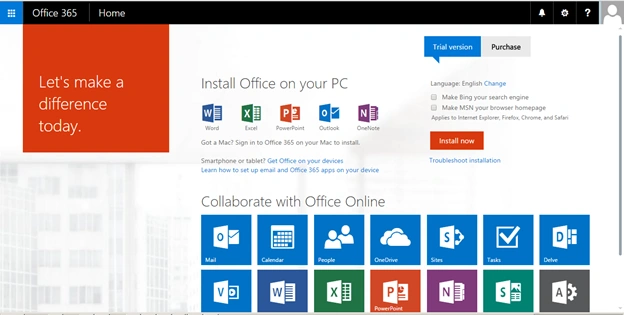
Click menu icon and click admin category.
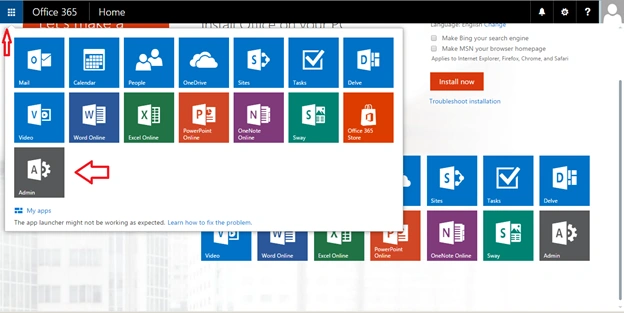
The following admin dashboard page will open.
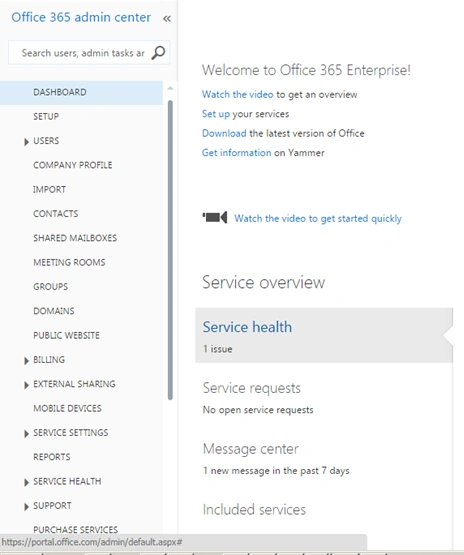
Click GROUPS in left navigation.
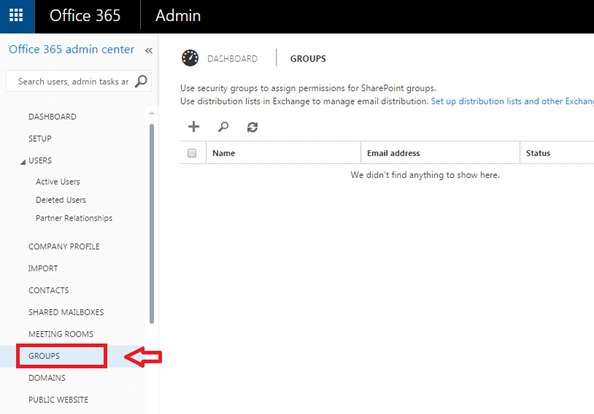
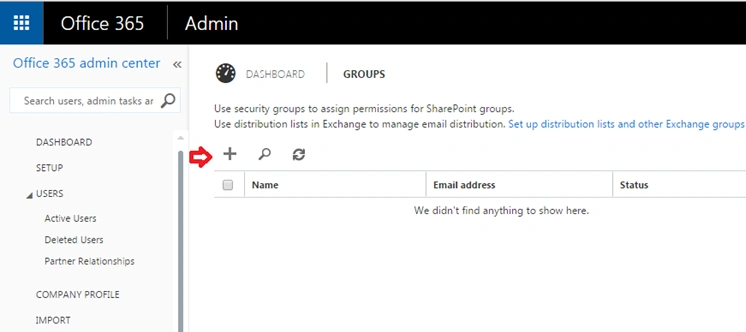
The following screen will appear. Click add(+) button.
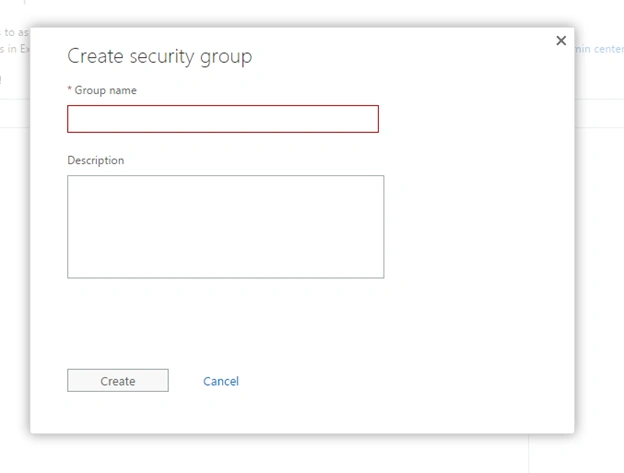
The following popup will show.
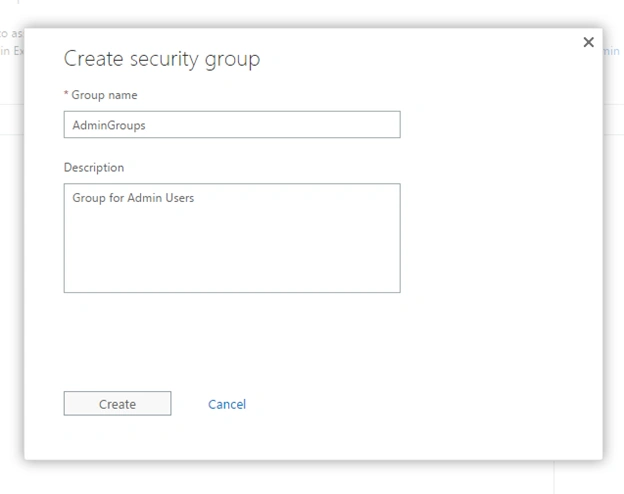
Enter the Group name and Description and click Create button.
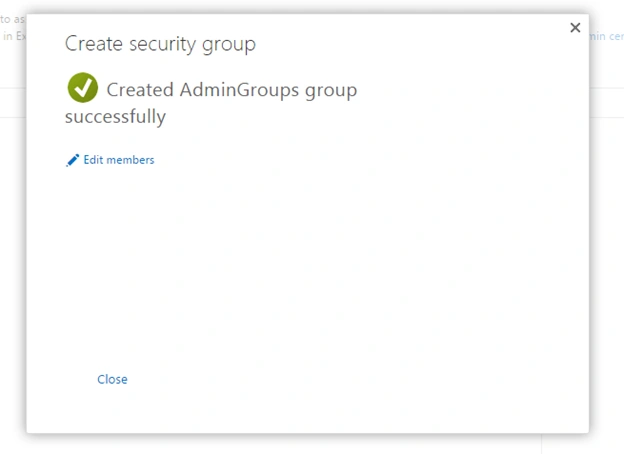
Successfully created a user group.
Add members to the group
Click Edit members and the following screen will appear.
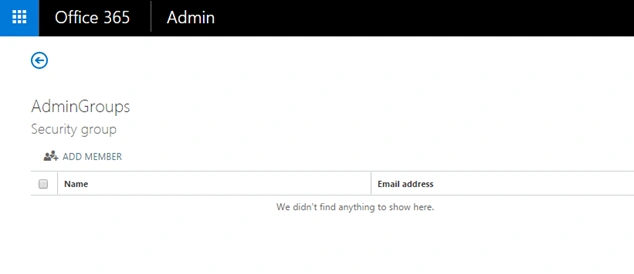
Click Add members. The following popup will show.
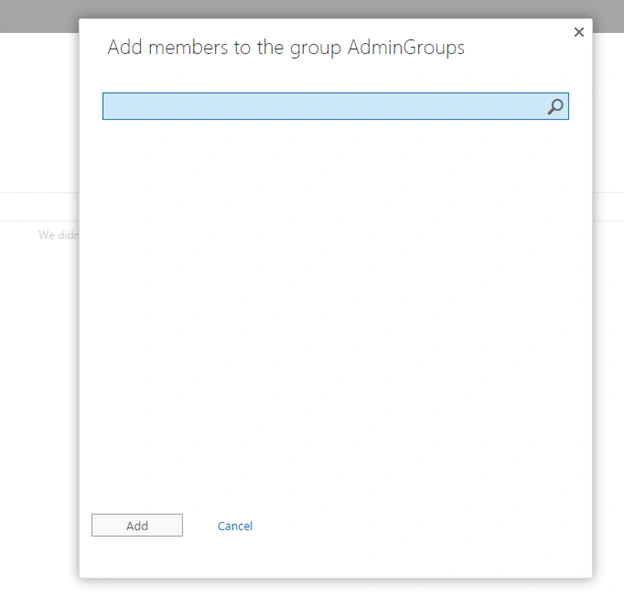
Search users from search box.
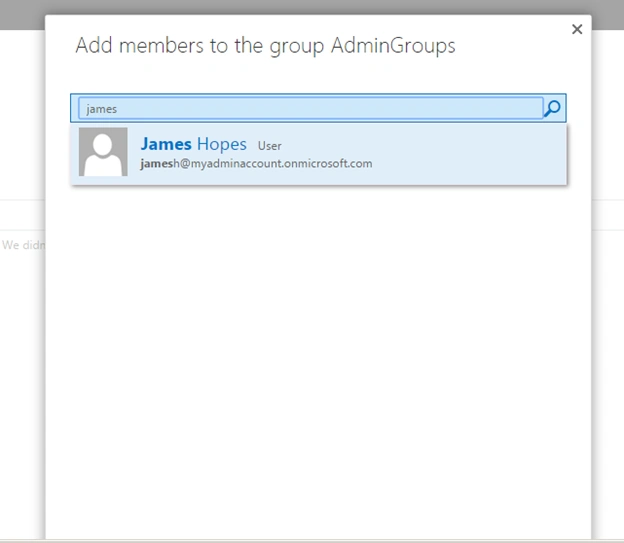
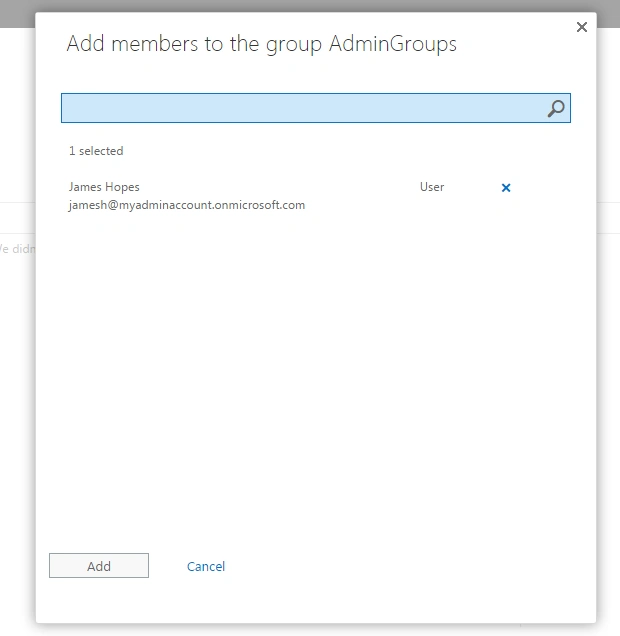
Click Add button.
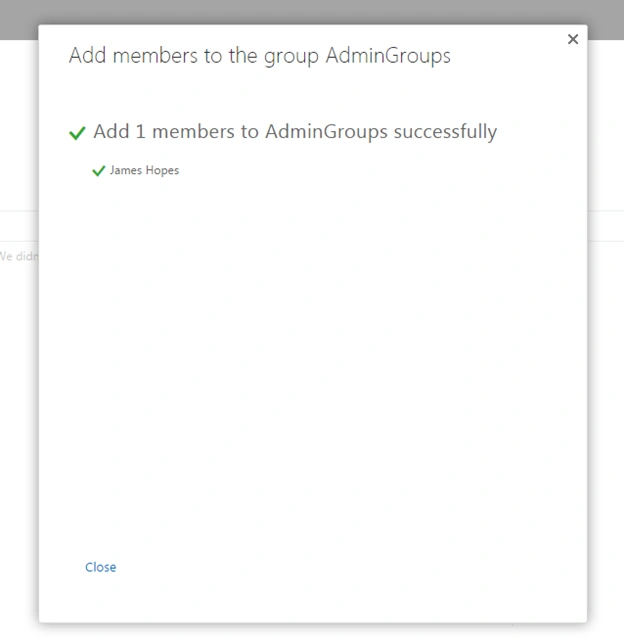
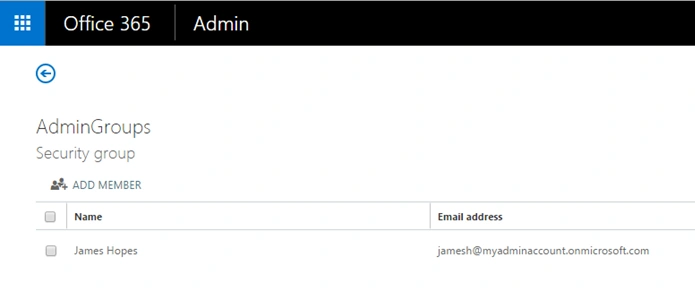
The user successfully added in User group.
Summary
In this article we saw how to add new users group in Microsoft SharePoint Office 365 Central Administration.
Click menu icon and click admin category.
The following admin dashboard page will open.
Click GROUPS in left navigation.
The following screen will appear. Click add(+) button.
The following popup will show.
Enter the Group name and Description and click Create button.
Successfully created a user group.
Add members to the group
Click Edit members and the following screen will appear.
Click Add members. The following popup will show.
Search users from search box.
Click Add button.
The user successfully added in User group.
Summary
In this article we saw how to add new users group in Microsoft SharePoint Office 365 Central Administration.
Jacob RobinsonPosted Dec 10, 2015, 12:56 AM
Thanks All..
Sibeesh VenuPosted Dec 10, 2015, 12:31 AM
Nice Share
Vipin TyagiPosted Dec 10, 2015, 12:25 AM
This is good article but you have to do some creative work with groups
Santhakumar MunuswamyPosted Dec 9, 2015, 2:03 PM
Thanks for nice share. but if you add more content it will be better article
Rupali ShindePosted Dec 9, 2015, 6:55 AM
nice share
Vinodh NarayananPosted Dec 9, 2015, 6:33 AM
good one