

Introduction
Creating web roles and assigning them to contacts in Power Pages (formerly known as Power Apps portals) is a crucial step in managing access and permissions for your web application. Web roles allow you to control what users can see and do within your Power Pages website. In this article, we'll walk through the steps to create web roles and assign them to contacts, ensuring that your site is secure and that users have the appropriate access levels.
Step 1. Access Power Pages Management
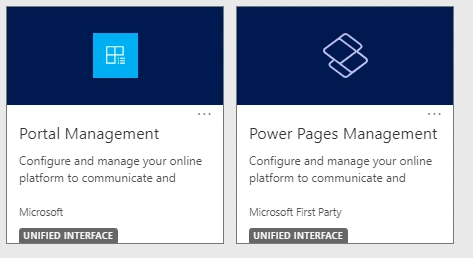
First, you need to navigate to the Power Pages Management. You can do this by logging into your Environment and selecting the Power Pages Management Model Driven Apps. Make sure you are selecting Power Pages Management.
Step 2. Create a Web Role
- Navigate to Web Roles: In the Power Pages Management, find the "Security" section in the sidebar, and click on "Web Roles". This will bring up a list of existing web roles if any.
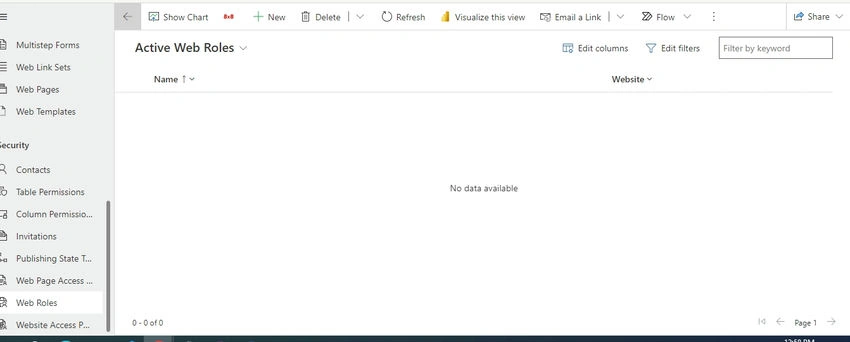
- New Web Role: Click on the "New" button to create a new web role. You will be prompted to enter details for the new role.
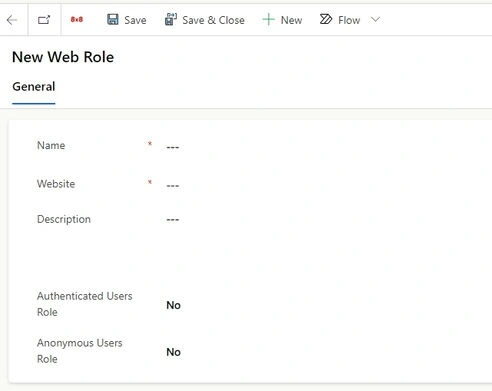
- Configure Web Role: Give your web role a meaningful name that reflects the permissions or the user group it represents (e.g., "Member", "Editor", "Administrator"). In the Website, you need to select the site for which you are creating this web role. You may also fill in the description to provide more details about the role’s purpose.
- Save Web Role: Save the Web Roles and Configure for Permission.
- Set Permissions: After saving the web role, you need to define what this role can access and do within your Power Pages site. This involves setting permissions for webpages, entities, and forms. You can grant 'read', 'write', 'create', 'delete', or 'append' permissions depending on the requirements.
Step 3. Assign Web Role to a Contact
After creating a web role and configuring permission, the next step is to assign it to a contact to grant them the defined access levels.
- Navigate to Contacts: In the Power Pages Management, go to the "Contacts" section under "Security". This will display a list of contacts that have registered on your Power Pages site.
- Select a Contact: Find and select the contact you wish to assign the web role to. You can use the search functionality if you have a large list of contacts.
- Assign Web Role: With the contact's details open, look for the "Web Roles" section under the General Tab and click on "Add Existing Web Role". A list of available web roles will appear. Select the web role you created earlier and confirm the assignment.
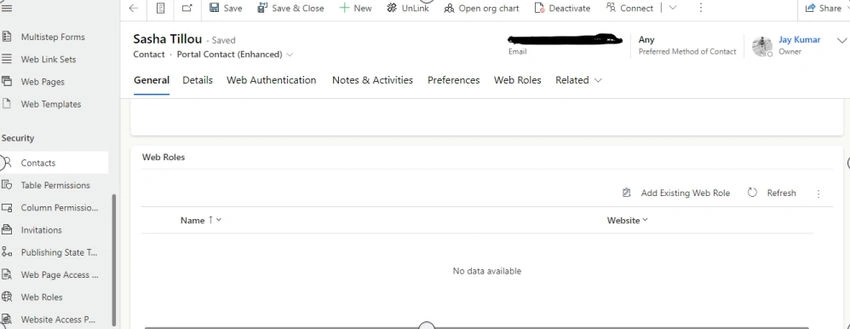
- Save Changes: Make sure to save your changes to ensure that the web role assignment is applied to the contact.
Step 4. Test the Configuration
After assigning web roles to contacts, it's important to sync the site and test the configuration to ensure everything works as expected. Log in as a user associated with a specific web role and verify that the permissions and access levels are correctly applied.
Join the conversation! Your thoughts help the community grow.