

In this article, you will learn the following things.
- What is a zip file?
- What is a zip utility?
- How to create zip files pragmatically (Step by step implementation)
Using Dot Net Inbuilt (System.IO.Compression)
What is a Zip File?
Often, the files with zip extension are compressed files. We can create a zip file using various programs (UI) or via the command utility; such as -
Program UIs
- WinZip
- WinRar
- 7ZIP
Command Line Utilities
- PkZip
- Rar
- Arj
There are various ZIP utilities which compress our one or more files into a single ZIP file.

(Logo copied from www.winzip.com for display and educational purpose)
As you can see in the above WinZip logo icon, a compressing machine is compressing the files and folders. Usually, the ratio of text, doc, and XLS files compression is way higher than the images and video files.
ZIP Utility
In old days, developers used third-party utilities or drivers to create a zip file programmatically, such as -
- DotNetZip - Free Utility
- SharpZipLib - Free Utility
- Component Pro - Paid
But then, Microsoft introduced a new namespace called System.IO.Compression in .NET 4.5 and above frameworks. Using this namespace, we can create a zip file very easily.
This namespace has the following utility and commands.
ZipFile a is static class which has the following methods,
- ZipFile.CreateFromDirectory - To create a zip file from a given directory/folder path.
- ZipFile.ExtractToDirectory - To extract a zip file into the selected directory/folder path.
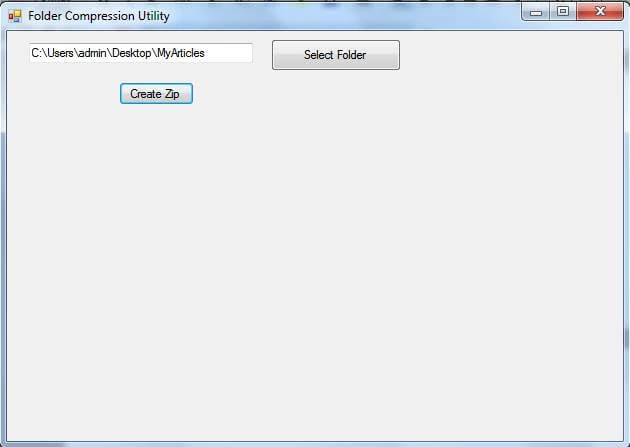
In this article, we are going to create a zip file by using Windows.Forms application.
Let's start step by step.
STEP 1
Create a Windows.Forms application called “ZipWinFormApp”.
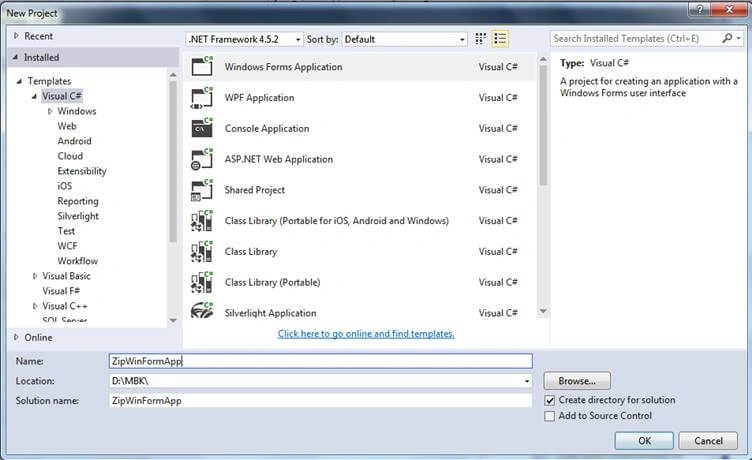
STEP 2
Double-click on Form1.CS file in Solution Explorer. You can switch ON the Solution Explorer by pressing "CTRL + ALT + L" or "ALT + V + P".

Now, again, double-click on the canvas of Form1.cs file. You can see Form1_Load method gets opened by-default. Let's start writing the code inside this method.
- private void Form1_Load(object sender, EventArgs e) {
- //this stand for current form
- //Text property to assign title(name) which display while we execute the program.
- this.Text = "Folder Compression Utility";
- }
Now, right-click on References folder and select Assemblies >> Framework. Select the following two libraries.
- System.IO.Compression
- System.IO.Compression.FileSystem
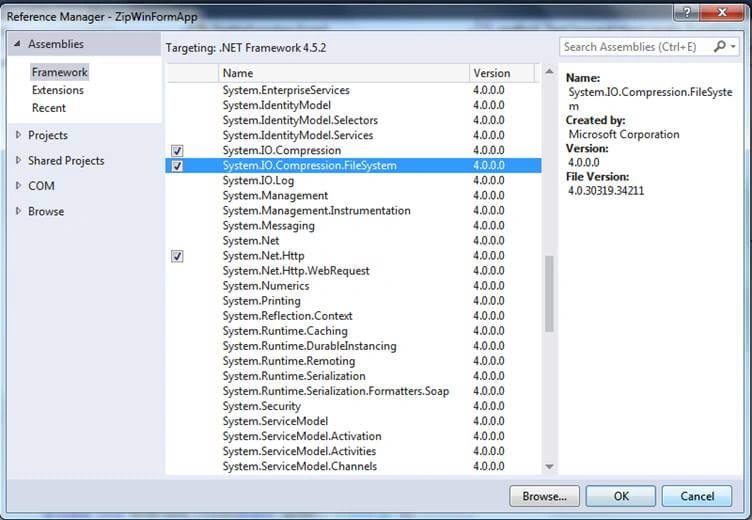
And add the followings namespace to Form1.cs on the top.
- using System.IO;
- using System.IO.Compression;
Go through the following links of MSDN pages to learn more.
STEP 3
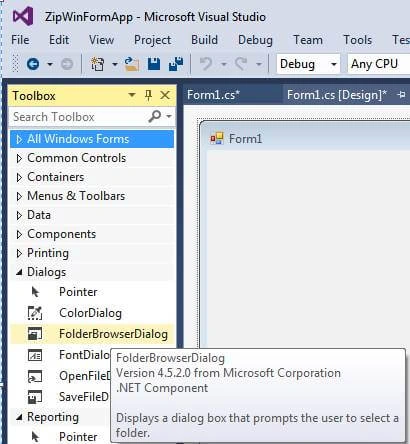
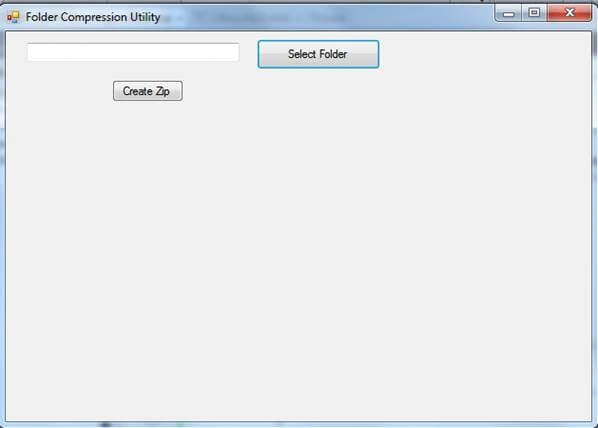
Now, switch again to Form1.cs file and drag and drop the following items on Form1.cs canvas.
| SR.NO. | CONTROL NAME | DESCRIPTION |
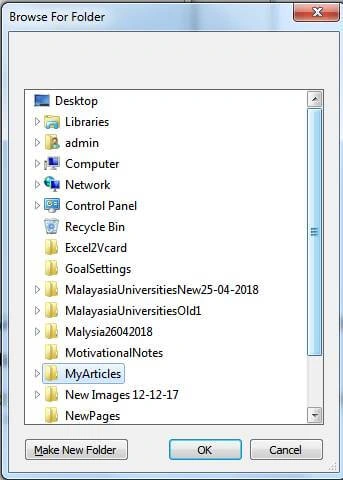
| 1 | FolderBrowserDialog | This controls how to browse and select the folder. |
| 2 | TextBox | This controls where a user can write the path or selected folder path with the help of the browser. The dialog will be auto-posted on this text box. |
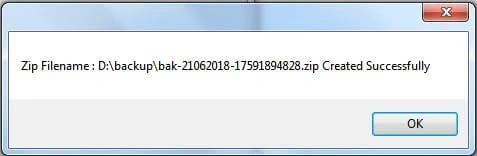
| 3 | Button | Two buttons are required: 1. The first one is to execute/fire the folder browse and selection dialog box. 2. The second button is used to start and perform the zip process. |

Ali RazaPosted Jul 19, 2020, 8:27 AM
Hi! Can you please also upload the decompression algorithm? Please
Er Harry SinghPosted Aug 6, 2019, 6:22 AM
I have 3 folder inside the harry folder and each folder having 3-4 pdf but all folder are cantaining 1 pdf after converting harry folder to zipso please resolve it c:/harry/folder1/pdf1,pdf2,pdf3 c:/harry/folder2/pdf1,pdf2,pdf3 c:/harry/folder2/pdf1,pdf2,pdf3