
Here you will see how to create a search screen in a LightSwitch application using Visual Studio 2012.
The following is the procedure for creating a search screen.
As I have described in my previous article (http://www.c-sharpcorner.com/uploadfile/18ddf7/adding-more-records-at-run-time-in-lightswitch-application-u/).
Step 1
Open the Table (EmpTable) from the Solution Explorer.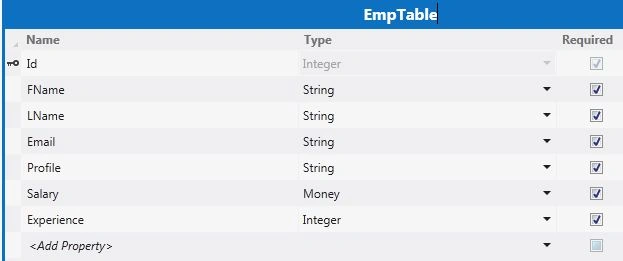
Step 2
In the Solution Explorer, right-click on the Screens and choose "Add Screen".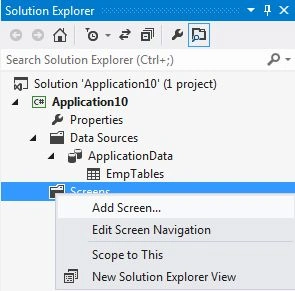
Or we can also click on the Screen Button as shown.
Step 3
Since we are going to create a Search Screen, choose the "Search Data Screen" template. Under Screen Information we provide the Screen Name and select any Screen Data and then click OK.
Step 4
This will generate Search Screen Application Designer.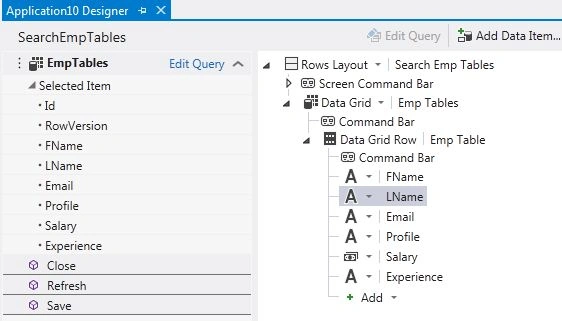
Step 5
Press F5 to run the application.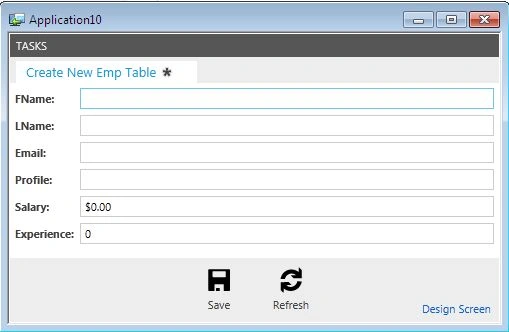
Step 6
Click on the Tasks option in the menu and choose the Search Emp Tables.
Step 7
This will open the "Search Emp Tables" screen as a new Tab. In the same screen you will see a "Save" and "Refresh" button, a "Search Panel" and a button called "Export to Excel".
Step 8
Click inside the Search TextBox and type some Query and after that click on the Search button.
Step 9
On the basis of the search term the data will be filtered out as shown.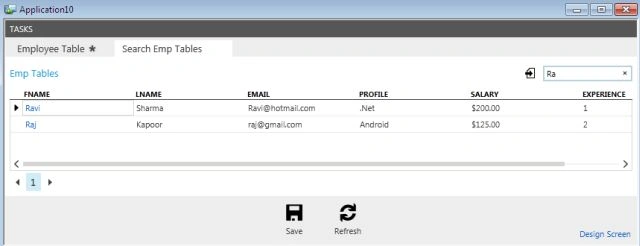

Join the conversation! Your thoughts help the community grow.