

In this article we will spend some time to learn how to create a simple User Control in C# and add it to the Toolbox.
Creating a New User Control
The following is the procedure for creating a new User Control.
1. Create a new Windows Forms Control Library project from the list of templates available and name it "TimerTickControl".

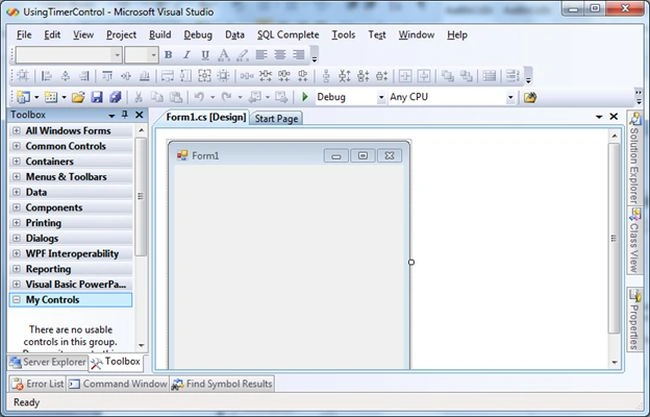
2. The following screen will appear for designing our control:
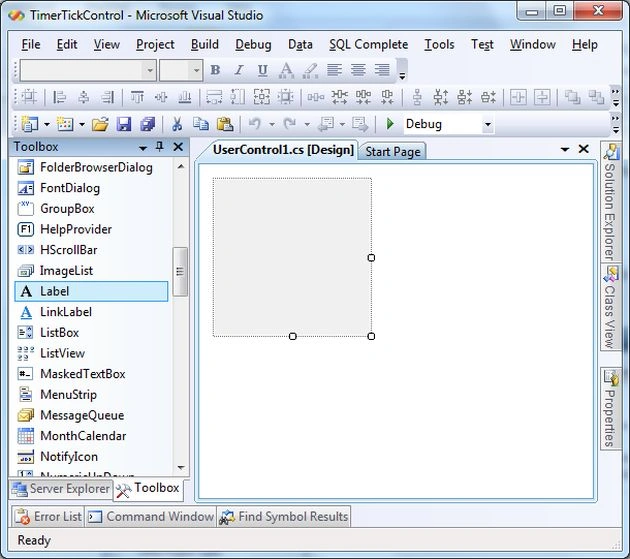
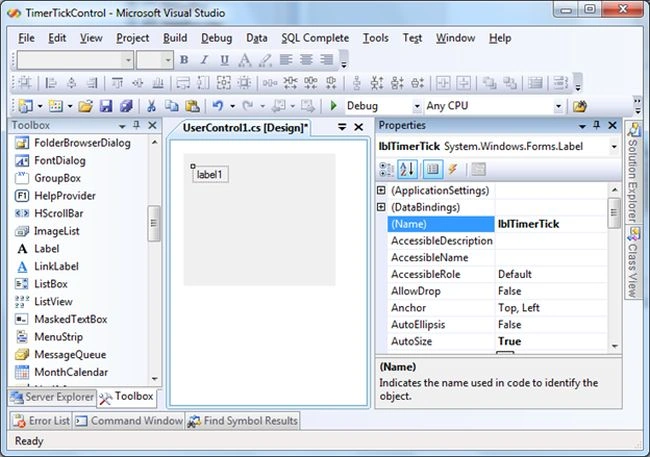
3. Add a label control to your form and name it "lblTimerTick" and clear its Text Property.
4. Now to add an Icon to the control we will add an image to the project by right-clicking the project then select "Add" -> "Existing Item" then select the image then select "Set it Build Action" -> "Embedded Resource" from the Properties.
5. Rename "UserControl1.cs" to "TimerTick.cs".
6. To add an Icon to the control use the ToolboxBitmap attribute to provide your Control a visual appearance.
namespace TimerTickControl
{
    [ToolboxBitmap(@"D:\CSharp Project Examples\TimerTickControl\TimerTickControl\LiveTimer.bmp")]
    public partial class TimerTick : UserControl
    {
        public TimerTick()
        {
            InitializeComponent();
        }
    }
}
7. Add a Timer Component to your project and set its Enabled Property to "True" and the Interval to "1000".
8. In the Timer_Tick Event add the following code:
private void timer1_Tick(object sender, EventArgs e)
{
    lblTimerTick.Text = DateTime.Now.ToString();
}
The following is the complete code:

Michael FenemorePosted Feb 11, 2020, 7:19 PM
Thanks. I now have my own user controls in my Toolbox.
Surya JeyPosted Jul 9, 2019, 5:05 AM
Very helpful Article.. Thank you
Mohan KumarPosted Jan 31, 2019, 12:34 AM
If adding label control in control library, label text property not available in inherited application. can you please help on it.