

This article describes how to create a wizard application in LightSwitch using Visual Studio 2012.
The following procedure shows how to create a Wizard Application in LightSwitch 2012.
Step 1
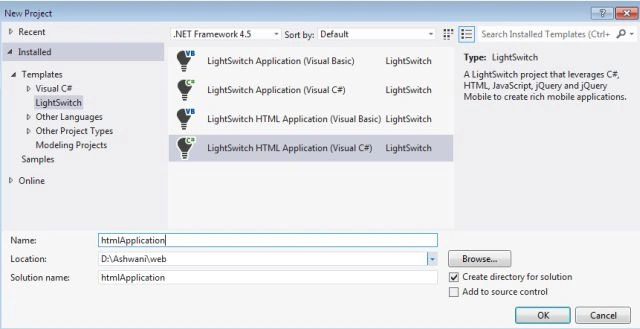
- Open the Visual Studio 2012.
- Go to "File" => "New" => "Project..."
- In "New Project" => "Installed" => "Template"
- In "Template" => "LightSwitch"
- Select "LightSwitch Application (Visual C#)".
- Enter the Name and choose the location.
- Click "OK".
Step 2
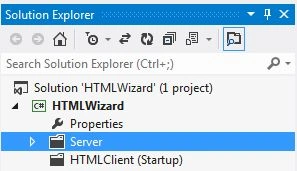
The Solution Explorer appears.
Step 3
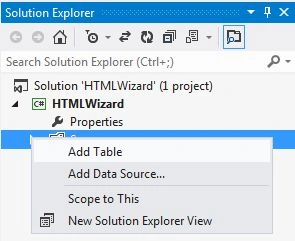
In the Solution Explorer, right-click on the Server and choose "Add Table".
Step 4
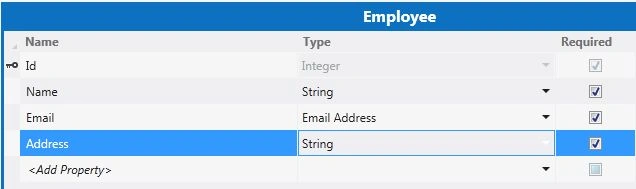
The Table appears.
Step 5
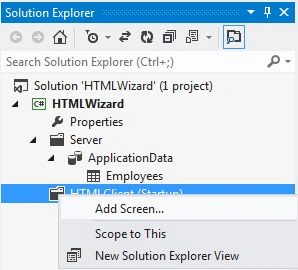
In the Solution Explorer right-click on the "HTMLClient Screen" and choose "Add screen".
Step 6
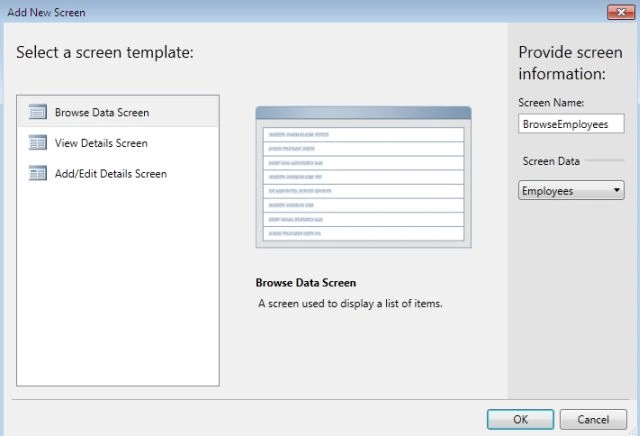
The Add New Screen dialog box appears on the screen. Add a Browse Screen to display the list of Employees.
Step 7
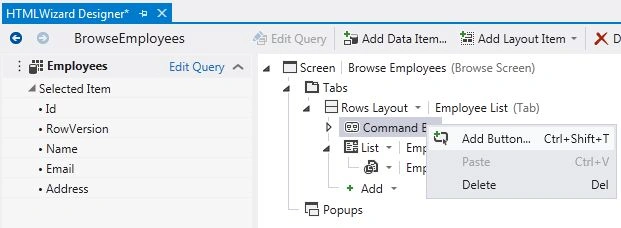
In the Screen Designer, right-click on the Command Bar and choose "Add Button".
Step 8
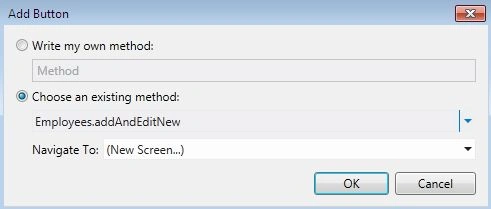
The Add button dialog box appear on the screen. In that "Choose an existing method" option, select the "Employees.addAndEditNew" method and navigate to "(New Screen)". This tells the system that this button will add a new screen. Click OK.
Step 9
It will create an Add/Edit Details Screen. We can provide the name to the Screen and click OK.

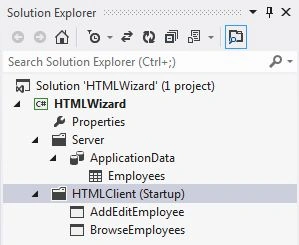
Now the Solution Explorer appear in such manner.
Step 10
In the Add Edit Employee Screen designer right-click on the Tab option and choose "Add Tab".
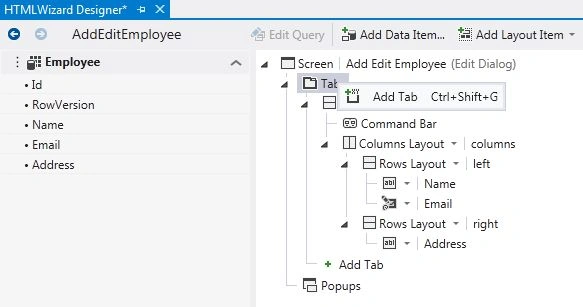
By default one tab is present so we need to add two new tabs by right-clicking on the Tab option.

Step 11
Select the First Tab and in the property change the name to "Part 1".

Similarly, select the Second Tab and rename it to Part 2.

And in the same manner rename the Third Tab to Part 3.

Step 12
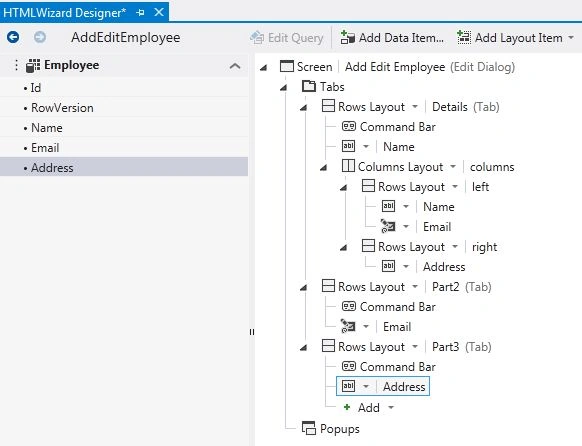
Drag the "Name" option under the First Tab. Similarly drag the "Email" option under the Second Tab and "Address" under the Third Tab.
Step 13
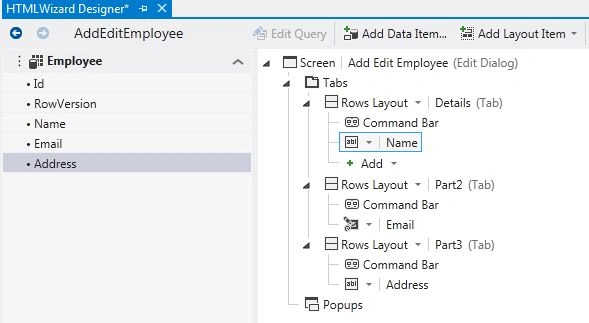
Since we do not need Column Layout, we can remove it.
Step 14
Press F5 to run the application. We will see three tabs on the screen:

Step 15
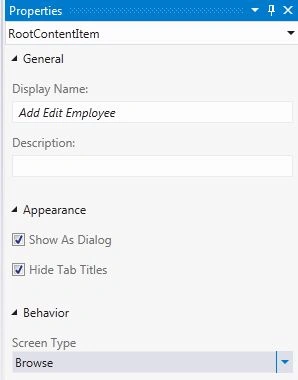
In the Add Edit Employee Screen Designer, select the Screen root node. Go to the property window and mark the "Hide Tab Titles" as checked in order to hide the title of each Tab.
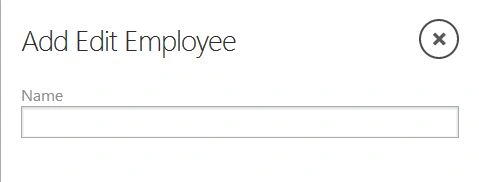
Also, select the Screen Type as "Browse" sincwe that will remove the Save button from the dialog box, in other words the close button is only available.
Step 16
Once again press F5 to run the application.
Join the conversation! Your thoughts help the community grow.