

In my previous article Creating Provider-Hosted App in Office 365 and Azure Using VS 2013: Part 1 you saw how to perform the following procedure:
- Sign up for an Office 365 Developer Site.
- Sign up for an Azure trial subscription.
- Set up an App Catalog in Office 365.
- Create a Provider-Hosted App using Visual Studio 2013.
In this article you will perform the following procedure:
- Publish the web to Microsoft Azure Websites.
- Register the App in Office 365.
- Configure the app settings for Azure Website.
Publish the web to Microsoft Azure Websites
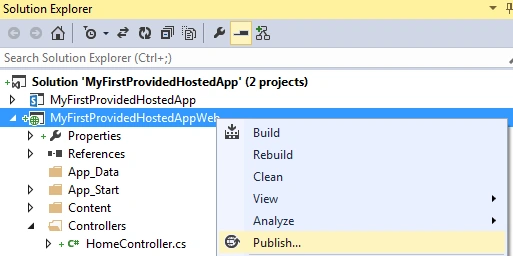
- In the Solution Explorer, right-click on MyFirstProvidedHostedApp and then click on Publish.
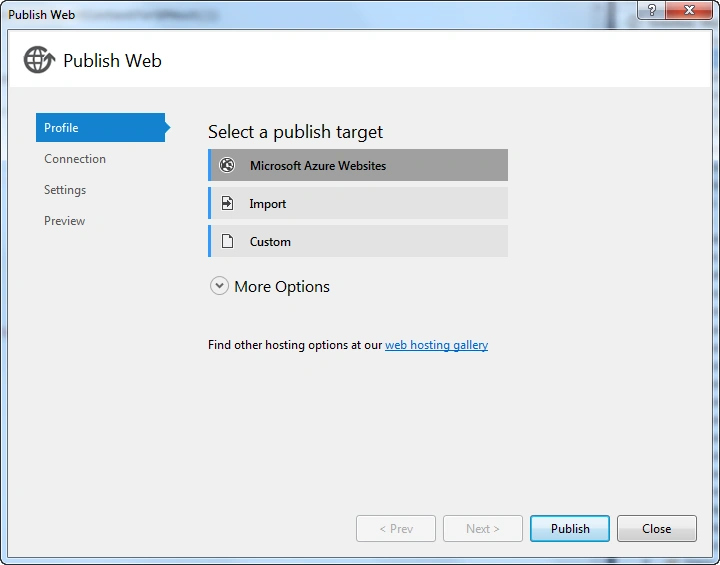
- Select the publish target as Microsoft Azure Websites.
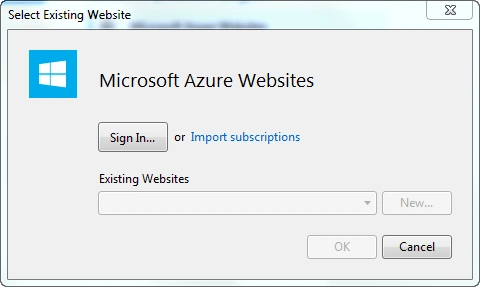
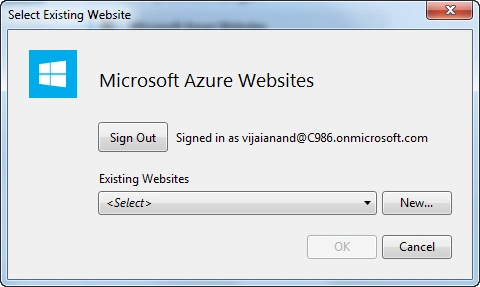
- In the Select Existing Website wizard, click on the Sign In button.
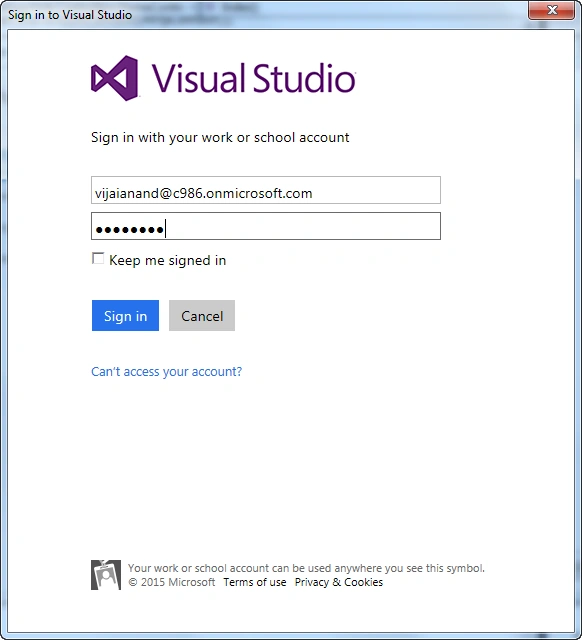
- Enter the email address of the Azure account.
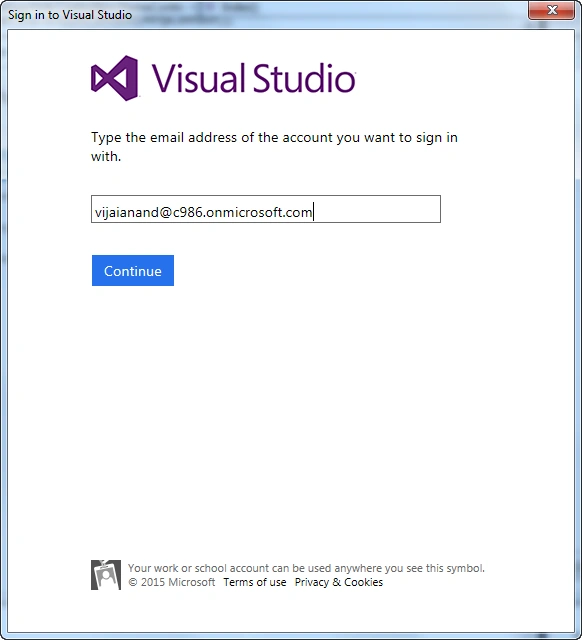
- Click on the Continue button.
- Enter the Azure credentials and then click on the Sign in button.
- Once you have signed in, click on the New button to create a new website in Azure.
- Enter the Site Name, select the Region and then click on the Create button.
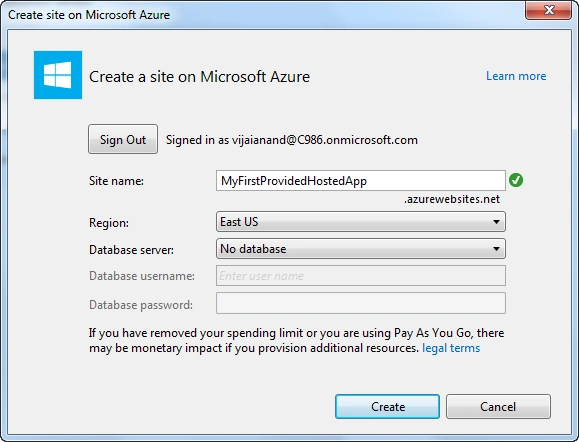
- Create a new website in Azure.
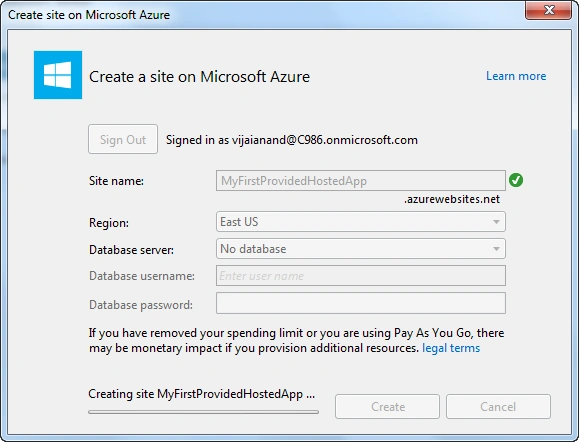
- In the Publish web wizard, click on the Publish button.
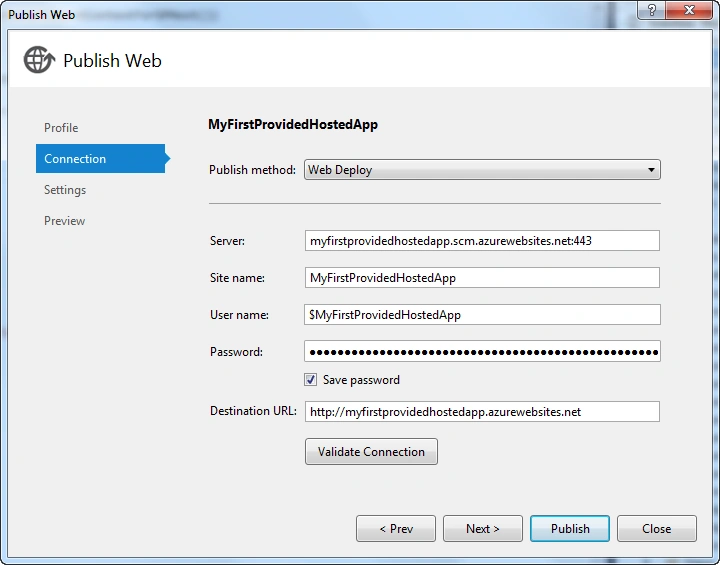
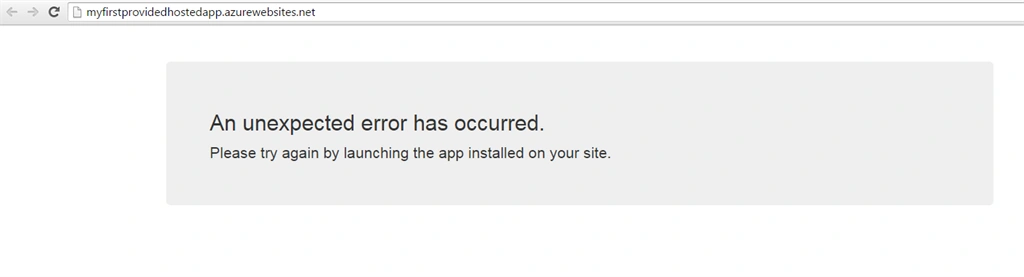
- The site is opened in a new tab and you will be getting an error message as shown below. This is because we have not yet configured the app settings, that will be done in a later section. Save the site URL (http://myfirstprovidedhostedapp.azurewebsites.net/) separately for later use that will be used when configuring the app.
Register the app in Office 365
- Log into the O365 developer site as an administrator (Example: https://c986.sharepoint.com/).
- From the developer site, navigate to /_layouts/15/appregnew.aspx (Example: https://c986.sharepoint.com/_layouts/15/appregnew.aspx).
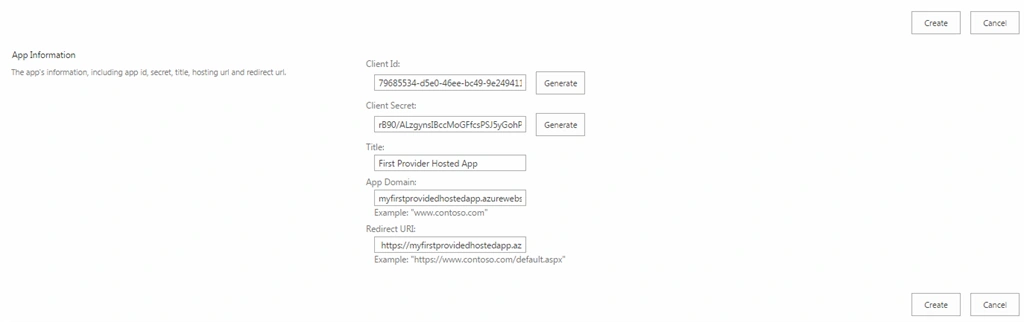
- Click Generate next to the Client ID.
- Click Generate next to the Client Secret.
- Enter First Provider Hosted App as the Title.
- Enter the App Domain for the Azure web site you created earlier (for example: myfirstprovidedhostedapp.azurewebsites.net).
- Enter the Redirect URI as the reference for the page (for example: https://myfirstprovidedhostedapp.azurewebsites.net/). Make sure you add the reference URL with the https protocl.
- Click on the Create button.
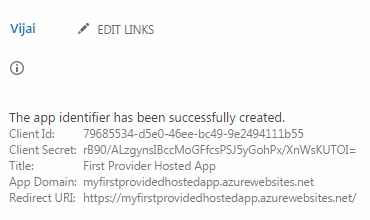
- The App identifier is created successfully as shown below. Save the Client ID and Client Secret separately for later use.
Configure the app settings for Azure Website
- Log into the Windows Azure portal as an administrator.
- Click on Websites in the left navigation. You could be able to see the website that we have deployed previously.
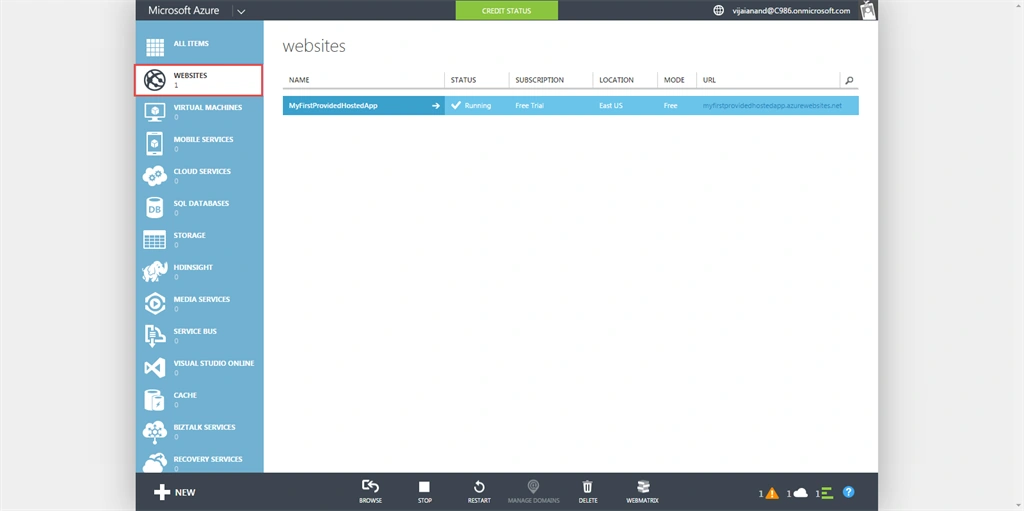
- Click on the website.
- Click on the Configure tab.
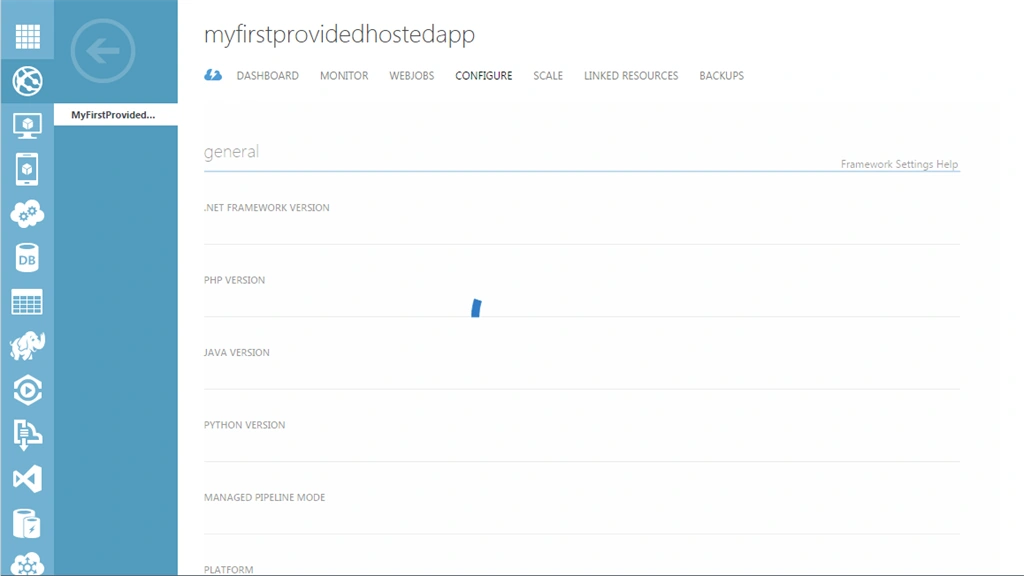
- Go to the app settings section and create the following entries. (Copy the Client Id and Client Secret that we have generated in Office 365 previously).
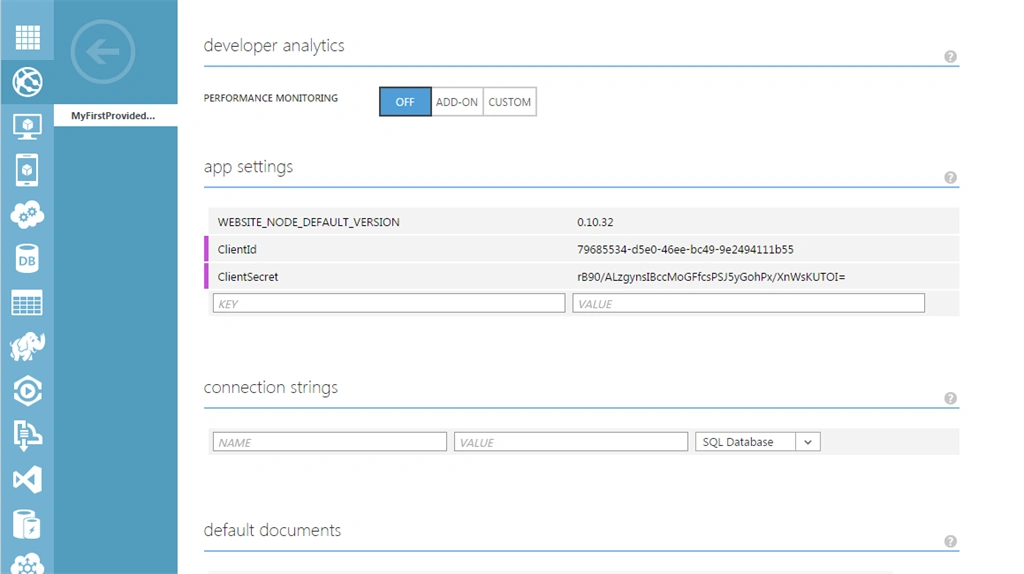
- Save the changes.
In the next article you will see how to publish the app and add the app to the Office 365 developer site.
althaf shaikPosted Jan 4, 2016, 6:33 AM
please send the url for the next article (part 3)
Sibeesh VenuPosted Jun 13, 2015, 1:49 PM
Good one
Gowtham RajamanickamPosted Mar 23, 2015, 11:09 PM
Great....