
Here we will see about how to establish relationship among multiple tables using LightSwitch in Visual Studio 2012.
Steps for showing relationship among multiple table in LightSwitch 2012
Step 1
Open the Solution Explorer.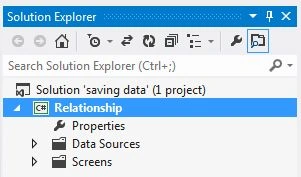
Step 2
In the Solution Explorer, right click on the data source and choose Add Table option.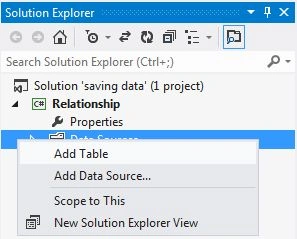
Step 3
The Table appears. In this way we are going to create three tables (Customer, Item and CustomerItemMap).
Customer Table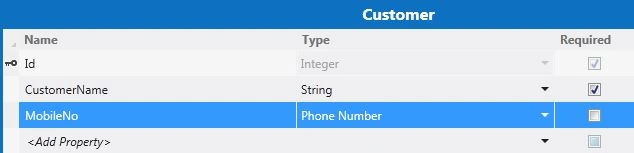
Item Table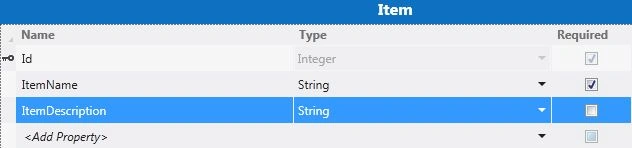
CustomerItemMap Table doesnot not contain any data.It means the table is empty
Step 4
Under the Item Table, select the ItemDescription from the Table and go to the property window.
In the property window, clear the Maximum Length value.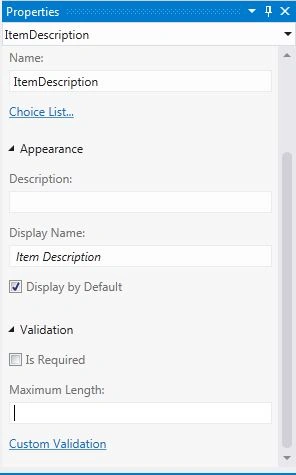
Step 5
Now we need to create the relationship. In order to create the relationship first select the CustomerItemMap table and click on the relationship button as shown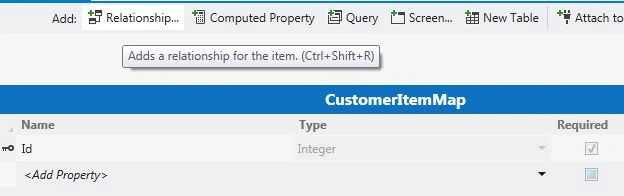
Step 6
Add New Relationship window will appear.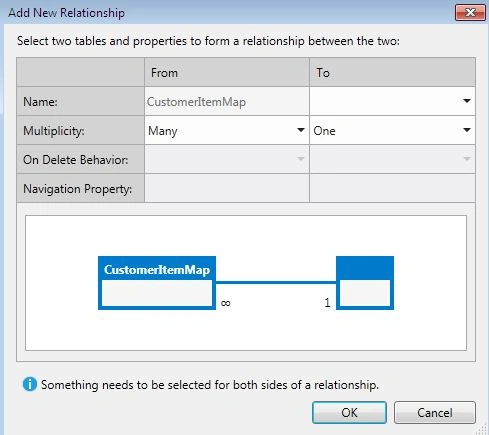
Step 7
Now we will create one to many relationship between the Customer and CustomerItemMap tables.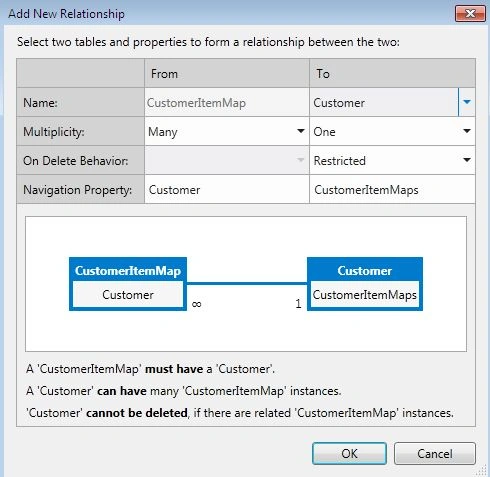
When we click "OK" button.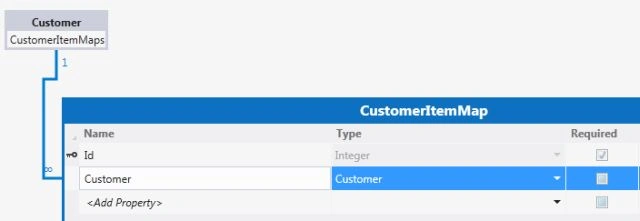
Similarily between the Item and the CustomerItemMap tables.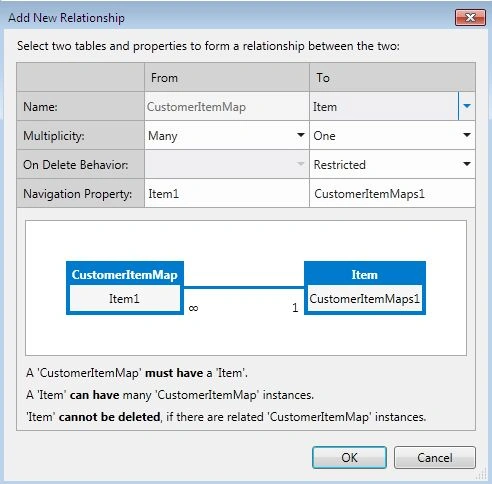
When we click OK button.
Step 8
Now the relationship between the following tables is set. 

Join the conversation! Your thoughts help the community grow.