

Introduction
List of Parts
Hardware Side
- Arduino Uno
- LED
Software Side
- Arduino IDE
- Python software
Connection
- Connect the positive side of led to the 13 on the Arduino board.
- Connect the negative side of led to the Gnd on the Arduino board.
Programming
Programming For Arduino Part
- int led = 13;
- char mydata = 0;
- voidsetup()
- {
- pin Mode(led, OUTPUT);
- Serial begin(9600);
- }
- void loop()
- {
- my data = int(serial.read());
- if (y data = = '1') digitalWrite(led, HIGH);
- if (mydata = = '0') digitalWrite(led, LOW);
- }
Now, connect to the Arduino part via USB cable and upload the program to the board.
Programming For Python Part
- import Serial
- import time
- from tkiner import*
- def led_on();
- arduinoData.write(b '1')
- def led_off( );
- arduinoData.Write(b '0')
- led_control_Window=Tk( )
- btn = Button(led_control_window,text = "led on",command = led_on)
- btn2 = Button(led_control_window,text = "led off",command = led_off)
- btn.pack( )
- btn2.pack()
- arduinoData= Serial.Serial("COM4",9600)
Explanation
In the Python program, I have added the buttons. Now, the buttons will be displayed in the run window.
- btn = Button(led_control_window,text = "led on",command = led_on)
- btn2 = Button(led_control_window,text = "led off",command = led_off)
- btn.pack( )
- btn2.pack()
Now, when we click on the led on button, the LED will be ON and when we click led off, the LED will be off. (as shown in Figure 2).
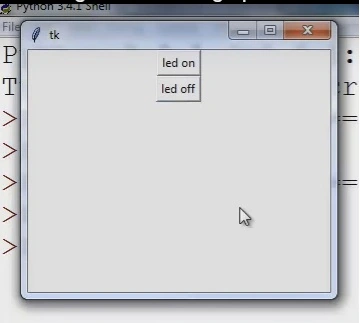
Figure 1: Buttons in Run Window
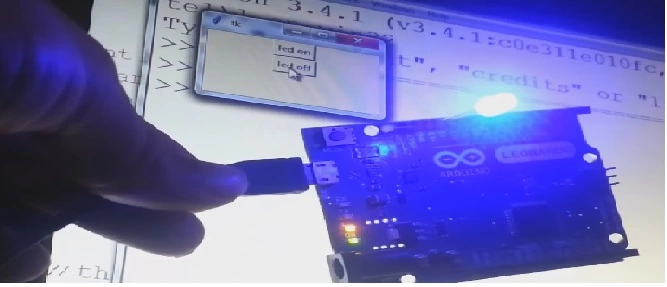
Figure 2: Output
Hussain PatelPosted Nov 2, 2016, 10:39 AM
Nice article and explaination
Shobana JPosted Jul 8, 2016, 4:06 AM
Nice explanation
SubashPosted Jul 8, 2016, 3:25 AM
Very Nice Explanation
Vinay SinghPosted Jul 7, 2016, 7:13 AM
Very nice
Sr KarthigaPosted Jul 7, 2016, 6:22 AM
Thank you Anu bro
Anu VPosted Jul 7, 2016, 4:41 AM
Good one..
kalu singh raoPosted Jul 7, 2016, 1:28 AM
Nice...
RajaPosted Jul 7, 2016, 12:12 AM
Great Share...