

In this article, I will show you how to create your first Cosmos DB database using the Azure portal, and contrast it with a previous article I created on building your first database on the MongoDB Atlas platform. This article assumes that you have an active account with Microsoft Azure and that you are somewhat familiar with navigating the management portal to provision resources.
Create a Virtual Network
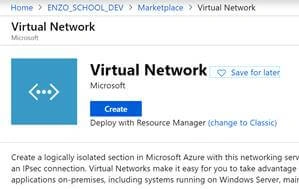
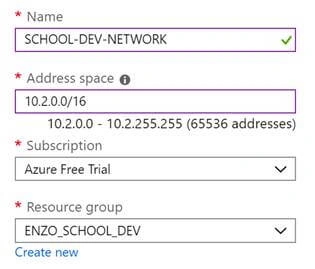
In Azure, you need to first create a Virtual Network that allows you to provide specific connectivity rules in your Cosmos DB service. This isn’t necessary for MongoDB Atlas; however, you still have network-level options available including firewall whitelisting rules. In this example, I create a Virtual Network in an existing Resource Group that was previously created, to make it easier to manage them. If you don’t have an existing Resource Group, simply select "Create New" to do so.
Specify a name for the network, and leave the remaining settings to their default values.
Create a new Cosmos DB Service
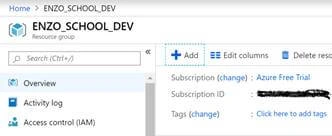
Next, let’s create a Cosmos DB service. Navigate to your Resource Group, and click on "Add" to bring up the new resource pane; search for Azure Cosmos DB and click on "Create".
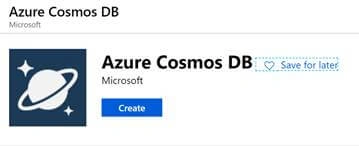
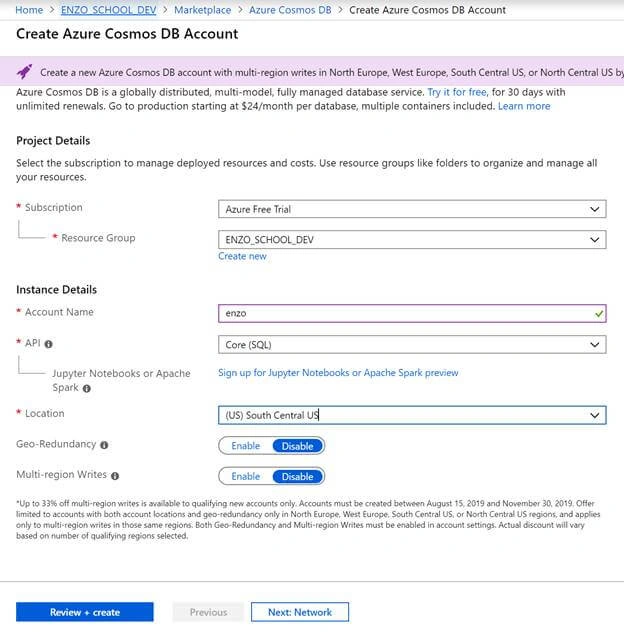
Enter a name for the account (which will become the service name) and choose Core (SQL) as the API. Make sure to select the correct location so that the Cosmos DB service runs in the same data center as the network created previously.
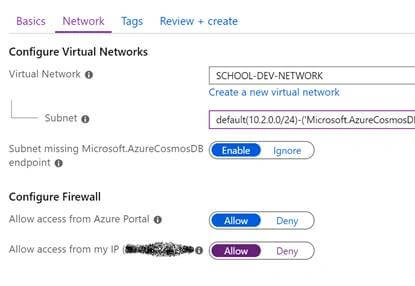
In the Network tab, select the Virtual Network you created previously and select the default subnet. To allow testing your connection from your local machine, select "Allow" for your IP Address.
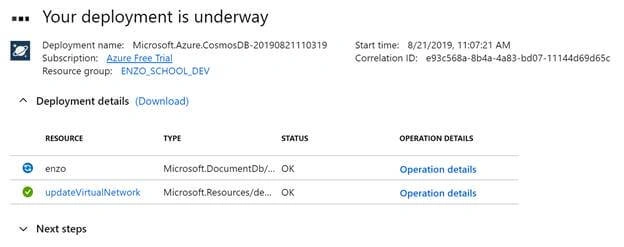
Click "Review + Create" and in the "Review" screen, click on "Create". It will take a few minutes for the service to become available; a screen indicating that the deployment is underway will display the current deployment status.
Create a Container
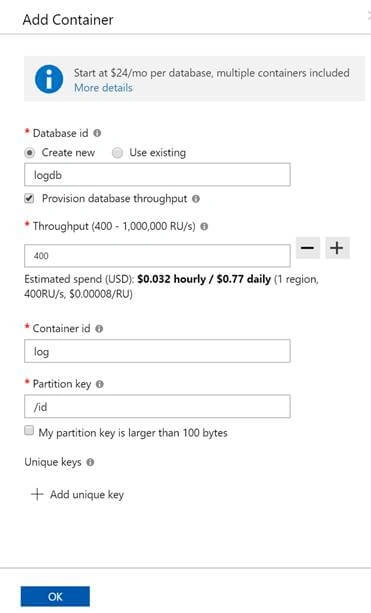
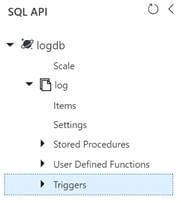
Let’s create a container which will hold a new database and a collection. Go to the newly created Cosmos DB database and click on New Container. Enter the following information:
- Select to create a new database, and name it logdb
- Provision the throughput to be shared and use a Throughput value of 400 (minimum)
- Enter log for the Container name
- Enter /id for the PartitionKey
- Click OK
NOTE
You will be charged for this database even if you don’t do anything beyond this point. As a result, make sure to delete the container after you are done with this exercise.
You will be charged for this database even if you don’t do anything beyond this point. As a result, make sure to delete the container after you are done with this exercise.
You now have a simple container, with a database and collection. Note that there a few key differences with the MongoDB Atlas service worth noting,
- In Azure, you cannot create a “free tier” Cosmos DB database; at the time of this writing, it costs a minimum of $24 per month in the US region.
- MongoDB Atlas forces you to use the _id property for the primary key; in Cosmos DB you can specify any JSON property, at any depth.
Add a JSON Document
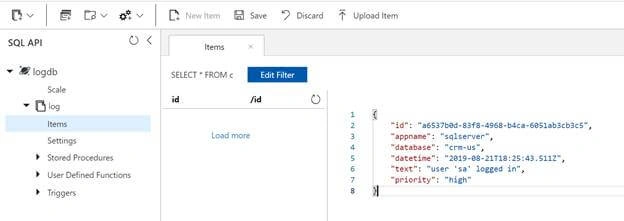
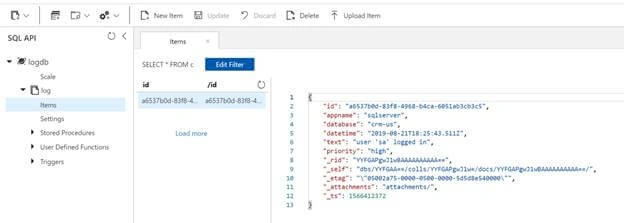
Finally, let’s add a JSON document to our database. Click on Items just under the log collection and click on the New Item button. The page will allow you to enter a JSON document manually.
Join the conversation! Your thoughts help the community grow.