

In this scenario we are using the Custom Actions infrastructure of SharePoint 2010.
Scenario
Our aim is to provide user interface controls to display the Document Size at:
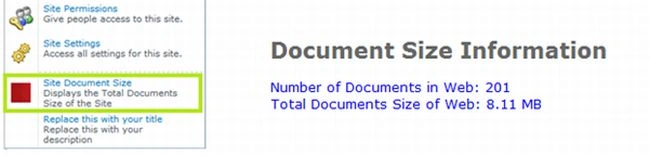
- Site level Calculate Document Size for all Libraries
- Library level Calculate Document Size for all Documents
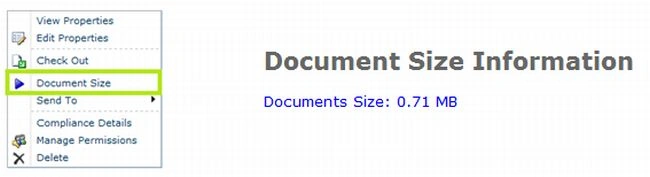
- Document level Calculate Document Size for selected Document
Solution
We can use Custom Actions to address the preceding scenario.
What is Custom Action?
Custom Actions are special purposed actions integrated into the SharePoint user interface. A custom action could be:
- A menu item in the Site Actions menu
- A button in the ribbon tool bar
- A menu item in the context menu of list or library item
Please find some custom action samples (we are going to create these actions now):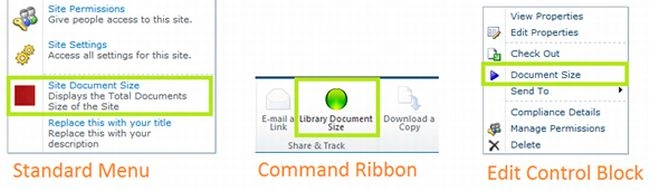
Why do we need Custom Action?
In the development life cycle using SharePoint, we may encounter scenarios where the user prefers a special user control for a particular context. Some of the examples are:
- Calculate Document Size in site level, library level, item level
- Convert a particular document to PDF file
- Display button to open Bing Search
- Display the Audit History on site level, list level, item level
How to create Custom Actions?
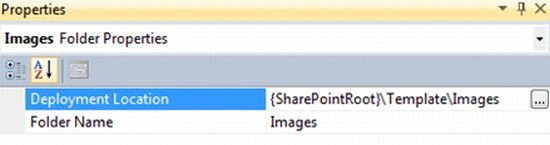
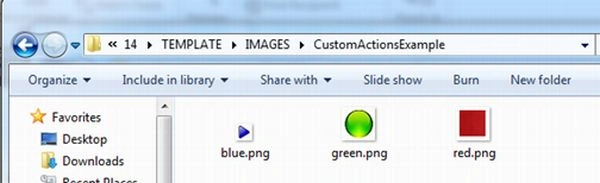
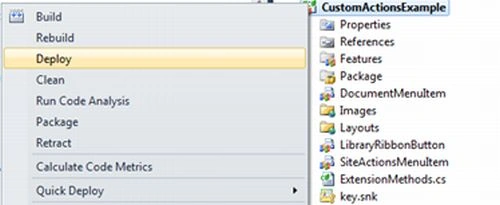
We can create custom actions using Visual Studio 2010 and SharePoint project templates. The custom actions can be represented using XML Element files which are deployed as Features. The associated images can also be included in the project and get deployed automatically.
Custom Action Element
We use the XML tag CustomAction to specify custom action elements like menu item, button etc.
The custom action element defines an extension to the User Interface. A sample custom action element contains the following tags and values: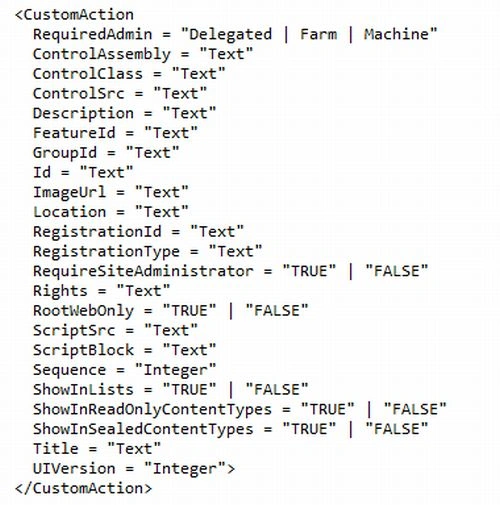
The following are the properties which we are interested in:
- ID to provide a unique Identifier
- Title to display the caption
- Description to provide information on the UI element
- ImageUrl to specify the relative image path
- Sequence to specify the order of listing
- Location to specify the container
Our Aim
Our aim is to create 3 custom actions as shown in the preceding image. For starting with create a new Visual Studio 2010 > Empty SharePoint project.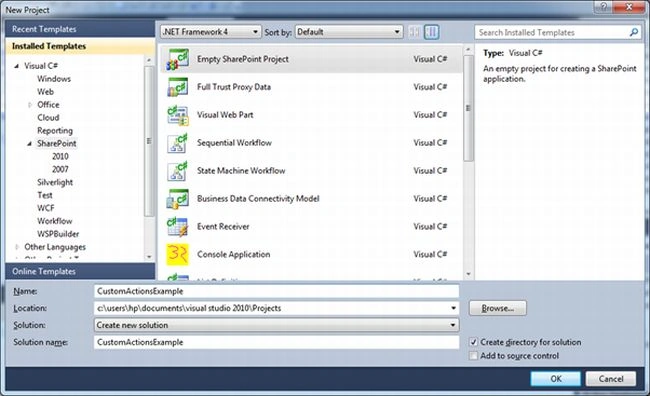
Now your Solution Explorer looks as in the following: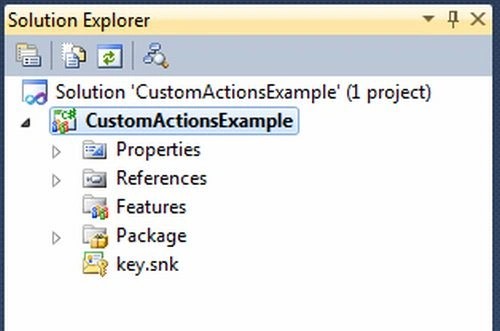
Create Site Actions menu item
Now we can try creating the first Custom Action:
- Site Document Size
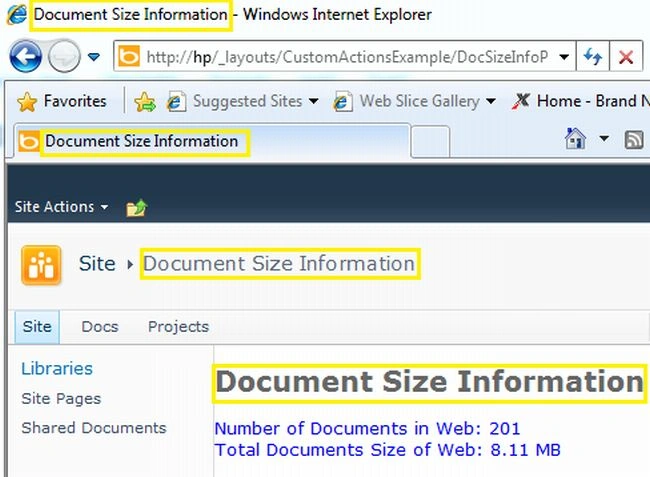
On clicking this menu item an application page will be shown. This page should display the total size of documents summing up all libraries and the items inside it.
To create the custom action, right-click on the Solution Explorer and use the Add New Item and choose the Empty Element option.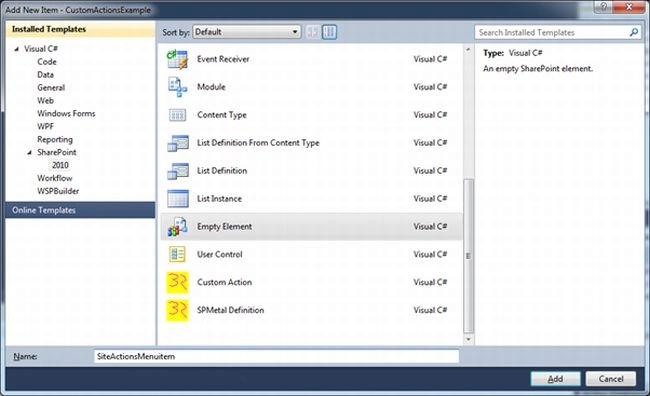
Enter the name as SiteActionsMenuItem. Replace the contents of the file with the following.
<?xml version="1.0" encoding="utf-8"?>
<Elements xmlns="http://schemas.microsoft.com/sharepoint/">
<CustomAction Id="SiteActionsMenuItem"
Description="Displays the Total Documents Size of the Site"
Title="Site Document Size"
GroupId="SiteActions"
Location="Microsoft.SharePoint.StandardMenu"
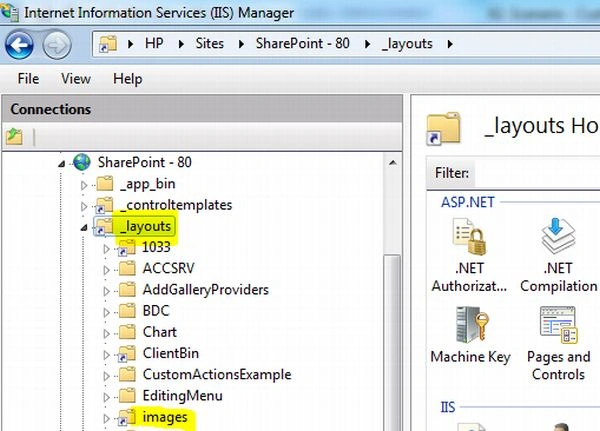
ImageUrl="/_layouts/images/CustomActionsExample/red.png"
Sequence="10">
<UrlAction Url="/_layouts/CustomActionsExample/DocSizeInfoPage.aspx?scope=web"/>
</CustomAction>
</Elements>
The preceding Custom Action element specifies the following:
- Set the Location as Microsoft.SharePoint.StandardMenu. We need to specify the exact location for each custom action element. Here we are specifying the Standard Menu which is displayed on clicking the Site Actions link. You will see the GroupId set as SiteActions.
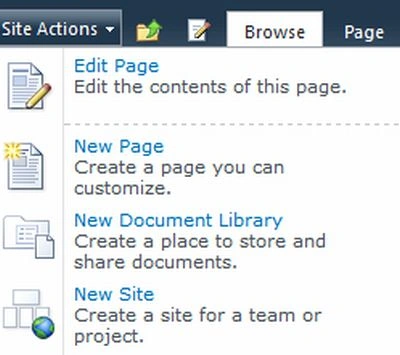
- Set the Title as Site Document Size. The title is used to specify the caption of the menu item.
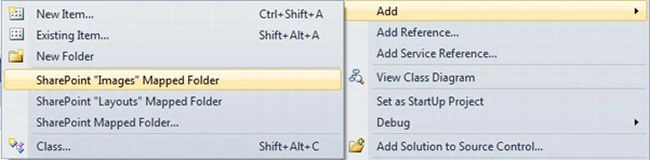
- Set the ImageUrl, Sequence. These properties we can explore later.
Create Ribbon button
For creating the ribbon button you can add a new Empty Element. Set the name as LibraryRibbonButton.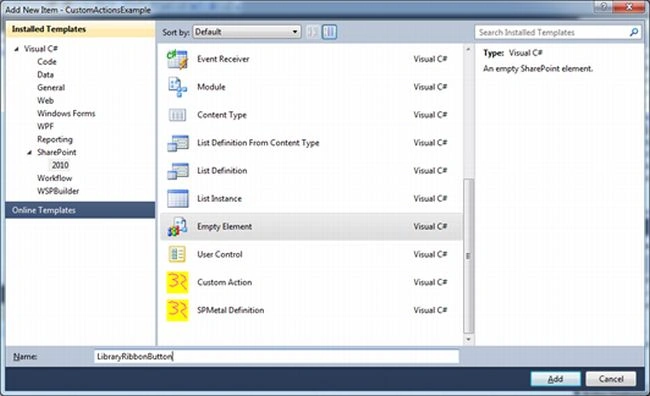
Replace the XML content with following:
<?xml version="1.0" encoding="utf-8"?>
<Elements xmlns="http://schemas.microsoft.com/sharepoint/">
<CustomAction Id="LibraryRibbonButton" Location="CommandUI.Ribbon.ListView" RegistrationId="101" RegistrationType="List" Title="Library Document Size">
<CommandUIExtension>
<CommandUIDefinitions>
<CommandUIDefinition Location="Ribbon.Documents.Share.Controls._children">
<Button Id="DocSizeButton" Image32by32="/_layouts/images/CustomActionsExample/green.png" Command="DocSizeButton" Description="Displays the Total Documents Size of the Library" LabelText="Library Document Size" TemplateAlias="o2"
Sequence="93"
/>
</CommandUIDefinition>
</CommandUIDefinitions>
<CommandUIHandlers>
<CommandUIHandler Command="DocSizeButton" CommandAction="/_layouts/CustomActionsExample/DocSizeInfoPage.aspx?scope=library&ListId={ListId}" />
</CommandUIHandlers>
</CommandUIExtension>
</CustomAction>
</Elements>
To make the preceding button visible only for Document Libraries we are using the Registration Id attribute as 101. 101 represent the template Id for Document types. The CommandAction is pointing to an application page with ListId as the parameter set through runtime.
Create Document menu item
Here we are going to add a new menu item to the document context menu. This menu is called Edit Control Block.
To do this create a new Empty Element and use the name DocumentMenuItem; see: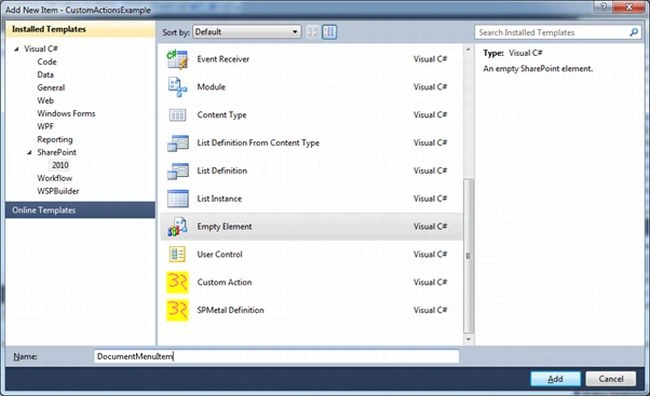
Replace the XML content with the following:
<?xml version="1.0" encoding="utf-8"?>
<Elements xmlns="http://schemas.microsoft.com/sharepoint/">
<CustomAction
Id="DocumentMenuItem"
RegistrationType="List"
RegistrationId="101"
Location="EditControlBlock"
Sequence="301"
Title="Document Size"
ImageUrl="/_layouts/images/CustomActionsExample/blue.png">
<UrlAction
Url="/_layouts/CustomActionsExample/DocSizeInfoPage.aspx?scope=item&ListId={ListId}&Itemid={ItemId}"/>
</CustomAction>
</Elements>
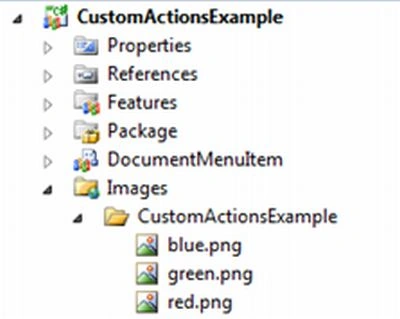
The Location specifies the container in which the custom action should occur. In this case it is EditControlBlock. The ImageUrl is set to a file which we will be adding later. The URL contains the application page which process the request.
You will see that {ListId} and {ItemId} are the parameters resolved in the Runtime. It should contain the List GUID and the Item Id when invoked.
Creating Application Page
Here we are using a common application page to process all the 3 requests. The requests are differentiated using the query parameters.
Create a new Application Page and name it DocSizeInfo.aspx; as in: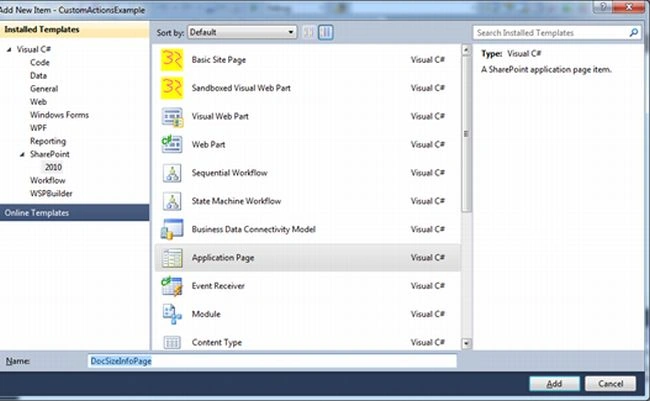
In the page load event invoke a RefreshData() method as follows:
protected void Page_Load(object sender, EventArgs e)

Join the conversation! Your thoughts help the community grow.