

Introduction
In this tutorial, we will learn how to create a custom dialog for camera view for Windows 10 using UWP. To achieve this, we need to use Web Camera and Storage features for Windows 10 operating system.
Steps
I have split the coding part into 5 steps as in the following.
Step 1 - Creating new UWP Project
Step 2 - Implementation of Camera Dialog
Step 3 - Implementation of Camera Output Storage
Step 1 - Creating new UWP Project
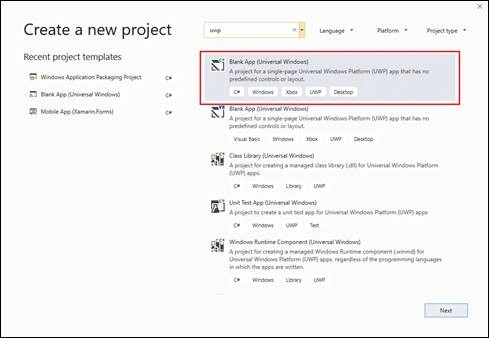
- Create New Project by Selecting New Project à Universal Windows (UWP App) and click “Next”.
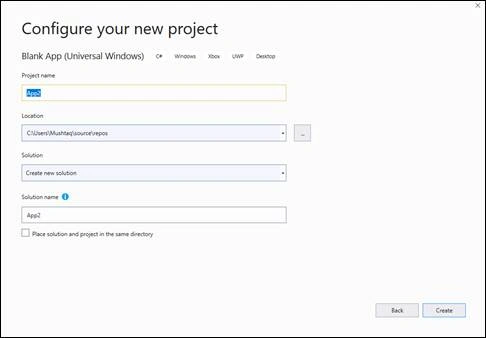
- Then configure your new project by entering the required details like Project name and click “Create” button to create your UWP project.
Step 2 - Implementation of Camera Dialog
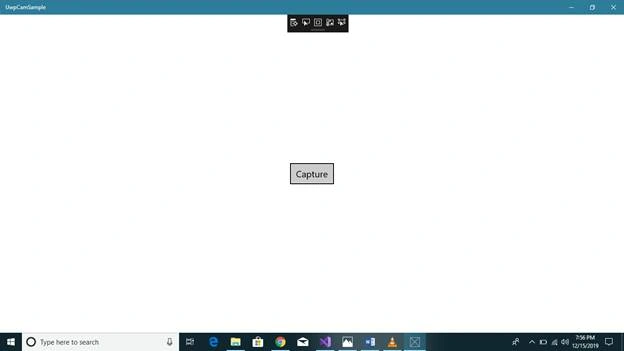
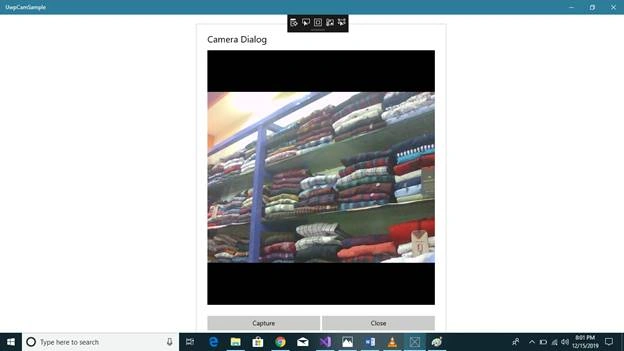
In this step, we will create a custom dialog for camera preview in UWP.
- Create a custom content dialog by selecting “Add Item” à “Content Dialog” and named as “Camera Dialog”.
- Then add the Capture Element in designer of the page as like below.
- <ContentDialog
- x:Class="UwpCamSample.CameraDialog"
- xmlns="http://schemas.microsoft.com/winfx/2006/xaml/presentation"
- xmlns:x="http://schemas.microsoft.com/winfx/2006/xaml"
- xmlns:local="using:UwpCamSample"
- xmlns:d="http://schemas.microsoft.com/expression/blend/2008"
- xmlns:mc="http://schemas.openxmlformats.org/markup-compatibility/2006"
- mc:Ignorable="d"
- Title="Camera Dialog"
- PrimaryButtonText="Capture"
- SecondaryButtonText="Close"
- PrimaryButtonClick="ContentDialog_PrimaryButtonClick"
- SecondaryButtonClick="ContentDialog_SecondaryButtonClick"
- Margin="20">
- <Grid>
- <CaptureElement Name="PreviewControl" Stretch="Uniform"/>
- </Grid>
- </ContentDialog>
- We will use MediaCapture to capture CaptureElement result.
- We will use DisplayRequest to detect the display interaction to extend battery power.
- Start the preview for the capture element by initializing the media capture elements like in below code.
- private async Task StartPreviewAsync()
- {
- try
- {
- mediaCapture = new MediaCapture();
- await mediaCapture.InitializeAsync();
- displayRequest.RequestActive();
- DisplayInformation.AutoRotationPreferences = DisplayOrientations.Landscape;
- }
- catch (UnauthorizedAccessException)
- {
- return;
- }
- try
- {
- PreviewControl.Source = mediaCapture;
- await mediaCapture.StartPreviewAsync();
- isPreviewing = true;
- }
- catch (System.IO.FileLoadException)
- {
- mediaCapture.CaptureDeviceExclusiveControlStatusChanged += _mediaCapture_CaptureDeviceExclusiveControlStatusChanged;
- }
- }
- The app should have camera permission and we can process Camera API permission like below.
- private async void _mediaCapture_CaptureDeviceExclusiveControlStatusChanged(MediaCapture sender, MediaCaptureDeviceExclusiveControlStatusChangedEventArgs args)
- {
- if (args.Status == MediaCaptureDeviceExclusiveControlStatus.SharedReadOnlyAvailable)
- {
- //ShowMessageToUser("The camera preview can't be displayed because another app has exclusive access");
- }
- else if (args.Status == MediaCaptureDeviceExclusiveControlStatus.ExclusiveControlAvailable && !isPreviewing)
- {
- await Dispatcher.RunAsync(CoreDispatcherPriority.Normal, async () =>
- {
- await StartPreviewAsync();
- });
- }
- }
- The camera preview should be reset or disposed when the popup/dialog is closed.
- if (mediaCapture != null)
- {
- if (isPreviewing)
- {
- await mediaCapture.StopPreviewAsync();
- }
- await Dispatcher.RunAsync(CoreDispatcherPriority.Normal, () =>
- {
- PreviewControl.Source = null;
- if (displayRequest != null)
- {
- displayRequest.RequestRelease();
- }
- mediaCapture.Dispose();
- });
- }
Step 3 - Implementation of Camera Output Storage
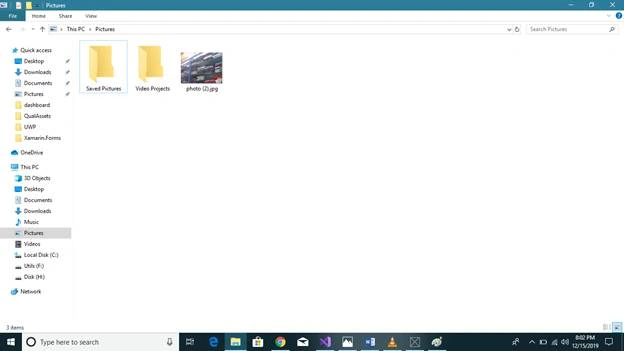
In this step, we will process and save the captured preview into system.
- To save the captured image to user defined path, will use StorageLibrary API and save the files to Pictures.
- Use the below code snippet to save the output of the Camera Capture Element.
- var myPictures = await Windows.Storage.StorageLibrary.GetLibraryAsync(Windows.Storage.KnownLibraryId.Pictures);
- StorageFile file = await myPictures.SaveFolder.CreateFileAsync("photo.jpg", CreationCollisionOption.GenerateUniqueName);
- using (var captureStream = new InMemoryRandomAccessStream())
- {
- await mediaCapture.CapturePhotoToStreamAsync(ImageEncodingProperties.CreateJpeg(), captureStream);
- using (var fileStream = await file.OpenAsync(FileAccessMode.ReadWrite))
- {
- var decoder = await BitmapDecoder.CreateAsync(captureStream);
- var encoder = await BitmapEncoder.CreateForTranscodingAsync(fileStream, decoder);
- var properties = new BitmapPropertySet {
- {
- "System.Photo.Orientation", new BitmapTypedValue(PhotoOrientation.Normal, PropertyType.UInt16)
- }
- };
- await encoder.BitmapProperties.SetPropertiesAsync(properties);
- await encoder.FlushAsync();
- }
- }
kathir veluPosted Dec 17, 2019, 10:28 AM
Good one to use camera in UWP app.
Logesh PalaniPosted Dec 16, 2019, 11:19 PM
Use full one :)