

Introduction
Creating a master-detail page takes a lot more time than creating a master-detail page using FreshMasterContainer in Xamarin.Forms.
In one of my previous tutorials, we have learned the methods to create the master-detail page using Fresh Master Container. To know more, visit my previous article. Do refer to my previous article on Fresh MVVM to know the basics & rules of Fresh MVVM.
Coding Part
I have split this code part into 3 steps as in the following.
- Step 1: Creating new Xamarin.Forms project.
- Step 2: Setting up the plugin for Xamarin.Forms application.
- Step 3: Implementing Fresh MVVM.
Step 1
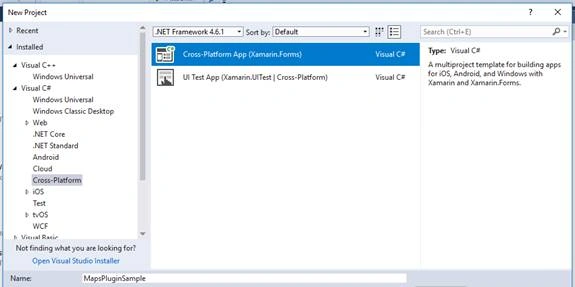
Create a new project by selecting New >> Project >> Xamarin Cross-Platform App, and click OK.
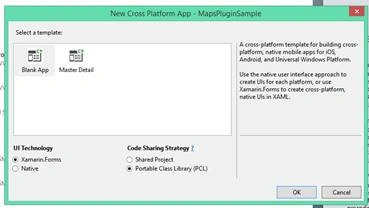
Then, select Android and iOS platforms as shown below with Code Sharing Strategy as PCL or .NET Standard and click OK.
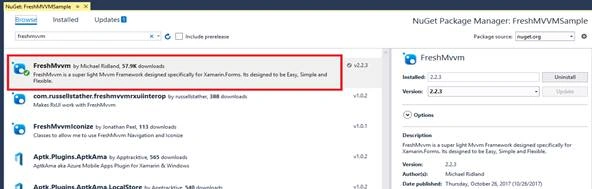
We will start coding for Fresh MVVM now. Create a new Xamarin Forms Project. Open Nuget Package Manager against the solution, and search for Fresh MVVM Plugin or paste the following NuGet Installation.
Install-Package FreshMvvm -Version 2.2.3
Click "Install" to install this plugin against your PCL project or .NET Standard project.
Step 3
Create your XAML page (view) with the name ended up with “Page”.
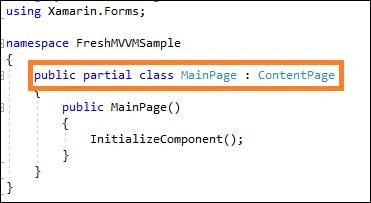
Create PageModel by creating a class which has a name ended with “PageModel” and inherited with “FreshBasePageModel”, as shown in the below screenshot.
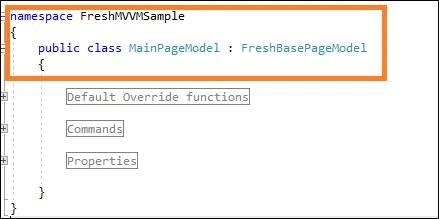
In the same way, I have created pages “MyMasterDetailPage”, “MasterPage”, “Detail1Page” and “Detail2Page” with two respective models “MyMasterDetailPageModel”, “MasterPageModel”, “Detail1PageModel” and “Detail2PageModel”.
Here:
MyMasterDetailPage – container to have both Master & Detail page
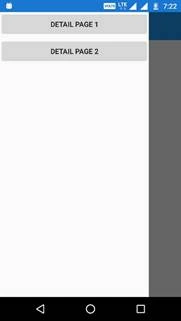
MasterPage – Master or Menu Page
Detail1Page, Detail2Page – Detail pages of the Master detail page.
Join the conversation! Your thoughts help the community grow.