

This article shows how custom validation works in LightSwitch using Visual Studio 2012.
The following procedure describes how to create a sample showing how to write custom validations for the specified fields in the table.
Step 1
Open the Solution Explorer.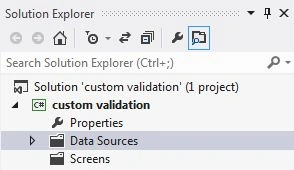
Step 2
In the Solution Explorer, right-click on the "Data Source" and choose "Add Table".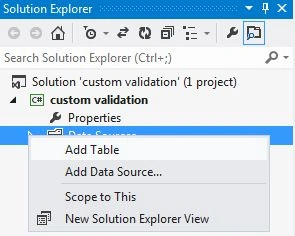
Step 3
The table appears.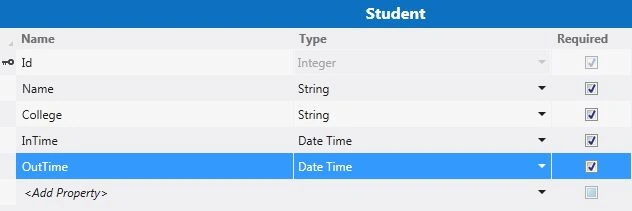
Step 4
Now we will start the validation process on various fields in a table. Select a field from the table as in the following.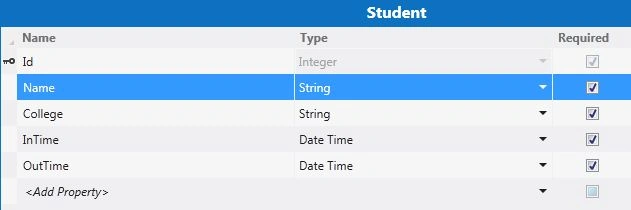
Now go to the property window, there is a validation field from where you can apply the validations. You can do the same for the college field.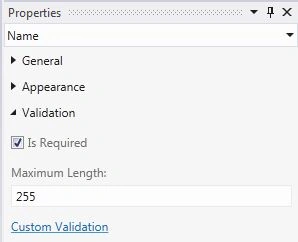
Step 5
This time we will select the Intime field and go to the property window, under the validation tab there is a minimum and maximum value field.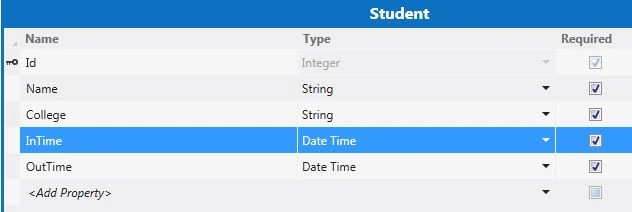
Property Window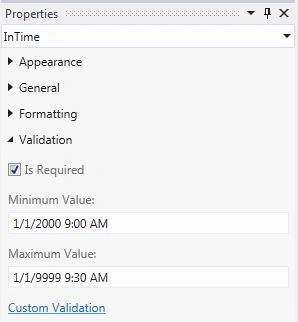
There is a custom validation link by which you can write your own code for validation.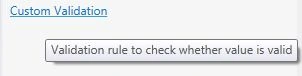
Step 6
Click on the custom validation link for the InTime field and apply your own logic.
partial void InTime_Validate(EntityValidationResultsBuilder results)
{
results.AddPropertyError("InTime is always smaller than OutTime");
}
Step 7
Similarily you can do it for the OutTime field by first going to the property window, fill in the minimum and maximum values then click on the custom validation link for the OutTime field.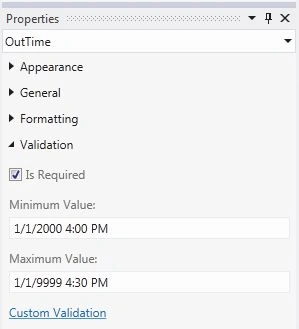
We will provide the following code:
partial void OutTime_Validate(EntityValidationResultsBuilder results)
{
results.AddPropertyError("OutTime is always greater than InTime");
}
Step 8
Once again go to the Solution Explorer and right-click on the screen and choose "Add Screen".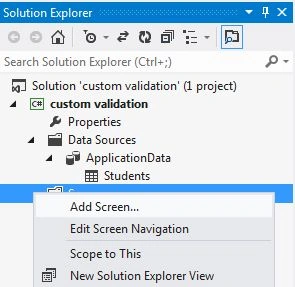
Step 9
The Add New Screen dialog box appears. Select the "Editable Grid Screen" from the Screen Template and under the screen data choose "Student" and click "OK".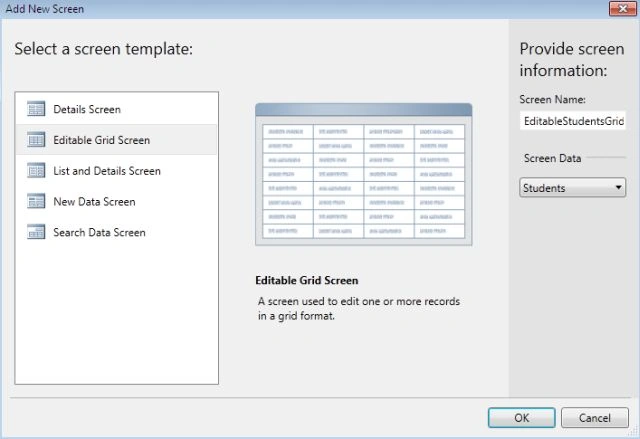
Step 10
The Screen Designer appears.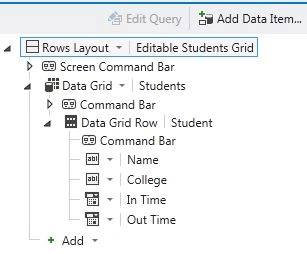
Step 11
Press F5 to run the application.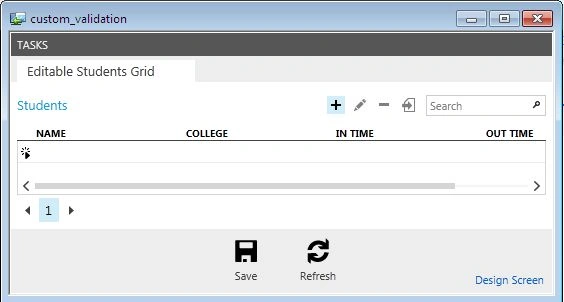
Now we wil add some records and we will see that the information is automatically provided to the "InTime" and "OutTime" fields.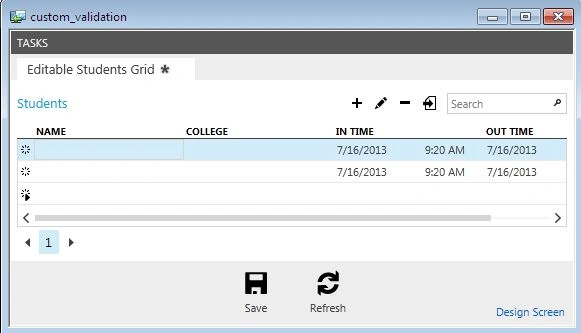
Insert some records inro the fields and we will see the validation occur.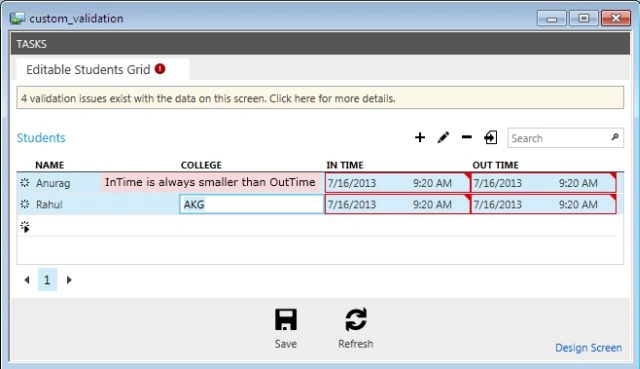
Join the conversation! Your thoughts help the community grow.