
This article explains how to create a Custom Workflow Action in Visual Studio 2010 and how to use it in SharePoint Designer 2010 to create a workflow.
- Open Visual Studio 2010 and create a new SharePoint Empty project and provide the project name as WFProjects.CustomWFActivity.CustomWFAction and click OK.

- Provide site collection name and deploy as Farm solution and click Finish.
- Add a reference for Microsoft.SharePoint.WorkflowActions.dll from the ISAPI folder (C:\Program Files\Common Files\Microsoft Shared\Web Server Extensions\14\ISAPI)
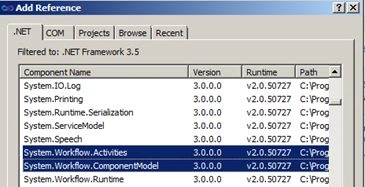
- Add a reference for System.Workflow.Activities and System.Workflow.ComponentModel from the .Net tab as below.
- Add a new class to the project and name it “CreateCustomList.cs”.
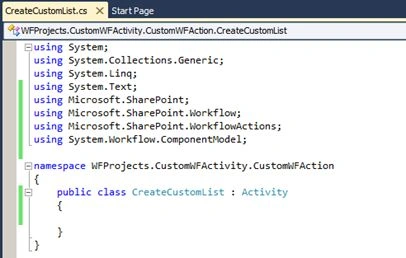
- Add the namespace and inherit the activity class as shown below.
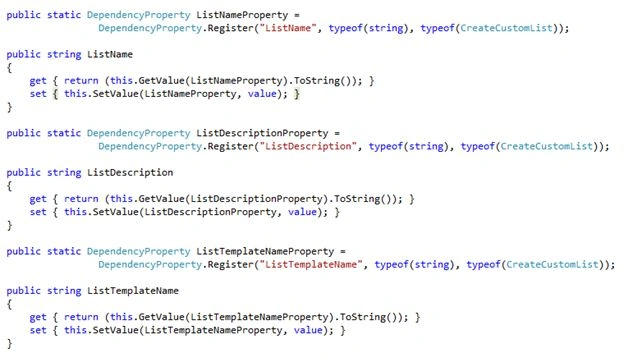
- Add a Dependency property to the workflow class and it will be useful to get the input from the user to do some operation. A dependency property always ends with the keyword Property otherwise a compilation error will occur.
- For our purposes, we need the following Dependency Property.
a. ListName, ListDescription, ListTemplateName - Write the following code in the class.
- Add a workflow context Dependency Property to initialize the workflow object context as shown below.

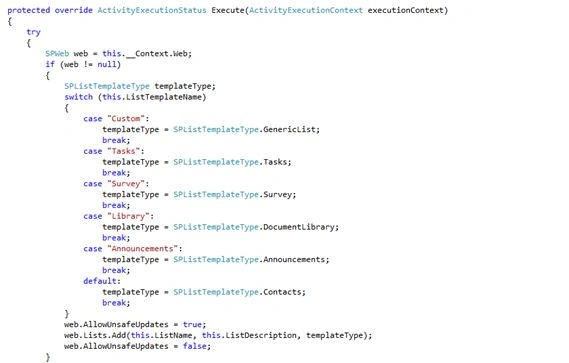
- Next we need to override the Execute method as below.

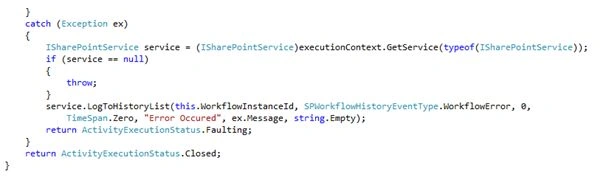
- Write the following code to execute the method:
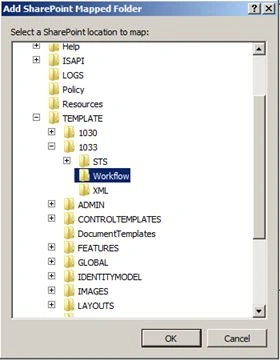
- Right-click on the project and add the SharePoint Mapped folder. Select the workflow and click OK as shown below.
- Add a XML file into the workflow folder named CreateCustomList.actions and click the Add button.

- Locate the site http://johnholliday.net/download/WSSACTIONS.xsd.
- Copy the entire code from the preceding site and save it as wssactions.xsd.
- Paste the wssactions.xsd file into the “C:\Program Files\Common Files\Microsoft Shared\Web Server Extensions\14\TEMPLATE\XML” folder location.
- Open the CreateCustomList.actions file from the Visual Studio and press F4 to open the properties window.
- Select the schemas property and click on the button (…).

- Then click on the Add button from the window.

- Then go to the XML folder location that we paste the wssactions.xsd file in Step 17 and select wssactions.xsd and click Open.
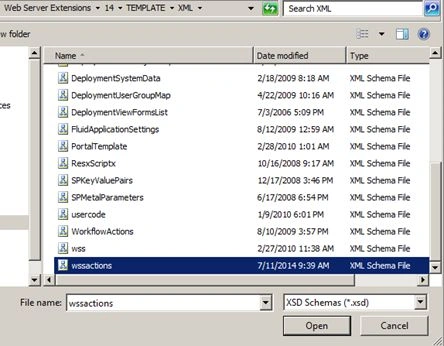
- Then it will be added to the window and click OK to close the window.

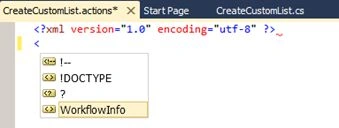
- Then type the “<” symbol in the actions XML file and see that the intellisence will appear to write the actions code.
- Then write the following code in the actions XML file. Please change the class name, assembly and PublicKeyToken accordingly.

- Refer to the following article for how to get PublicKeyToken using Visual Studio 2010: http://blogs.msdn.com/b/miah/archive/2008/02/19/visual-studio-tip-get-public-key-token-for-a-stong-named-assembly.aspx
- Next we need to make entry in the web.config file. Add a feature event receiver to the project and add the following code inside the feature receiver. Include the namespace as below before starting the code. Set the scope of feature to WebApplication.
using Microsoft.SharePoint.Administration;
- Build and deploy the project.
- Verify that the following entry is available in the web.config file.

- Open the Web Application page in Central Administration and verify the feature is activated.

- Open the site you want to develop the workflow in SharePoint Designer 2010.
- Click on Workflows.

- Click List workflow and select any document or list you want to associate with the workflow, then provide the workflow name (for example Custom WF) and click OK.
- Then you will see our newly created Create Custom List Actions under the Actions pane.

- Then change the name from Step 1 to Create Custom List.
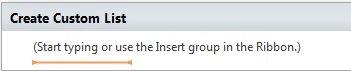
- Then drag and drop the activities to the designer as shown below.
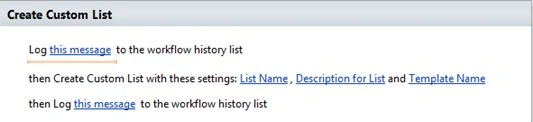
- Then provide the value as shown below.

- Save and publish the workflow.
- Go to the site and navigate to the list or Document Library you have deployed the workflow to.
- Upload a new document (here I deployed to a Document Library).

- Click on Workflows from the ribbon and click on Custom WF to start the workflow and press the start button to start the workflow.

- Then wait a few seconds and see the WF as completed.

- Click on All Site Contents and see our custom Survey list created using WF.

Arockiaraj LPosted Aug 1, 2016, 7:47 AM
Hi Philip, Is this solution work with 2013?