

Overview
We have been quite versed in the classic SharePoint experience. Based on business requirements, we create SharePoint lists to store the data by mapping the requirement to corresponding field type in SharePoint (i.e. Single line of text, Multiple lines of text, Number, Choice, etc.). Most of the time creating the list by adding out of box columns does not match the full requirement. To handle this, we have been customizing SharePoint list forms (New / Edit / Display) using JQuery, JSLink, Script Editors. These customizations helped us to enhance the use of form by introducing cascaded dropdowns, hiding a few fields based on some business conditions.
Problem statement
As we are moving towards developing and using the Modern sites in SharePoint, unfortunately, we do not have more customization control to customize the SharePoint form. Please note, I am referring to the SharePoint list’s New, Edit form as the general term “Form” for this article. Please do not confuse this with InfoPath forms. Microsoft had introduced SPFx (SharePoint Framework) extensions for Field, but it helps to customize the look and feel of an individual field.
In the SharePoint modern sites, we can customize the SharePoint forms using Power Apps.
PowerApps overview
PowerApps is a cloud-based solution. It allows SharePoint forms to work seamlessly on desktops and mobiles (Android and iOS). Using PowerApps, we can utilize SharePoint lists as a data source. PowerApps does not require any custom coding.
Create new PowerApp for SharePoint Online List
In this article, we will use PowerApp for the cascading in a modern site.
I have 2 lists set up as below:
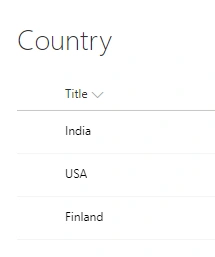
List# 1: Country
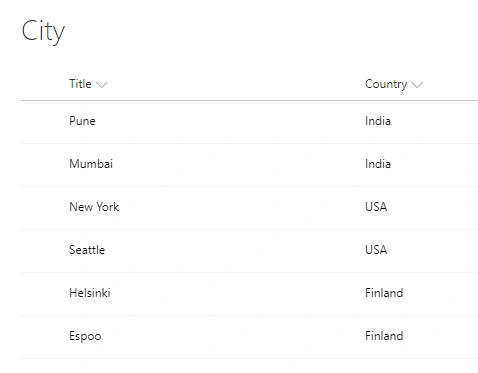
List# 2: City
City list has a lookup to Country list on the title.
List# 3: Cascading
Cascading list has Country and City columns as a single line of text
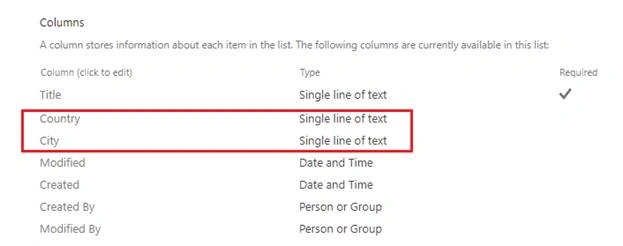
Using PowerApps, we will set Country and City columns to lookup values from respective lists.
Build PowerApp
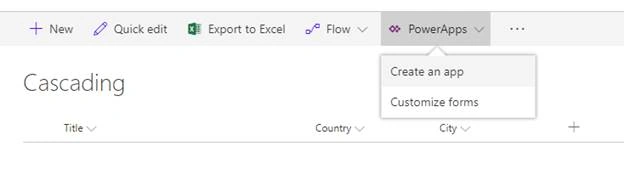
- In the Cascading list, click PowerApps > Create an app
- Name your App, click Create
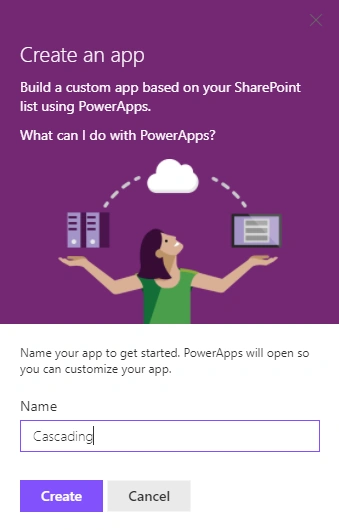
- This will start a process to create the App
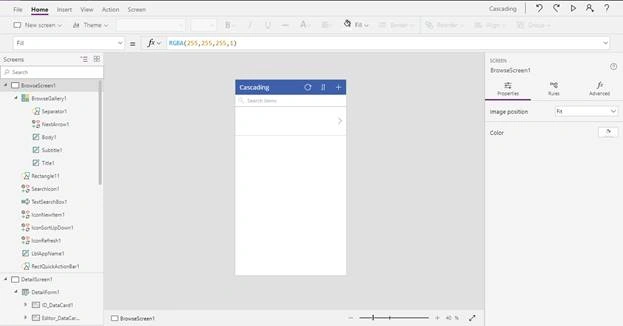
- The left section has Browse Screen, Detail Screen, and Edit Screen
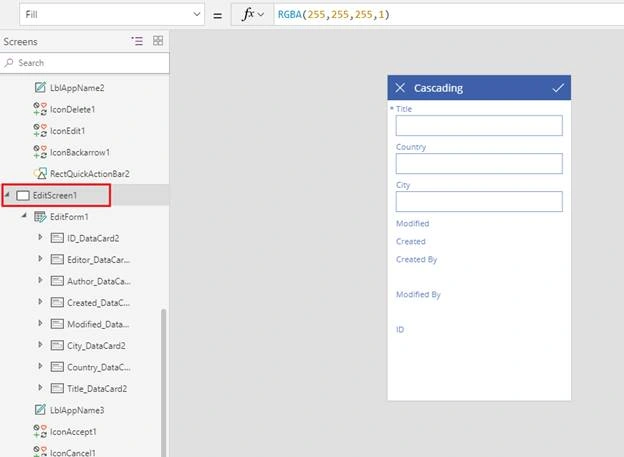
- Click Edit Screen to see the form
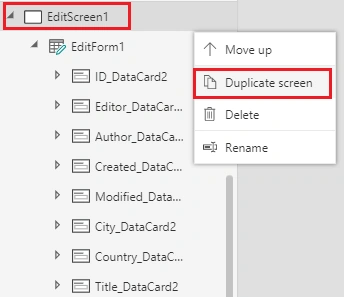
- Click Edit Screen and Duplicate Screen to have a copy as a backup plan
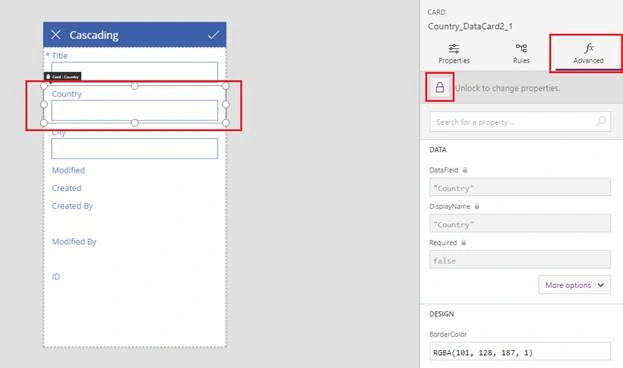
- Select the Country field. In the Advanced tab, unlock it.
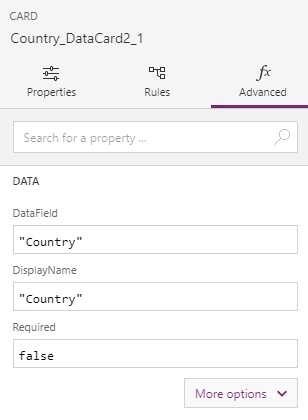
- After unlock, the field properties will be displayed as below
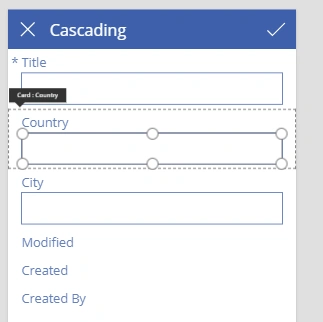
- Select the data card Country and delete it
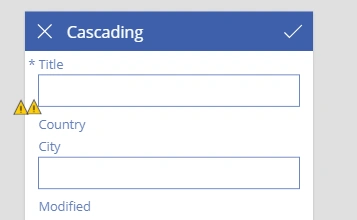
- This will show a warning sign. Ignore it for now.
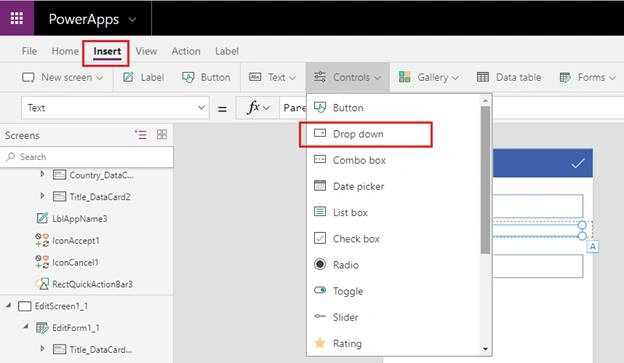
- Again click Country data card, click Insert > Controls > Drop down
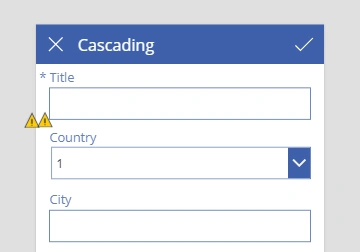
- The Country field will look as below
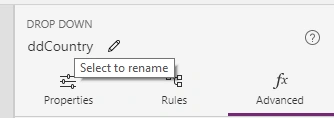
- From Properties pane, rename the dropdown
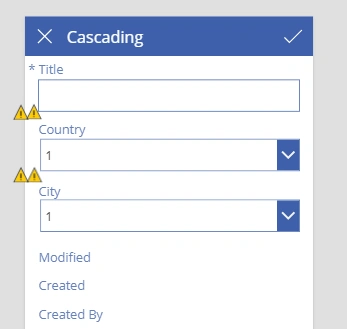
- Follow the same process from point # 7 to 13 for the City field. The form will now look as below
- Select the first warning sign for Country
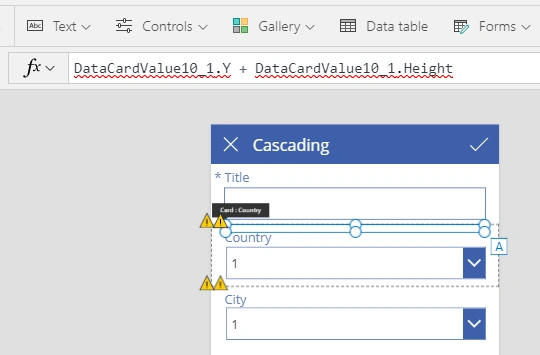
- Hit the Delete button to delete it.
- Perform the same action for City to delete the first warning
- Click the warning sign for Country. In the formula, the tab selects the name of the SharePoint field.
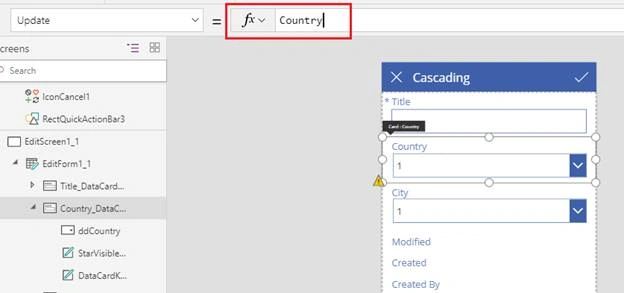
- The warning sign should go away.
- For City control, select the City field in the formula.
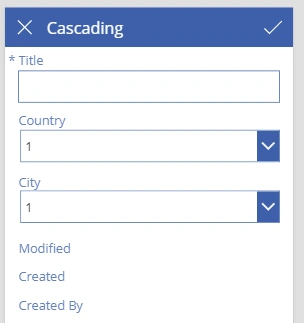
- Now, we will attach the values to the dropdown.
- Click Data Sources under View
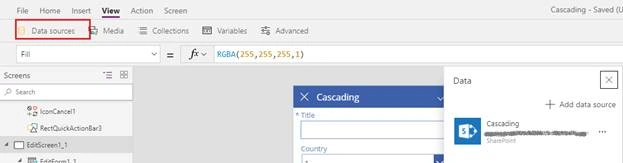
- Click Add data source, click SharePoint.
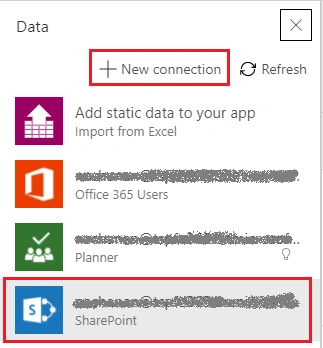
- Select the SharePoint site
- Select the lists – City, Country
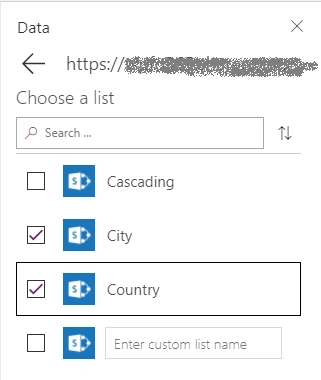
- Click Connect
- The data sources should be available as City_1 and Country_1
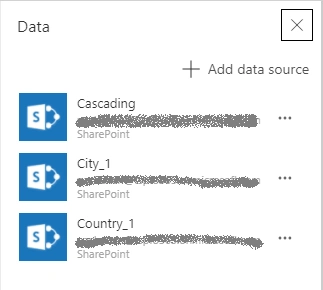
- Select the Country control, set the source as Country_1.Title
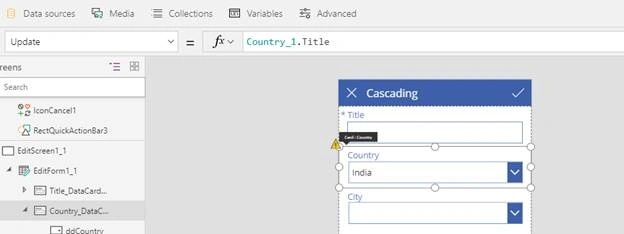
- Select the City control, set the source as City_1.Title
- Click File > Save to save your App
- Now, we want City to be cascaded based on Country selection.
- Select City control
- In the formula, type below formula
Filter(City_1, Country.Value = ddCountry.Selected.Title)
- Click F5 to test your PowerApp
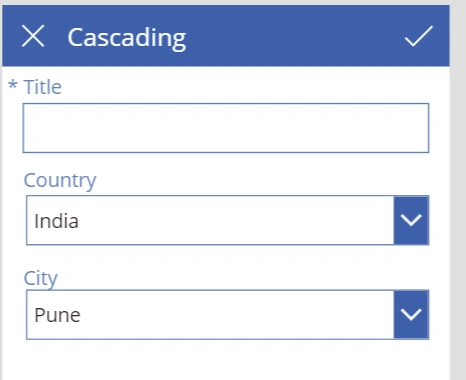
Please note, these values will not reflect back to SharePoint form, as we have created these dropdowns as our custom controls. We need to add back the SharePoint fields and assign the values of selection to it.
Reflect back values to a SharePoint form
- Click Data Sources and any data card from left.
- It should display all the available fields.
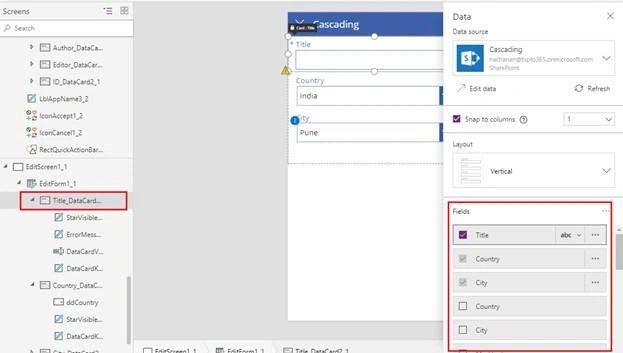
- Select Country and City to add back to form.
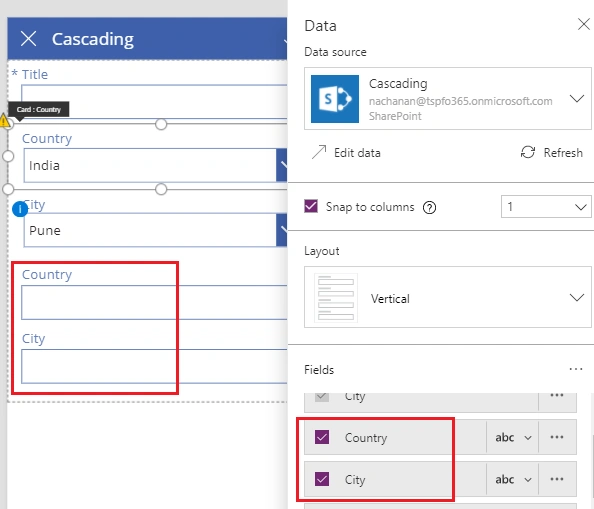
- Select Country control, click Advanced.
- Click Unlock to change properties.
- Set the default value as ddCountry.Selected.Value
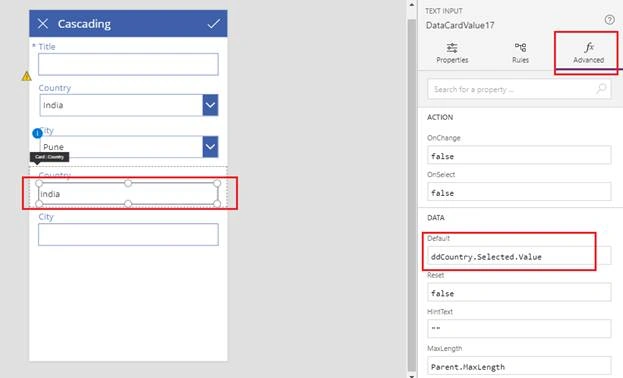
- Similarly, set the value for City to ddCity.Selected.Value
- Select the Country Card, in properties set Visible = false
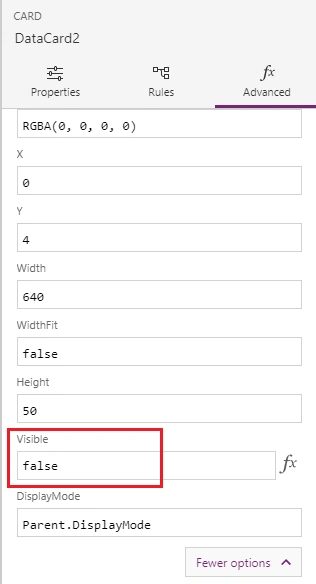
- Similarly, Select the City Card, in properties set Visible = false
- Once done, delete the original EditScreen1 and rename our EditScreen1_1 to EditScreen1
- Rename EditForm1_1 to EditForm1
- Click File > Save > Publish
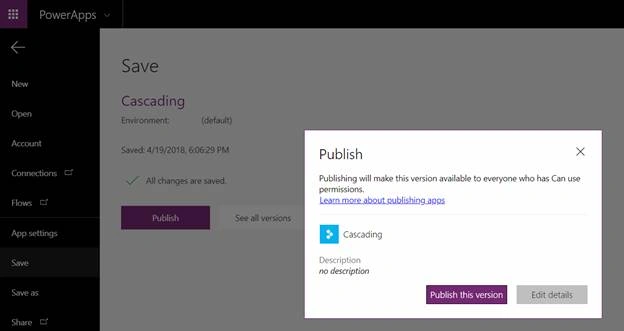
- Click Publish this version
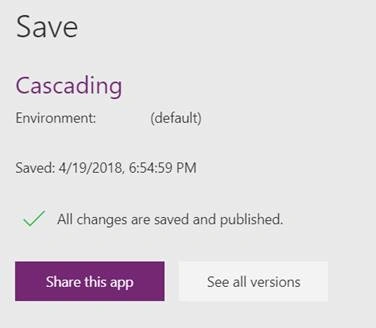
- Click Share this app
- Click Add everyone in my org
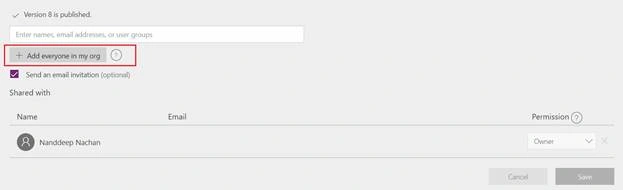
- Click Save.
PowerApp in Action
- Open SharePoint list
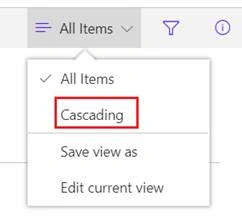
- From views dropdown select PowerApp
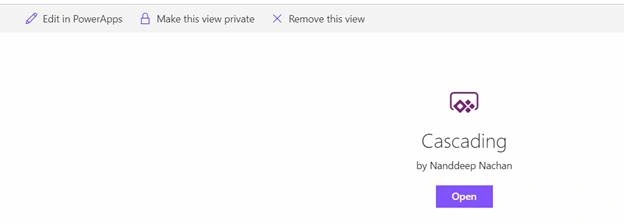
- Click Open
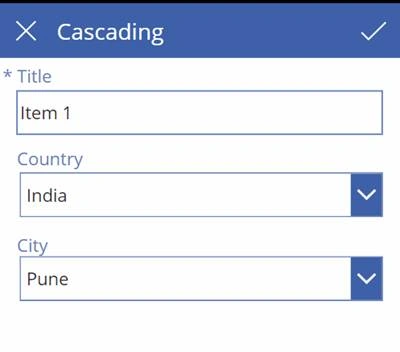
- New items can be added to list from PowerApp
Summary
PowerApps can be used to enhance the SharePoint forms and can be used by mobile users to access SharePoint lists.
yadgiri bPosted Jul 14, 2021, 8:55 PM
In site template customize forms changes are reflected or not?
Abdul AjeesPosted Jul 5, 2021, 4:46 AM
Hi Nanddeep Nachan, How to move this customized PowerApps form into Solution. Since I wanted to move my existing flow and this kind of customize PowerApps into solution.
bashiruddin SheikhPosted Apr 23, 2021, 10:07 AM
Hello i need helpsharepoint list 1 row one seceen or button click next row binding in textbox in power apps
Madunuri VamsidharPosted Nov 27, 2020, 1:35 AM
Document library name field is not ediatable . Any idea?
sachin sharmaPosted Jun 13, 2019, 12:20 AM
Sir till step no. 26 there is no problem you explain very nice but from step 27 to 33 I am facing some problem, sir, my list name when I connect to city and country is city and country but when i perform step no 28 and 29 it shows error sign i perform city.Title in City formula column and country.Title in country formula column
sachin sharmaPosted Jun 12, 2019, 2:38 PM
Sir i follow all steps as given but it shows error for me in step 33
Nanddeep NachanPosted Jun 4, 2018, 8:03 AM
Yes, All steps are written as followed. What is the error you are getting?
Shail SPosted Jun 4, 2018, 8:00 AM
@Nanddeep : Could you please reconfirm if step -33 is correct. I am getting an error.
Nanddeep NachanPosted Jun 4, 2018, 6:34 AM
The purpose of step 16 is just to delete the warning sign. This step can be ignored.
Abhishek SinghPosted Apr 25, 2018, 5:17 AM
In InfoPath we used to connect SAP web service in the Code Behind but since in PowerApps it is not supported so any other alternatives to do this.
Abhishek SinghPosted Apr 24, 2018, 2:40 AM
Is it possible to write Custom C# Code in the Power-apps as it was earlier used in InfoPath Forms.!
Sagar PardeshiPosted Apr 24, 2018, 12:54 AM
Good one explore new concept in Office 365 online