

This article describes how to customize a search screen in a LightSwitch application using Visual Studio 2012.
I described in my previous article (http://www.c-sharpcorner.com/uploadfile/18ddf7/creating-a-search-screen-in-lightswitch-using-visual-studio/) how to create a search screen.
The following is the procedure for customizing a search screen.
Step 1
Open the Search Screen.
Step 2
At the bottom-right corner of the Search Screen, you will see a "Design Screen" button. You can click it to start customizing the Search Screen. 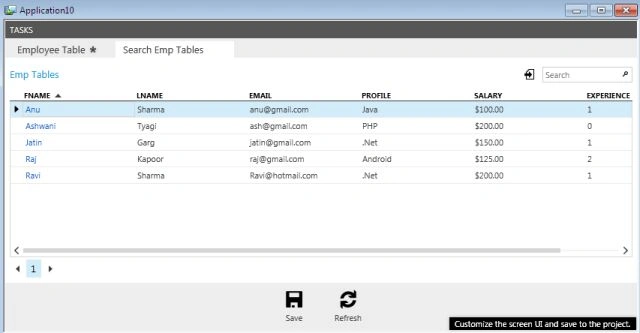
Step 3
We can easily sort the records, since the DataGrid consists of a mechanism that automatically sorts the records. Suppose we want to sort any kind of data on the basis of the column value. We can easily sort it by clicking on the column that we want to sort.
Now let's sort the record by clicking on the FName column.
We once again sort the record by clicking on the Experience Column Header. 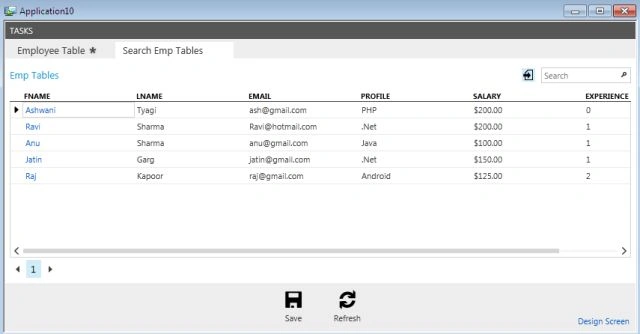
Step 4
We can also change the Title of the Search Screen. Select the First Item from the left panel (Row Layout | Search Emp Tables).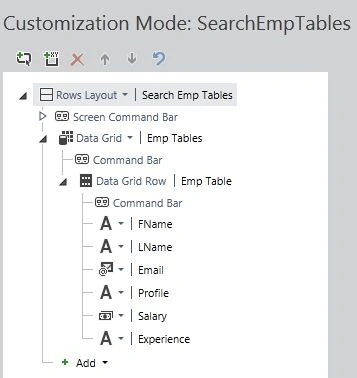
Now go to the Properties option, in the Display Name field, change the name from Search Emp Table to Search Emp.
Step 5
A navigation panel works only if you have a large number of records in a table.
Step 6
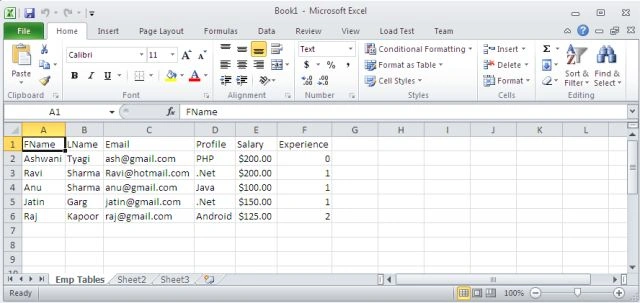
The Screen consists of an Export To Excel Button.
Step 7
This will do nothing but it will automatically export our records to the Excel Work Sheet.
Join the conversation! Your thoughts help the community grow.