

In the last article, I discussed how to use and create Editable Grid Screens in a LightSwitch application. In this article I'm going to explain how to use and create a List and Details Screen in a LightSwitch application.
List and Details screen
The List and Details Screen displays a list and for the chosen item in the list displays its details. The List and Details Screen also has many important uses in a LightSwitch application.
How to use the List and Details Screen
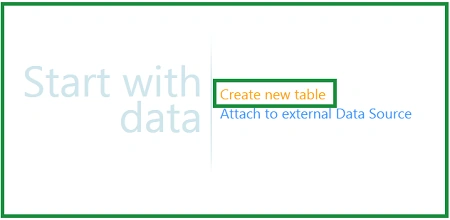
Step 1 : Open Visual Studio LightSwitch->Click on create new table.
Step 2 : Create table like as person.

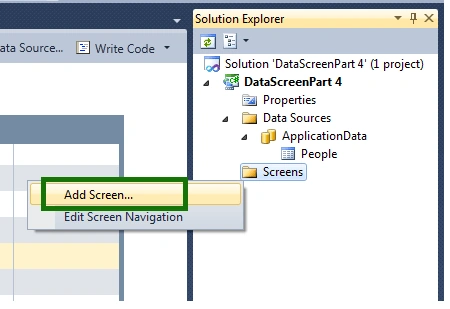
Step 3 : Now we will add a screen. Right click on screens->Add screen.
Step 4 : Select List and Details Screen->Select screen data (People)->Ok.

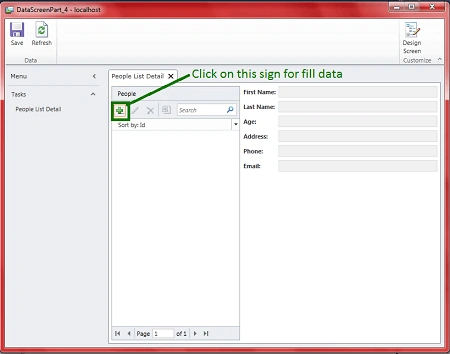
Step 5 : Run the application (Press F5). Click on the + sign to fill the data.
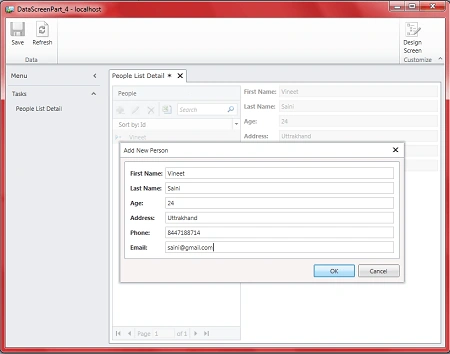
Step 6 : When you click on + sign to fill the data you will see a small window, in which you fill data then ok.
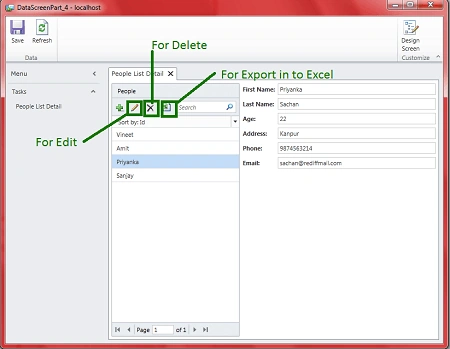
Step 7 : If you want to edit, delete and export data in to Excel then you can do that. For this purpose there are three icons available for edit, delete and export data to Excel. Which is shown in the image shown below.
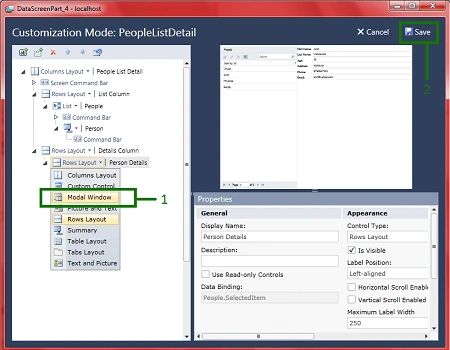
Step 8 : If you want to show the details of a person in a modal window then you can do that. For this purpose you will go to the design screen in the right corner of your application. Expand rows layout->Select modal window->Save.
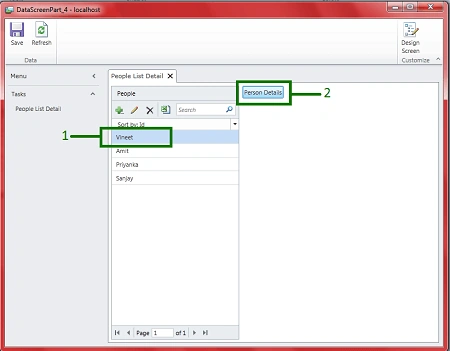
Step 9 : Now you will select any person like as (Vineet) then click on person details button.
Step 10 : When clicked on the person details button then you will see details of the select person in a small window i.e. modal window.

Step 11 : In this modal window you can edit and update data like as in the image below; the first name of Vineet is replaced by Aryan.
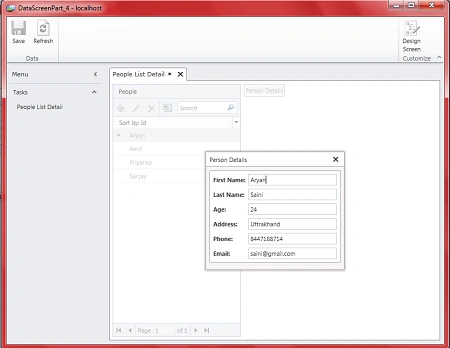
Step 12 : Close modal window->Save.
Now you will see Vineet replace by Aryan in your data screen.
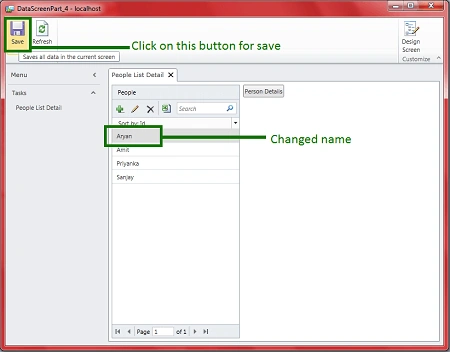
Step 13 : In this modal window you can also delete data. For this purpose you will go on design screen in the right corner of your application.
Expand command bar->Add->Delete->Save.
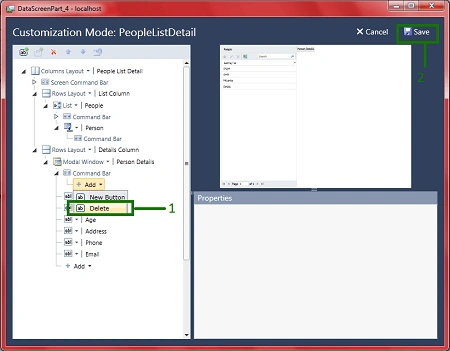
Step 14 : Now you will see there is a delete button present in the modal window. Using this delete button you can delete data.
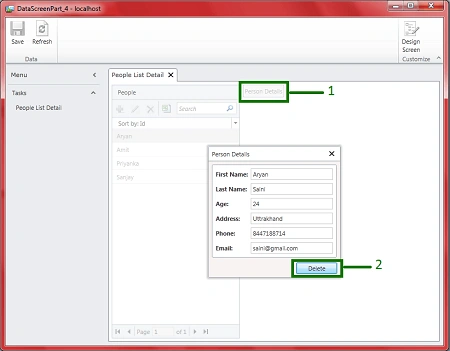
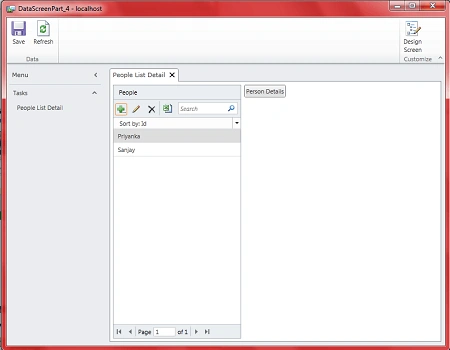
Step 15 : When you click the delete button in the modal window then data will be deleted from your screen like as in the image below.
Conclusion
So in this article you saw, how to use and create List and Details Screen in LightSwitch applications.
Some Helpful Resources
Vijay PrativadiPosted Jan 23, 2012, 3:56 AM
Thanks For Sharing!!!