

Introduction
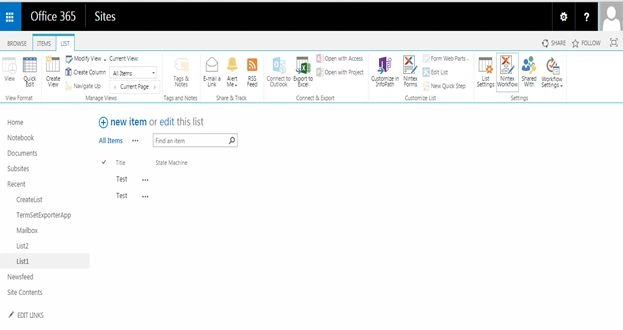
Go to the list in your site and add a Nintex Workflow APP.
We have actions on the left side and on the center. As you can see we can insert an action by clicking on it, then we can see the following insert the action from:
- Integration
- Libraries and Lists
- Logic and Flow
- Operations
- User Interactions
- Utility
Next drag the Delete list item action to the Nintex page. Your workflow should be like this, you might be seeing an exclamatory mark as a warning because it is yet not configured. Once we configure it, the notification is turned off.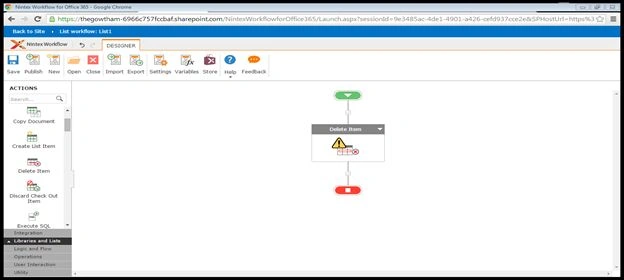
Double-click the Create list item section and the pop-up window will open the Configuration wizard where we need to add the following details.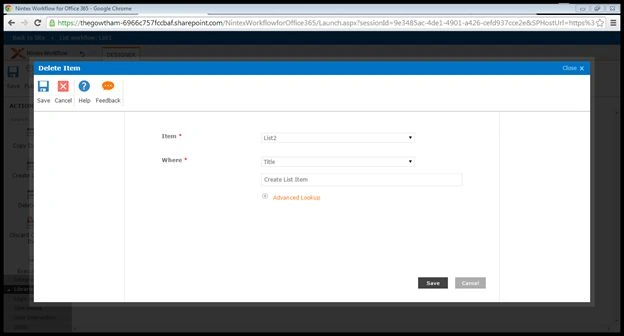
Select the list where you want to update the item and fill in the output variable and remaining fields .
- Name
- Description
- Task List: Select the Task List to store all the tasks created by Nintex
- History List: Select the History List to store all the tasks created by Nintex
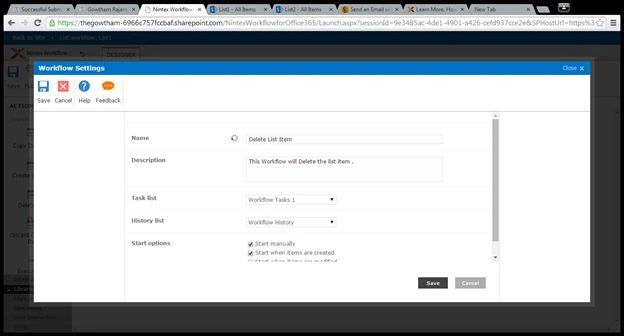
Then publish the workflow.
Start Options, Like SharePoint Designer
- Start manually
- Start when items are created
- Start when items are modified
After you configure the email, click on save and publish.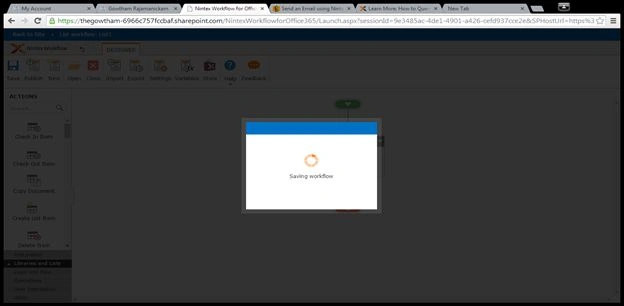
Output: Add an item to List 1 then check the Deleted in LIST2.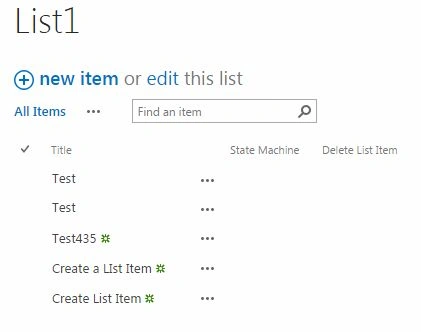
Check that the LIST2 item was Deleted Successfully.
Vijay SPosted Mar 16, 2015, 7:54 AM
Nice one