

Azure Bicep makes it easy to write Infrastructure as Code (IaC) for deploying Azure resources. When used with Azure Pipelines, it automates deployments efficiently. This article explains how to create a storage account in Azure using Bicep and Azure Pipelines step by step.
Step 1. Create a Bicep Template in the Azure Portal
Azure lets you easily create Bicep templates directly in the portal. Here's how,
- Open Azure Portal
- Log in to the Azure Portal.
- Deploy a Resource
- Go to Create a Resource and select Storage Account.
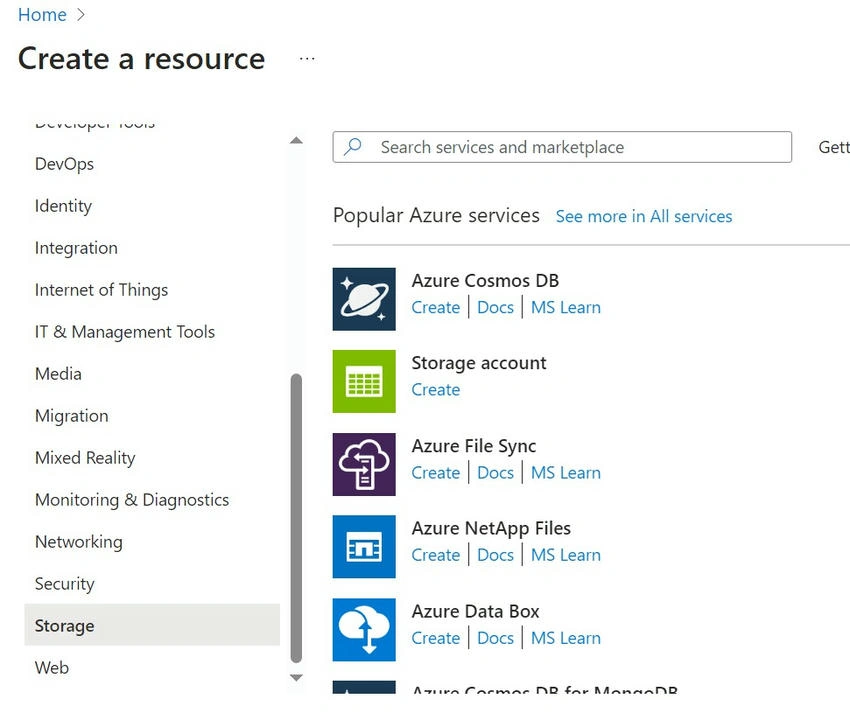
Fill in details like,
- Subscription
- Resource Group (create one if needed)
- Storage Account Name
- Region and Performance settings
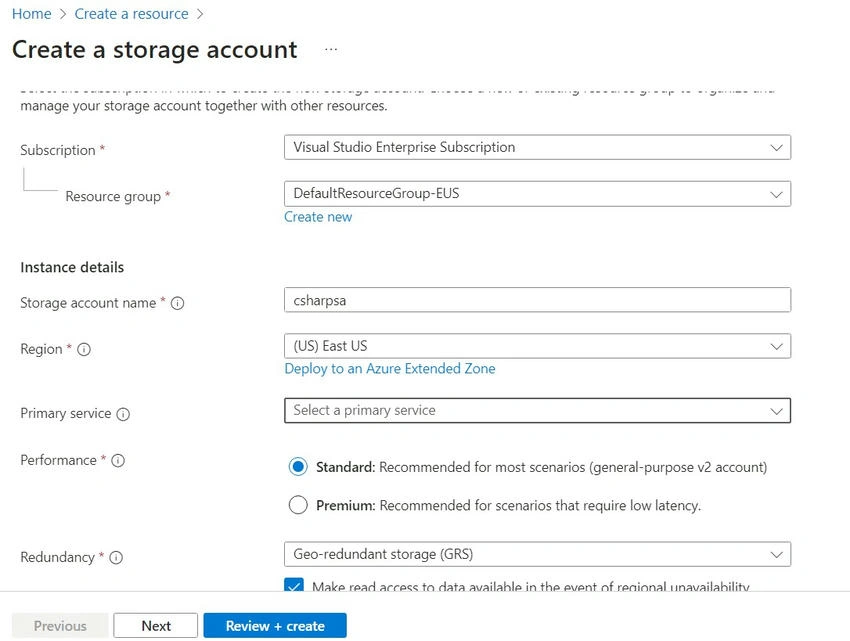
- Click Review + Create
Export the Bicep Template
- Click on View Automation Template.
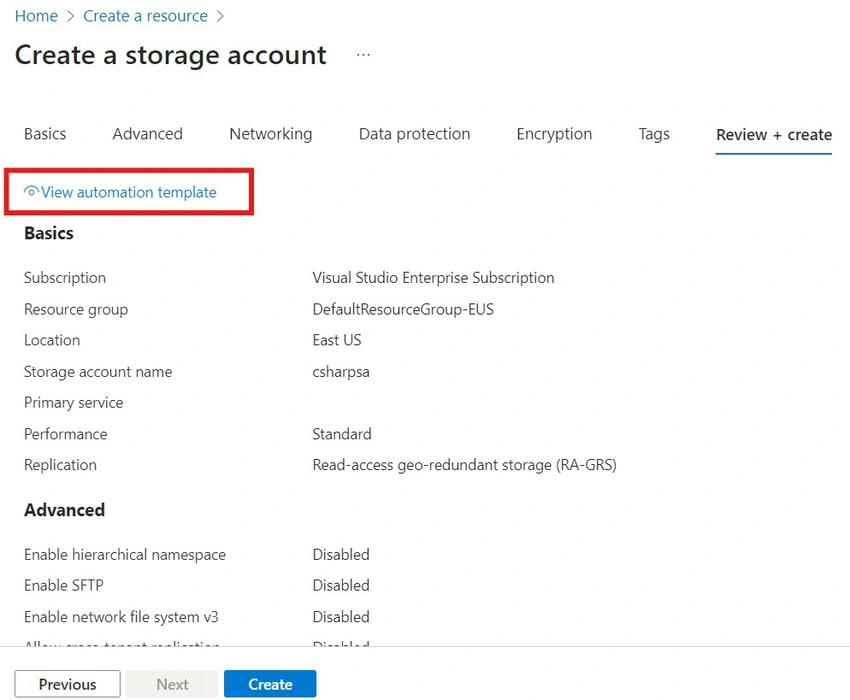
- Click on the Download button. A template.zip file will be downloaded.
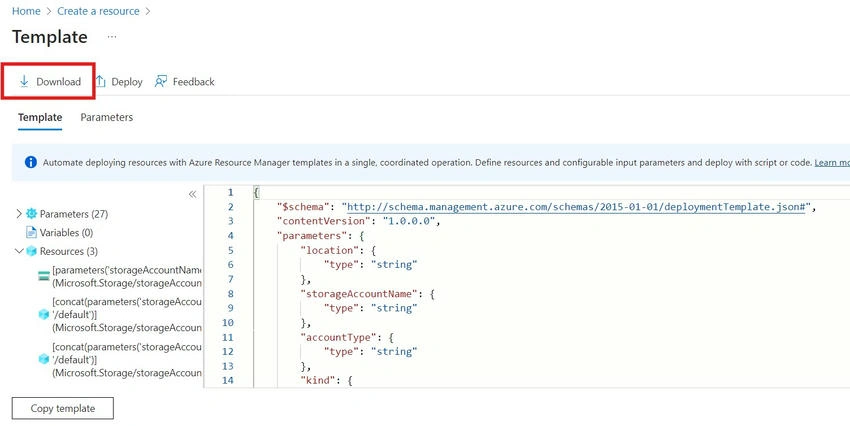
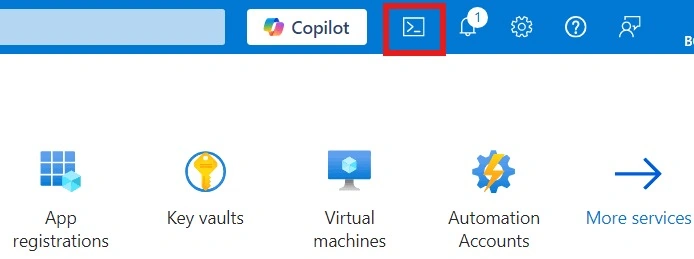
- Extract the contents of the zip file. Go back to Azure Portal and click on the cloud shell icon located in the top right corner.
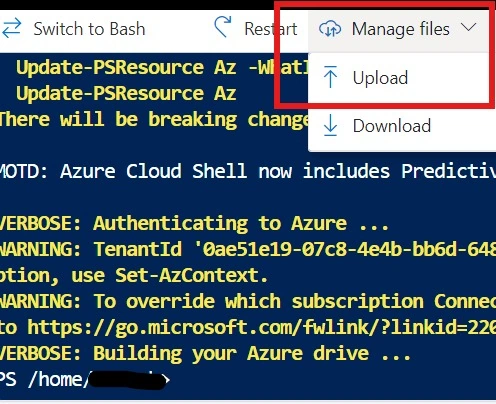
- In the cloud shell, click on the Manage Files dropdown. Select the Upload option and upload the template.json file.
- Install the Azure CLI and Bicep tools if not already installed.
- Run the following command to install the bicep module.
az bicep install - Use the az bicep decompile command to convert the ARM template to Bicep.
az bicep decompile --file template.json - Click Download to save the Bicep file to your local machine.
template.bicep
Step 2. Set Up Your Azure Repo
Push the Bicep File to the Repository.
- Navigate to your Azure DevOps project.
- Go to Repos and create a new repository (if required).
- Upload the downloaded Bicep file to the repository as shown below.

Step 3. Create an Azure Pipeline
Set Up the Pipeline.
- Go to Pipelines in Azure DevOps.
- Click New Pipeline.
- Select Azure Repos Git as the code source and pick your repository.
Write the Pipeline YAML: Below is a sample pipeline YAML to deploy your Bicep template.
trigger:
  - main

pool:
  vmImage: 'windows-latest'

stages:
  - stage: DeployStorageAccount
    displayName: Deploy Storage Account
    jobs:
      - job: Deploy
        displayName: Deploy Bicep Template
        steps:
          - task: AzureCLI@2
            inputs:
              azureSubscription: '<Subscription-Name>'
              scriptType: 'ps'
              scriptLocation: 'inlineScript'
              inlineScript: |
                az deployment group create `
                  --resource-group "<Resource-Group-Name>" `
                  --template-file "bicep-templates/template.bicep"
Replace Placeholders.
- Replace <Subscription-Name> with the name of your Azure service connection/ Subscription Name
- Replace <Resource-Group-Name> with the name of the resource group where you want the storage account deployed.
Save and Run
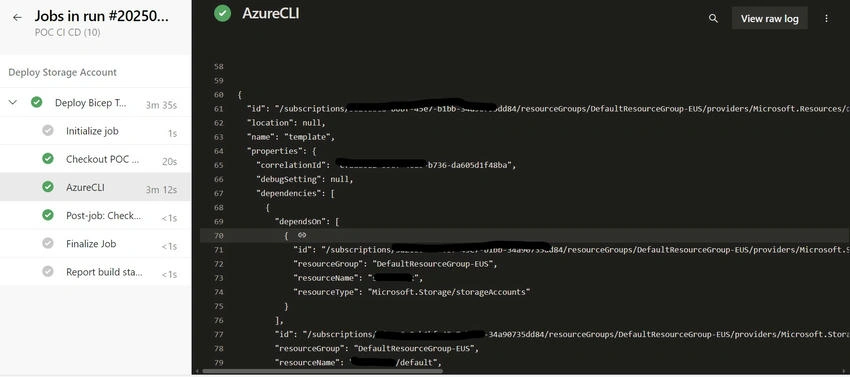
Save the pipeline and click Run Pipeline to trigger it.
Pipeline Run Window View.
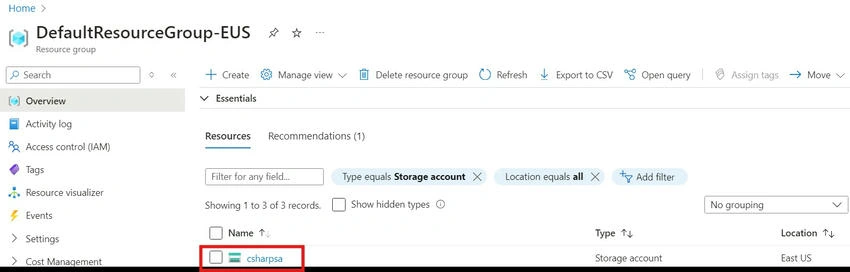
Storage Account Created in Azure Portal.
Join the conversation! Your thoughts help the community grow.