

Overview
Welcome to Bot Development with the Microsoft Power Virtual Agent series. During this entire article series, we will learn how to create a Chatbot using Microsoft Power Virtual Agent without writing a single line of code. From this series, you will learn complete end to end process from development to deployment.
I have divided this article series into five Parts,
- Introduction to Microsoft Power Virtual Agent – Part One
- Get Started with the Bot Development Step by Step – Part Two
- Connect your Power Virtual Agent with the MS Power Automate – Part Three
- Publish Power Virtual Agent ChatBot and Deploy to MS Teams – Part Four
- Deploy Power Virtual Agent ChatBot to Any Website – Part Five
Use Case
In this article, we will talk about how we can deploy our ChatBot to any third party web site.
Recap
In my previous article, we have created Power Virtual Agents ChatBot and deployed the Chatbot to MS Teams.
So, now let’s get started!
Step 1
Publish the Chatbot.
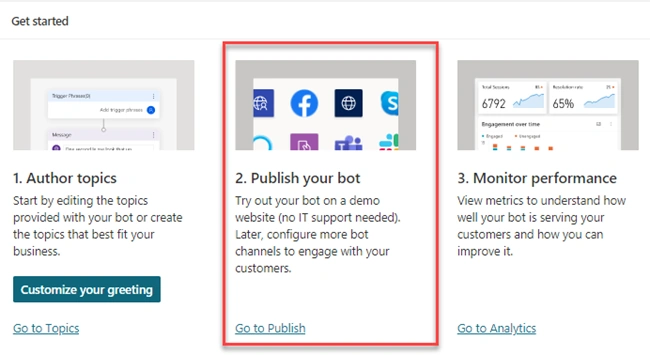
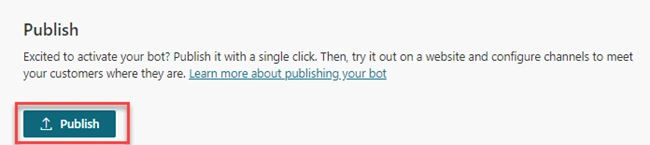
Step 2
Go to Manage > Channels
Step 3
Select Custom Website
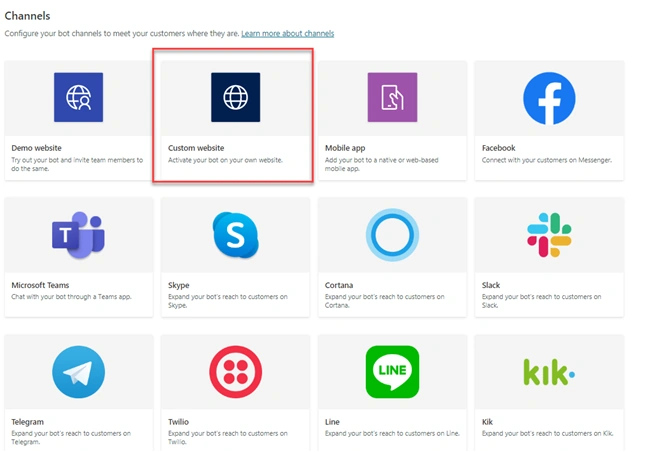
This will open the following screen.
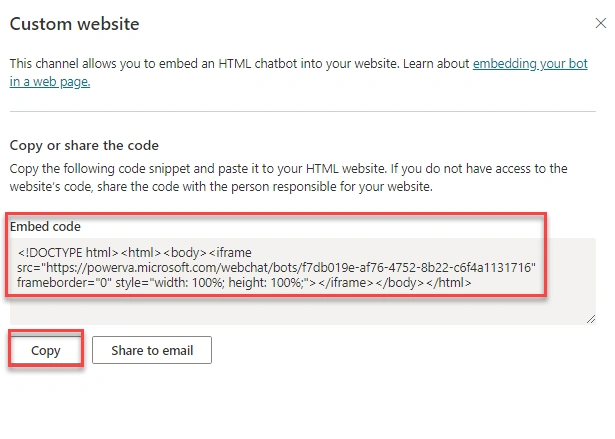
Copy HTML code.
- <!DOCTYPE html><html><body><iframe src="https://powerva.microsoft.com/webchat/bots/f7db019e-af76-4752-8b22-c6f4a1131716" frameborder="0" style="width: 100%; height: 100%;"></iframe></body></html>
Step 4
Open any Text Editor and Paste the Code there.
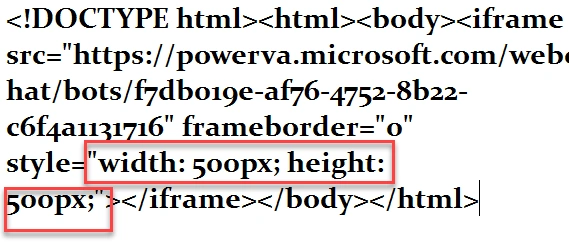
Save the file as HTML.
Modify Height and Width.
Step 5
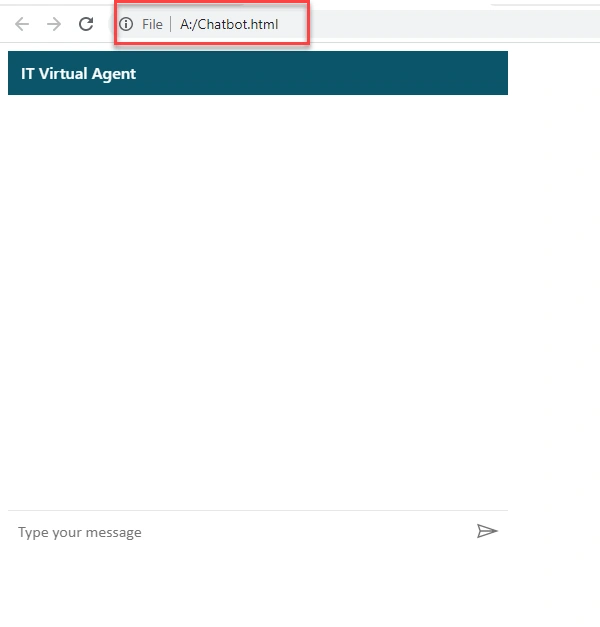
Run the file. It will show the following page.
Step 6
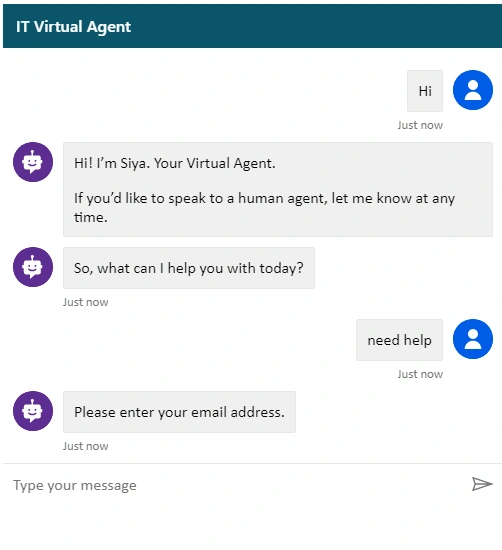
Now, let’s test the chatbot.
Conclusion
This is how we can easily integrate our Power Virtual Agents Chatbot with any third party custom web site.
Isn’t it amazing?
Hope you love this article.
Stay connected with me for more amazing articles!
Join the conversation! Your thoughts help the community grow.