
Create a new SharePoint 2013 empty project in Microsoft Visual Studio 2013.
Create a new project named "Registration" and click OK.
Enter the valid SharePoint site URL and select Deploy as a Farm solution, then click Finish.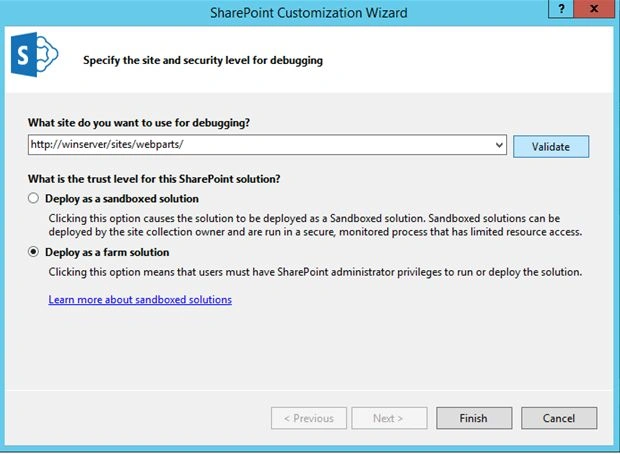
Now right-click on the project and click Add new item.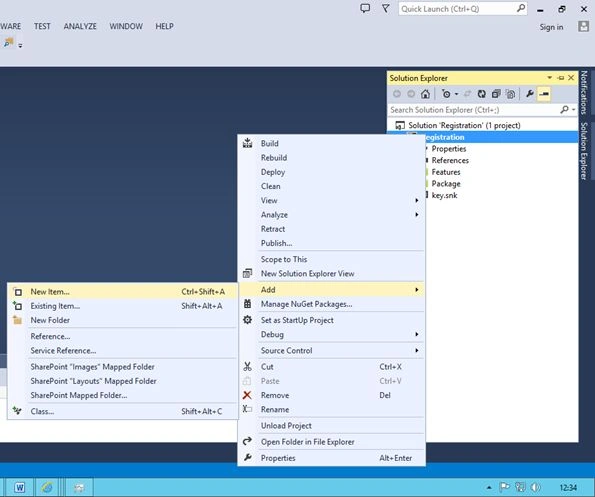
Create a new Visual Web Part named "Demo".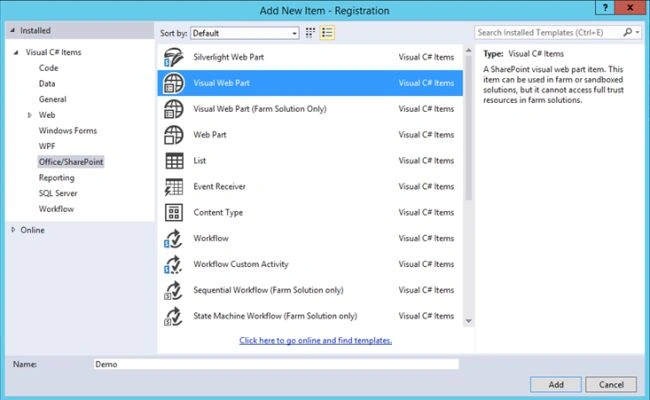

Now I will add a simple Hello World Web Part on the button click action displayed using label.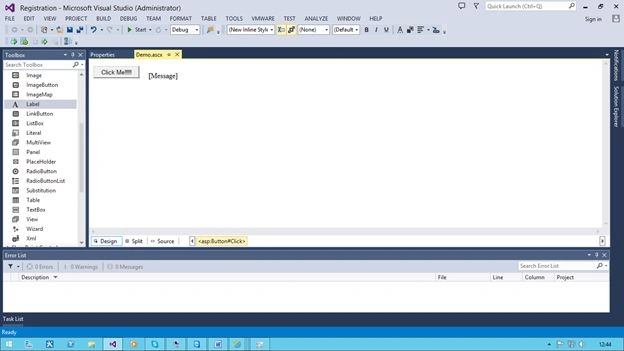
Double-click on the button to add some code to display the message.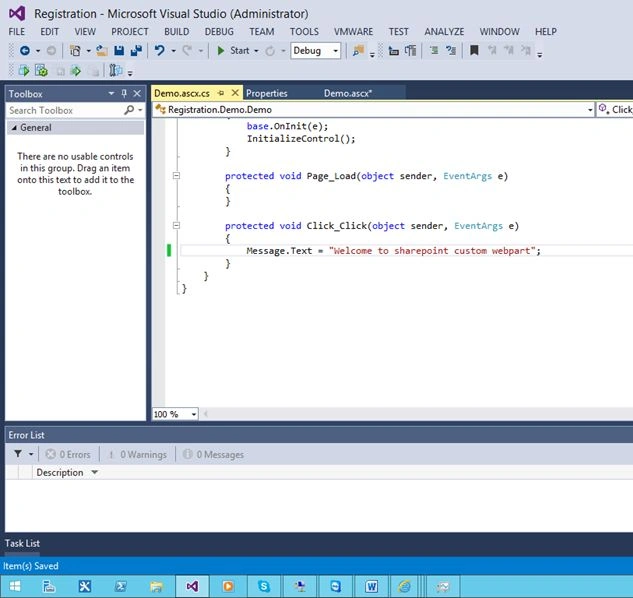
Now Save the project and right-click on the project and select Publish.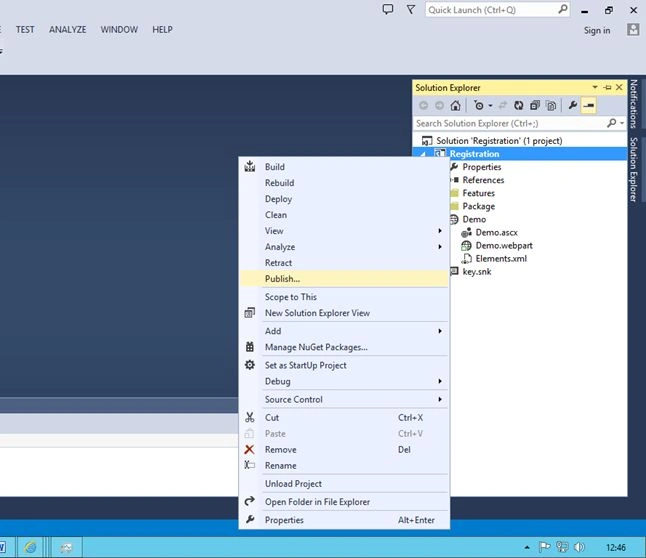

Now the Registration.wsp has been published to the file system.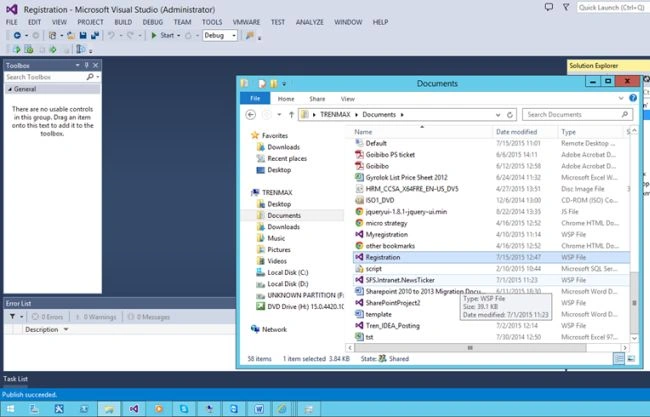
Now open the SharePoint Management Shell using “Run as administrator”.
Command: stsadm –o addsolution filename Registration.wsp.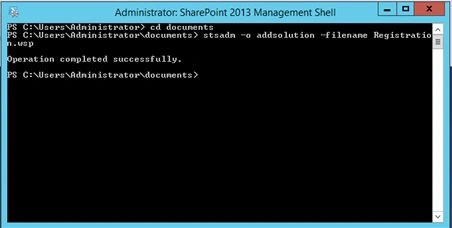
Now go to SharePoint 2013 Central Administration to deploy the solution.
Under System settings click Manage Farm solutions.
Click on the solution “registration.wsp” and click Deploy solution, then click OK.
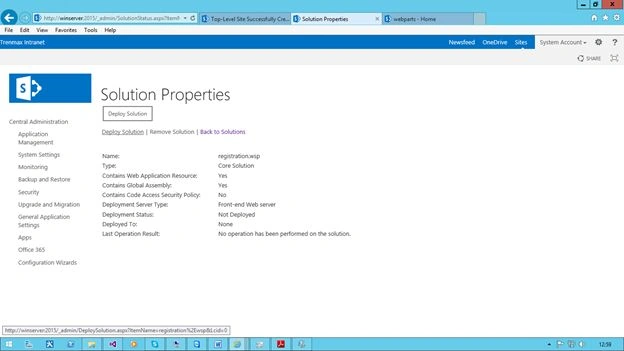
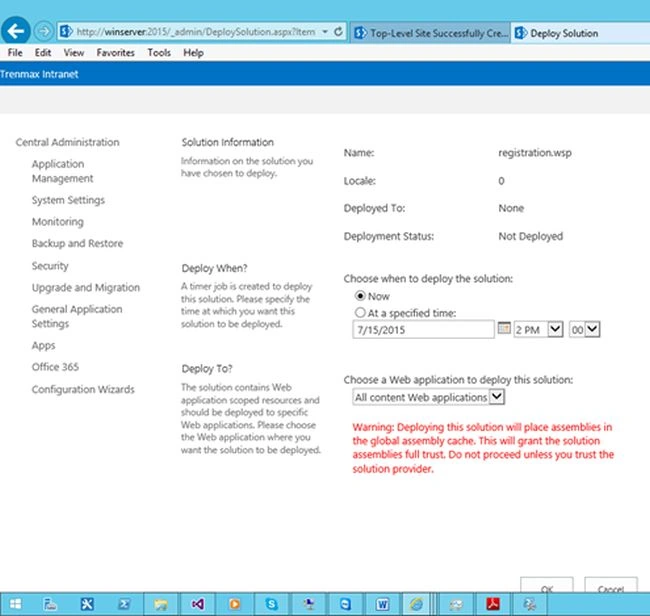
Now the solution has been deployed successfully.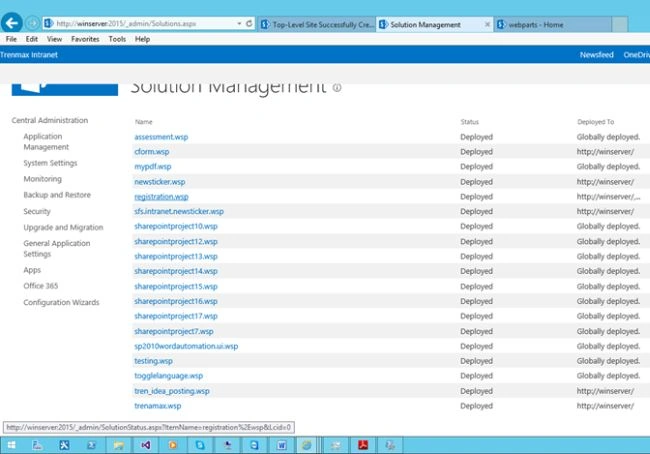
Now go to the site.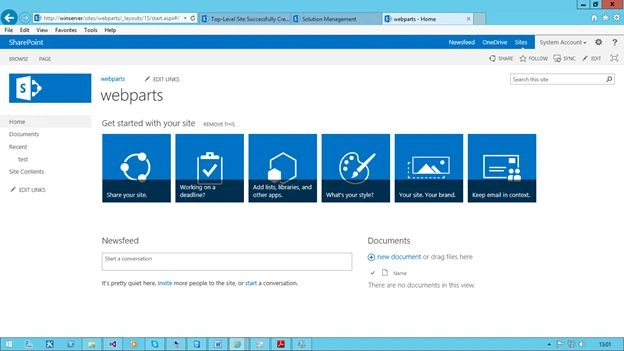
Click on edit page to add a Web Part.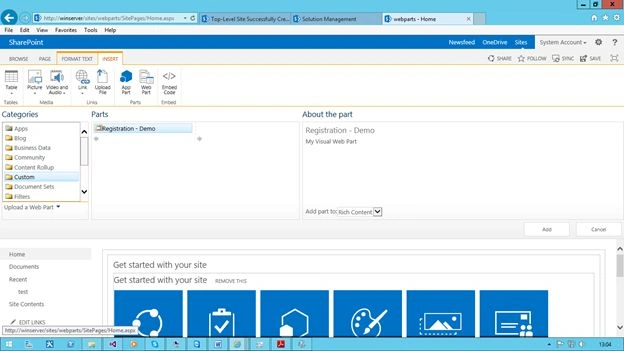
Now click on the button and display the message.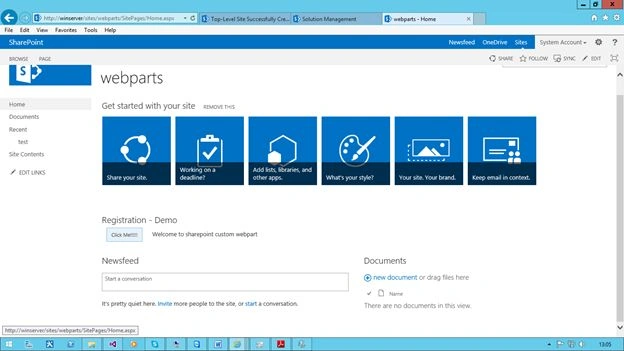
One more way to deploy the solution is to directly deploy it from Microsoft Visual Studio.
This document shows how to deploy the .wsp file in SharePoint 2010 and 2013.

Deploying WSP in Sharepoint Solutions
Join the conversation! Your thoughts help the community grow.
Sign in to leave a comment
It is the same account you read, post and publish with — and you will come straight back to this page.
Vinodh NarayananPosted Jul 17, 2015, 12:38 AM
Santhakumar Munuswamy Thanks sir
Santhakumar MunuswamyPosted Jul 16, 2015, 3:48 PM
Welcome
Santhakumar MunuswamyPosted Jul 16, 2015, 3:47 PM
Nice Article! Thanks for sharing
Vinodh NarayananPosted Jul 15, 2015, 12:27 PM
Thanks friends
Abhay ShankerPosted Jul 15, 2015, 11:24 AM
nice...
Sibeesh VenuPosted Jul 15, 2015, 9:28 AM
Nice Share
Nilesh JadavPosted Jul 15, 2015, 8:54 AM
Nice one sir