

Step 1
Open Expression Blend 4 -> select Silverlight-Application -> select Silverlight-Application -> change Name and Location accordingly -> hit OK.
Step 2
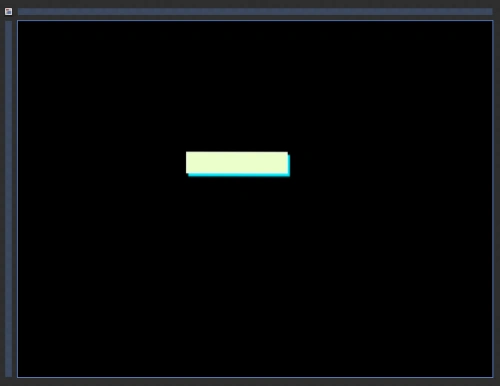
Select Assets -> select Shapes -> select Rectangle, draw an rectangle, manage the width & height, background color, margin and shadow-effect as shown below:
Step 3
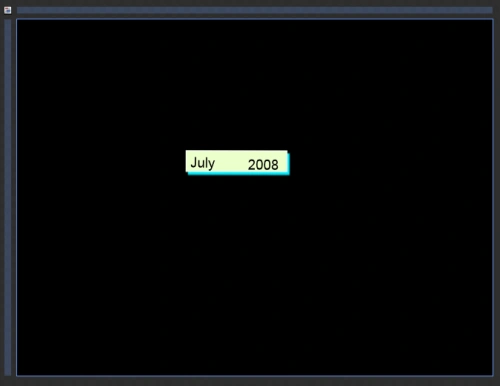
Select Text-Box from the Toolbox, enter a Month-Name according to your choice to the left of the rectangle shape and 2008 to the right of the rectangle shape, manage the width & height, font family and font size as shown below:
Step 4
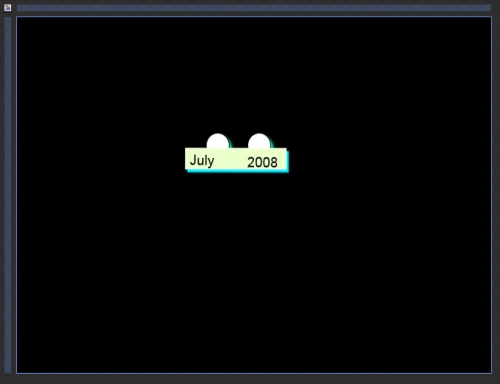
Select Assets -> select Shapes -> select Ellipse, draw an ellipse as the Handler for the calendar, manage the width & height, background color, margin and shadow-effect as shown below:
Step 5
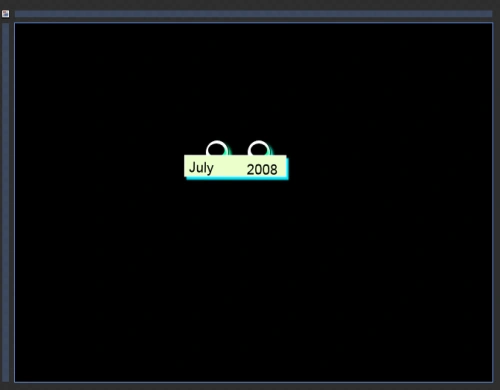
Again follow Step 4 and draw an inner ellipse, manage the width & height, background color, margin and shadow-effect as shown below:
Step 6
Again follow Step 2, draw another Rectangle, manage the width & height, background color, margin and shadow-effect as shown below:
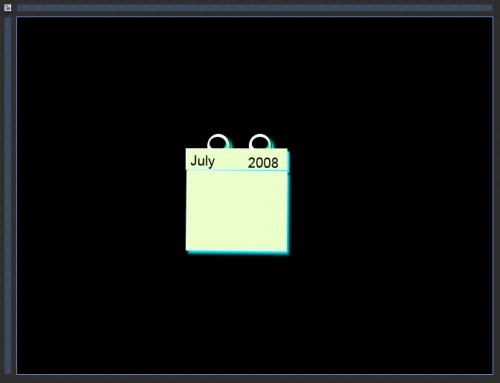
Step 7
Again follow Step 3, enter month dates according to your choice, manage the width & height, font family and font size as shown below:
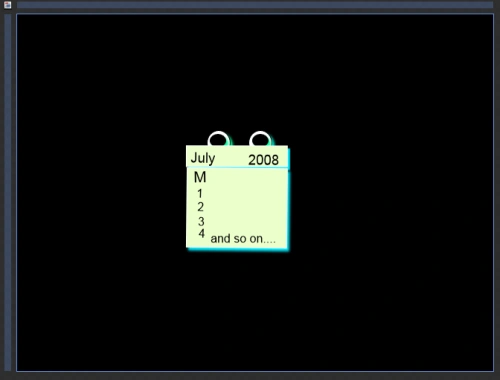
Here's the Final image of the Calendar as shown above.
Note: In this manner we can design the complete Calendar Icon using controls.
Summary
This article shows the use of Rectangle and Ellipse Controls for Creative Designing.
Deepak MiddhaPosted Sep 24, 2012, 12:28 AM
Hi sonia! great artcle .
Sonia Bhadouria VishvkarmaeditedPosted Sep 20, 2012, 11:05 PMEdited Sep 20, 2012, 11:06 PM
Good Morning Sir. Thankyou.
Mahesh ChandPosted Sep 20, 2012, 10:56 PM
Good article Sonia. It will be nice to a flat tiles design that fits in a Metro Style app (Windows store app). No rounds, no shadows.