

Introduction
In the previous article part we have seen that how to create un-named that are simple skins. But now in this part we will be using Named Skins. Un-named skins are sometimes called Default skins. Default skins are applied to every instance of a TextBox that we have already discussed in previous part. We also have the option of creating a Named Skin. When we create a Named Skin, we can decide when we want to apply the Skin. For example, we might want required fields in a form to appear with a red border. In that case, we can create a Named Skin and apply the Skin to only particular TextBox controls. Here is the coded example given below.
TextBox.skin Code
<asp:TextBox
SkinID="DashedTextBox"
BorderStyle="Dashed"
BorderWidth="5px"
Runat="Server"
/>
<asp:TextBox
BorderStyle="Double"
BorderWidth="5px"
Runat="Server"
/>
The first TextBox in above example has Named Skin. Notice that it includes a SkinID property. The SkinID property represents the name of the Named Skin. We use the value of this property when applying the Skin in a page. Above file also includes a Default Skin for a TextBox control. The Default Skin does not include a SkinID property. If a TextBox control in a page is not associated with a Named Skin, then the Default Skin is applied to the TextBox.
A Theme can contain only
one Default Skin for each type of control. However, a Theme can contain as many
Named Skins as you please. Each Named Skin must have a unique name.
The page given above contains two TextBox controls. The first TextBox control includes a SkinID attribute. This attribute causes the Named Skin to be applied to the control. The second TextBox, on the other hand, does not include a SkinID property. The Default Skin is applied to the second TextBox control.
Default.aspx Code
<%@
Page Language="VB"
AutoEventWireup="false"
CodeFile="Default.aspx.vb"
Inherits="_Default"
Theme="Simple2"
%>
<!DOCTYPE
html PUBLIC
"-//W3C//DTD XHTML 1.0 Transitional//EN"
"http://www.w3.org/TR/xhtml1/DTD/xhtml1-transitional.dtd">
<html
xmlns="http://www.w3.org/1999/xhtml">
<head
runat="server">
<title></title>
</head>
<body>
<form
id="form1"
runat="server">
<div>
<asp:TextBox
id="txtFirstName"
SkinID="DashedTextBox"
Runat="server"
/>
<br
/><br
/>
<asp:TextBox
id="txtLastName"
Runat="server"
/>
</div>
</form>
</body>
</html>
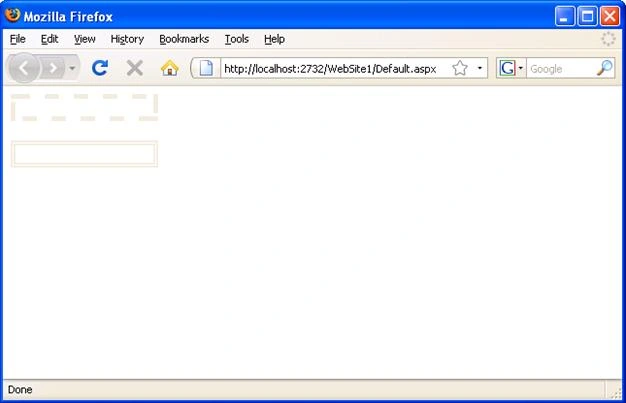
When we open the above page, the first TextBox appears with a dashed border and the second TextBox appears with a double border as given below in figure.
That's pretty cool and most useful.
Note:
Continue in next part.
HAVE A GREAT CODING!
Join the conversation! Your thoughts help the community grow.