
Here we will learn about various ways to attach to an External Data Source in LightSwitch using Visual Studio 2012.
This article describes various ways to attach to an External Data Source.
Step 1
Adding External Data Source
In LightSwitch we can add an External Data Source in various ways.
One way is when we open an application in LightSwitch, in the middle of the screen "Attach to External Data Source" will be present. 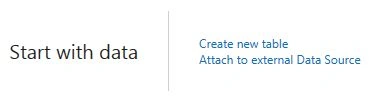
Another way is to go to the the Solution Explorer, right-click on the data source and choose "Add Data Source".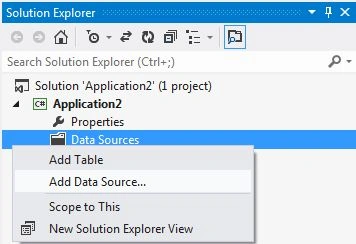
The third way is, after adding a table in LightSwitch, go to the menu bar and choose "Attach to External DataSource".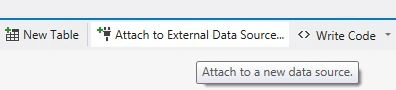
Step 2
Choosing Data Source Type
Lets you connect to a database and choose the database object.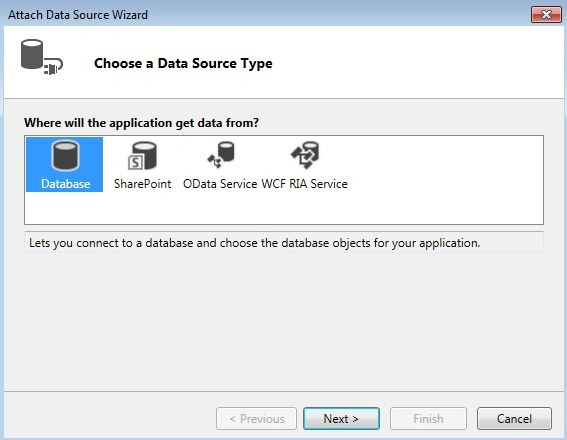
Selecting the Data Source
The Connection Properties window will appear. In the Connection Properties window specify the server name and database name.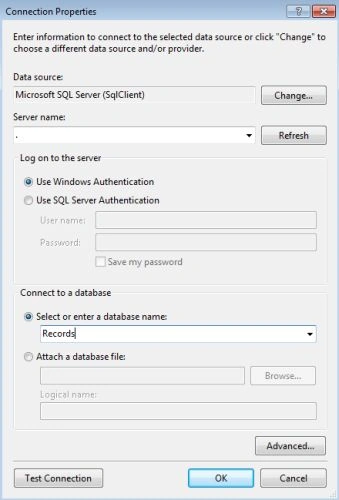
To test the connection click on the "Test Connection" button. A pop-up window will appear and click the "OK" button.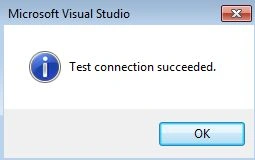
At last choose the table from the database and click on the "Finish" button. 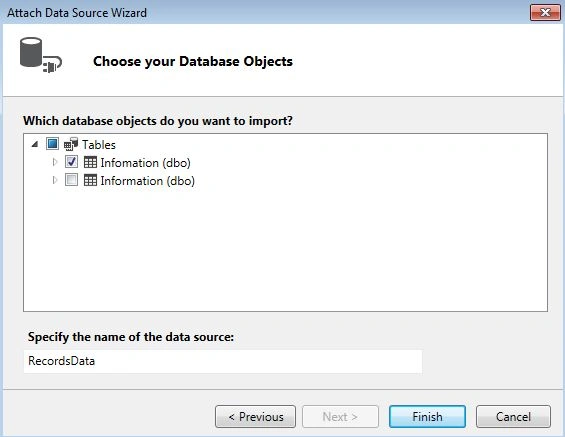
Step 3
The table appears in the table designer window.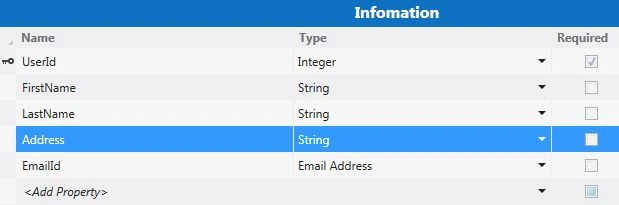
Step 4
Now go to the Solution Explorer and right-click on Screens and choose "Add Screen".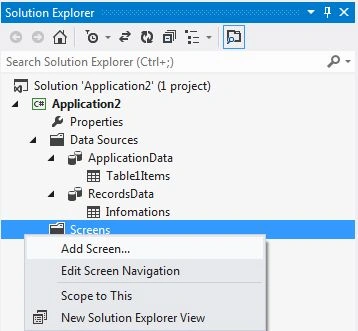
The "Add New Screen" dialog box appears. Select the "Editable Grid Screen" from the Screen Template, under screen information, choose "RecordsData.Information" under screen data and provide a name to the Screen and click the "OK" button. 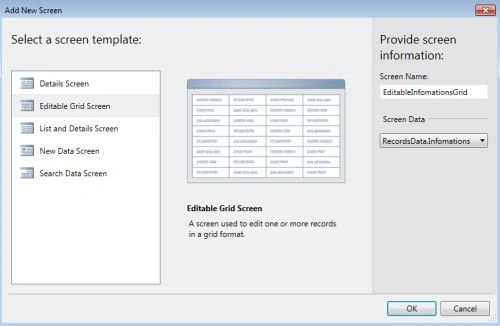
Press "F5" to run the application.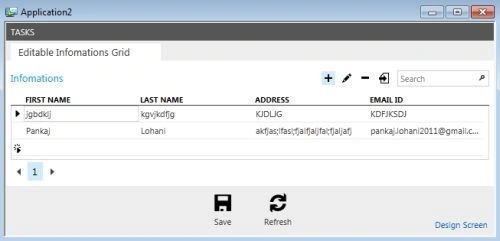

Join the conversation! Your thoughts help the community grow.