

Introduction:
Microsoft recently launched the Visual Studio 11 Developers Preview at BUILD Conferenceand its available for download to all as a preview. So in this article we are going to see how to download and install the Visual Studio 11 developer preview version in a Windows 7 environment.
Steps:
Visual Studio 11 Developers Preview is available as a free download from the MSDN link http://www.microsoft.com/download/en/details.aspx?id=27538 Many new features have been released with this version such as
- Asynchronous Programming
- Call Hierarchy
- .Net for Metro Style Applications
- Managed Extensibility Framework (MEF)
- etc...
Visual Studio 11 can be installed in the latest Windows Server 8 or Windows 7 or Windows Server 2008 R2. Let us see the step by step processon installing it in to a Windows 7 environment. Once we download the ISO file and extract it using the ISO image extractor we can see a list of files as shown in the screen below.
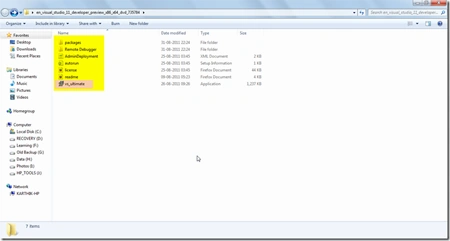
From the list of files shown in the above screen, right click on the vs_ultimate application file and click on Run As Administrator. We can see that the Visual Studio 11 installation wizard gets opened with a nice Splash screen as shown in the screen below.

We can now see the installation wizard opened with a request for thelocation to install the Visual Studio 11 Developer preview and some licenses terms and conditions as shown in the screen below. We can just click on the Install button directly to start installing the applicationor click on Customize your Installation as shown in the screen below.

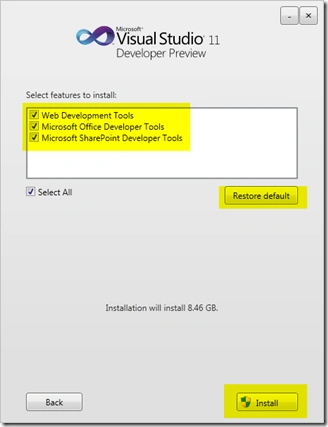
Clicking on Customize your Installation will move on to next window with a nice graphical slide out and we can see the list of options to customize it based on our requirement. Since our requirement is to look out with the web development tools just select Web Development Tools check box and click on Install to start the installation as shown in the screen below.
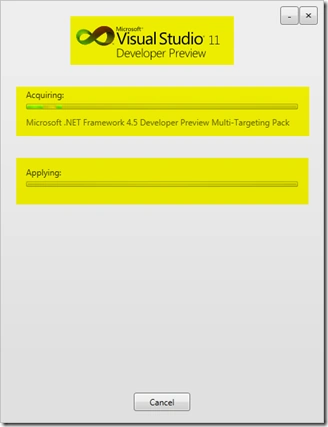
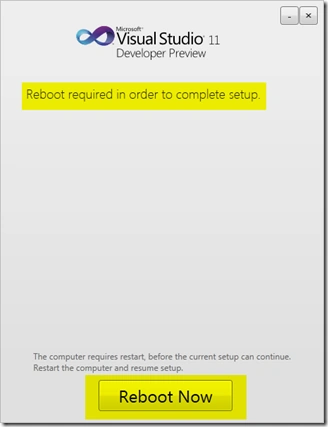
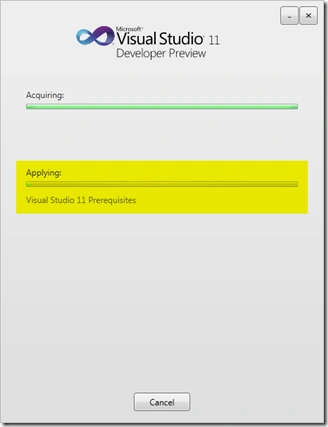
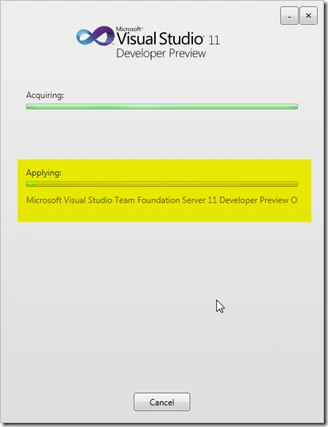
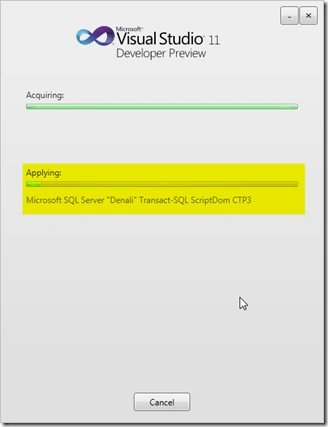
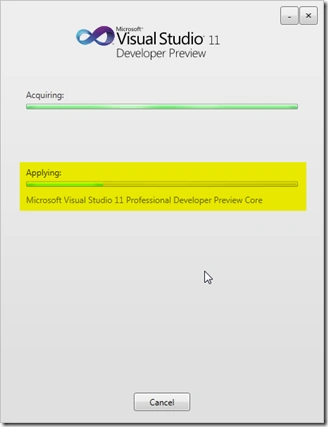
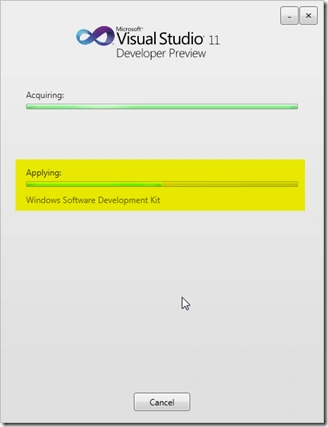
Now we can see the installation is started and the installation firstacquires the list of packages to be installed and then apply the packages to the environment as shown in the screen below.
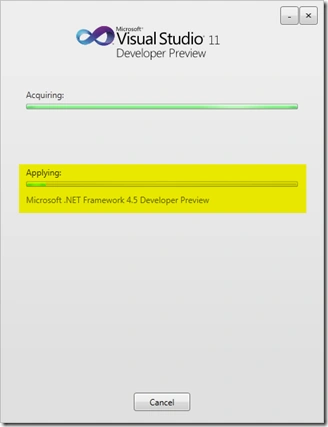
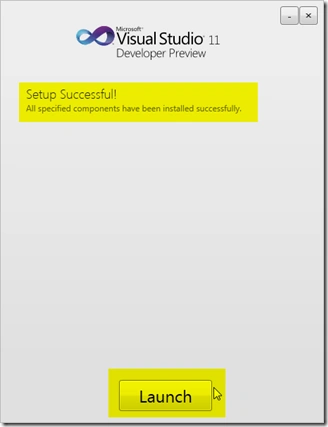
Once the required packages are acquired it starts applying the packages one by one in the requisites order as shown in the screen below.
Join the conversation! Your thoughts help the community grow.