
How to upload the document by drag and drop
“A Document Library is a collection of files that you can share with you team members as documents.”
Use the following procedure to upload the document using drag and drop in a SharePoint2013 Document Library.
Step 1: Open the Document Library in SharePoint that you have created already.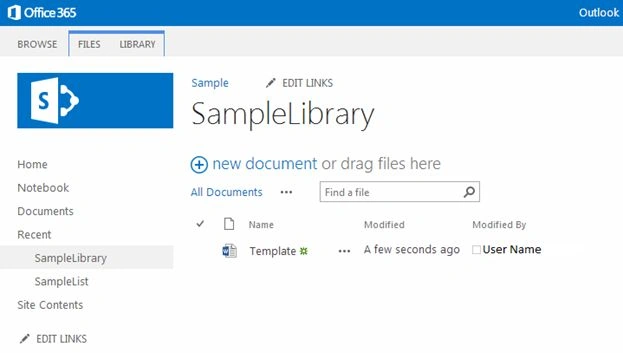
Step 2: Open the Windows Explorer in your machine as shown below: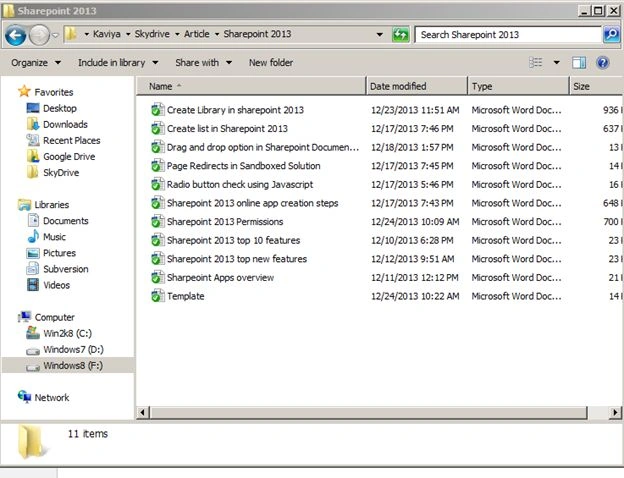
Step 3: Then drag the document from the Windows Explorer and drop it into your Document Library as shown below: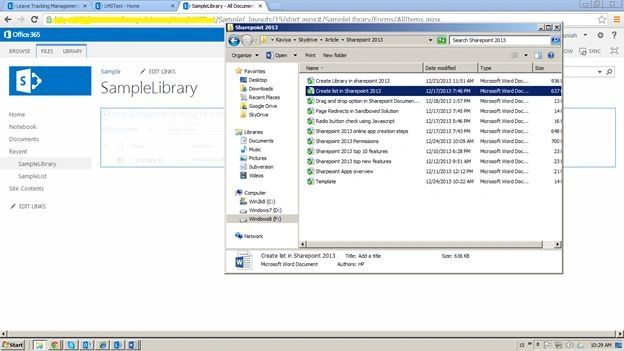
Step 4: When you have dropped the document, you can see the upload progress as in the following: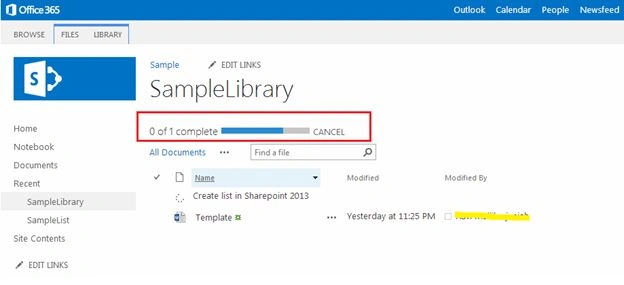
The document will be uploaded after the progress has completed.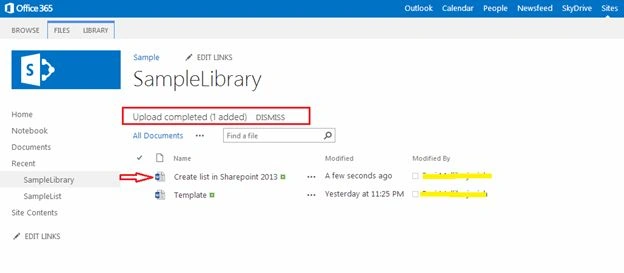
How to edit the document properties in a library
Use the following procedure to edit document properties:
Step 1: Go to your library as shown below: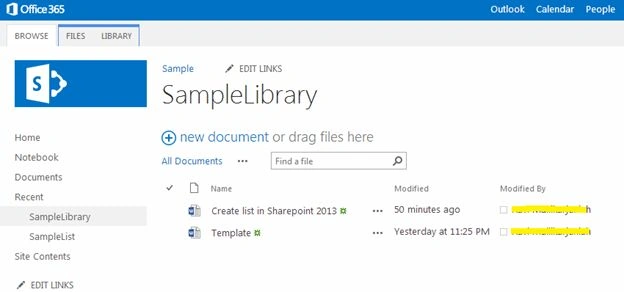
Step 2: Check on the document you want to edit the properties of.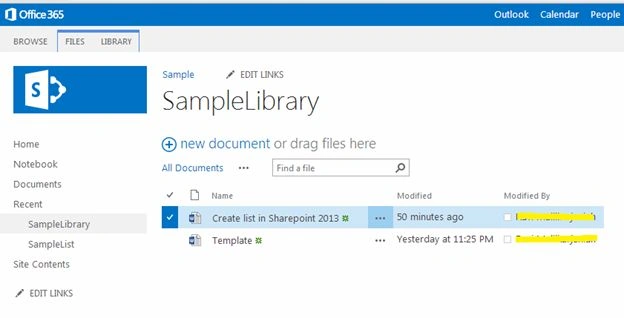
Step 3: Then click on "Files" in the top ribbon bar as shown below: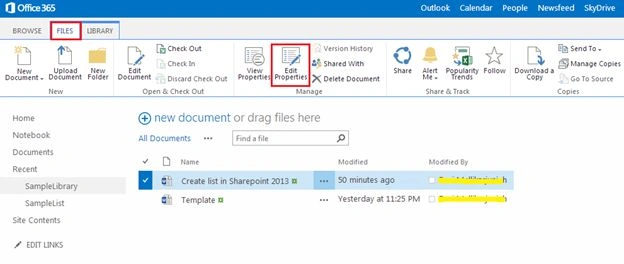
Step 4: On the ribbon there will be an option to edit the properties for the selected document. Then click on “Edit Properties” from the ribbon, you will get the following page.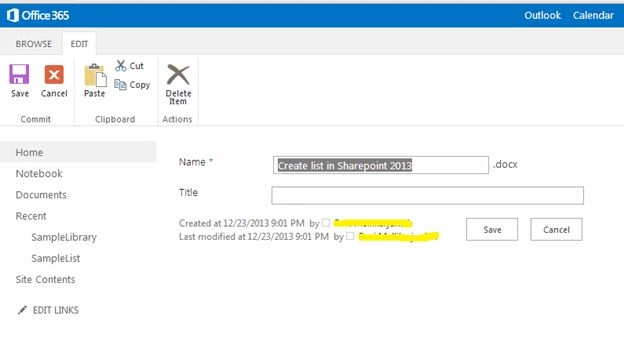
Step 5: On the edit page you can provide the title and also you can change the document as your wish.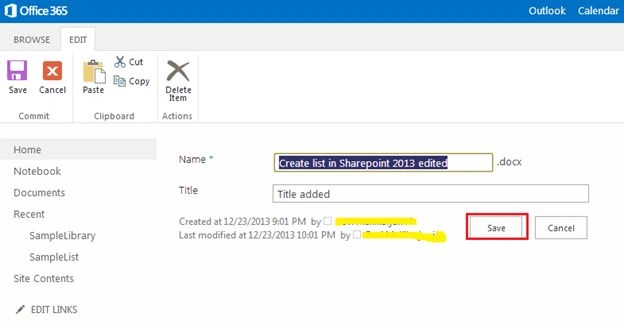
Step 6: Then click on the “Save” button to save the changes. Document properties will be edited.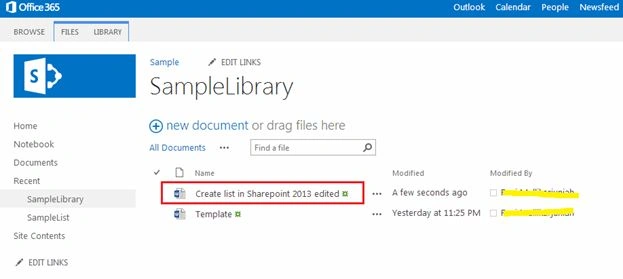
For edit and delete the document you can visit the following article:
Document Library Creation in SharePoint 2013 Online
Summary
In this article we have explored drag and drop to the document in a SharePoint Document Library and how to edit the document properties.

Join the conversation! Your thoughts help the community grow.