

Step 1: Open Expression Blend 4 -> Select Silverlight Application + Web -> Change Name and Location accordingly -> hit OK. A Blank Window appears on Artboard.
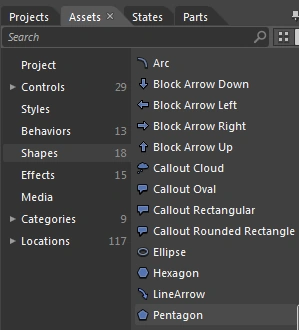
Step 2: Select Shapes -> Select Pentagon Shape from Shapes or Assets located to the top left of the Workspace as shown below:
Note: In front of the Pentagon Shape a dialog box appears which shows the details of the Pentagon Shape as shown below:

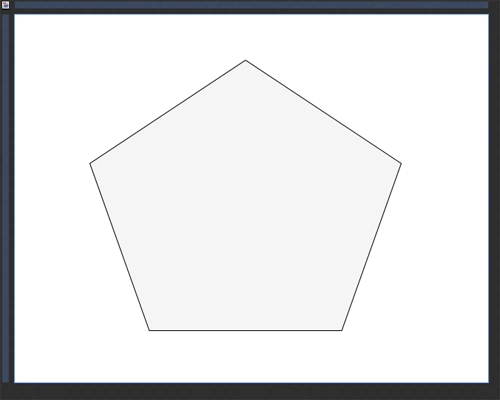
Step 3: Draw a Pentagon Shape as shown below:
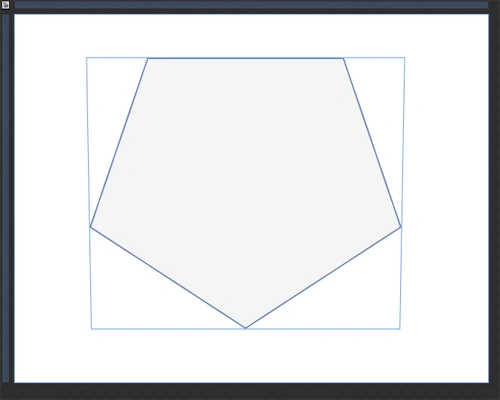
Step 4: Using the Rotation Property of the Projection Property, rotate the Shape as shown below:
Note: Here, the Projection Transform Property consists of 4 properties; they are Rotation, Center of Rotation, Global Offset and Local Offset as shown below:
- Select Rotation and see the effect as shown below:
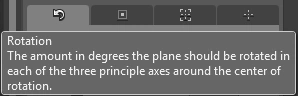
Note: See the description of Rotation.
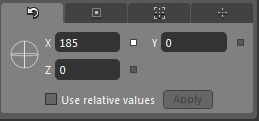
Note: Here, by increasing or decreasing the value of the X-Axis manage the Shape.
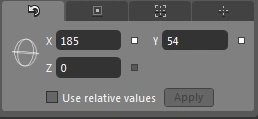
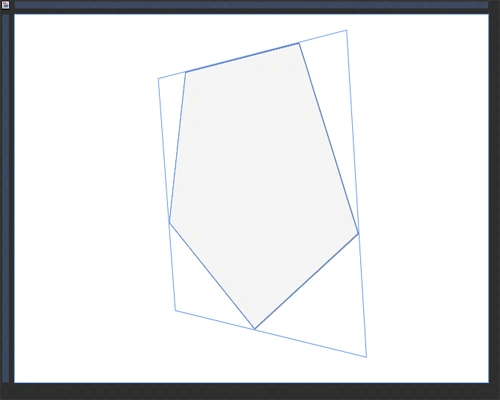
Note: Here, by increasing or decreasing the value of the Y-Axis manage the Shape.
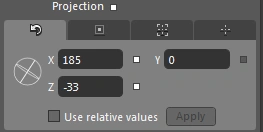
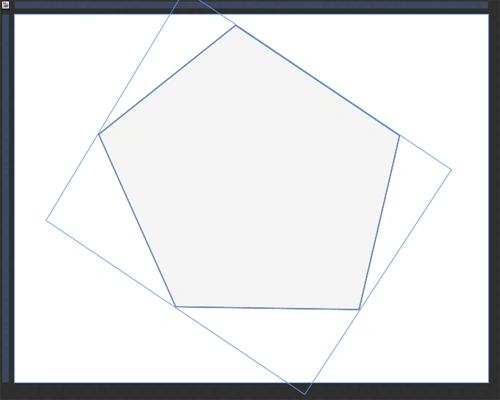
Note: Here, by increasing or decreasing the value of the Z-Axis manage the Shape.
- Select Center of Rotation and see the effect as shown below:
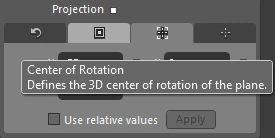
Note: See the description of the Center of Rotation.
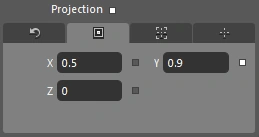
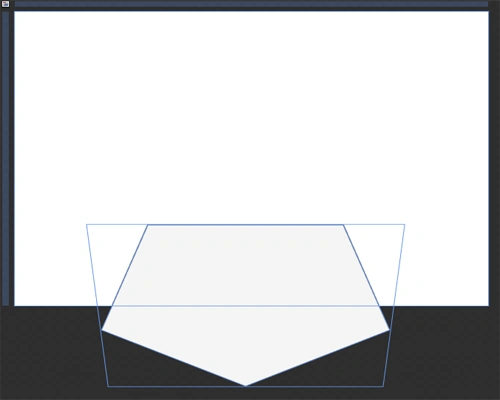
Note: Here, by increasing or decreasing the value of the Y-Axis manage the Shape.
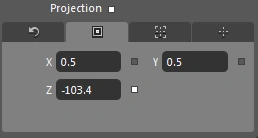
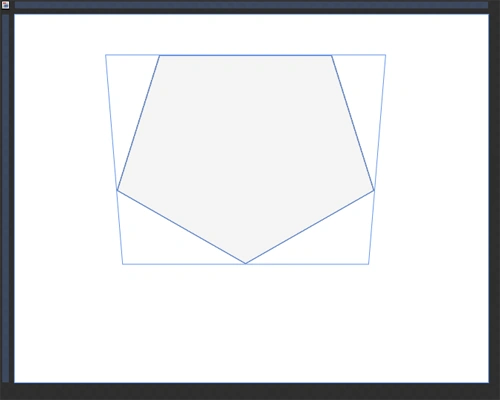
Note: Here, by increasing or decreasing the value of Z-Axis manage the Shape.
- Select Global Offset and see the effect as shown below:
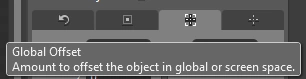
Note: See the description of the Global Offset.
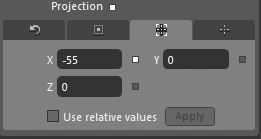
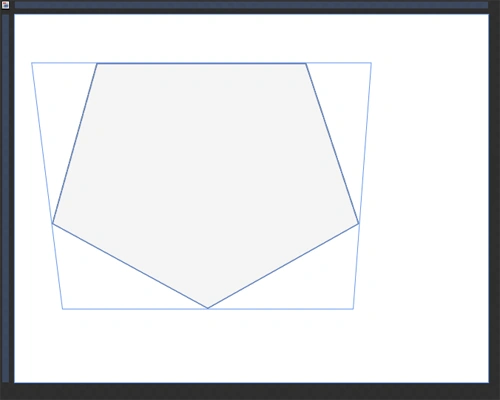
Note: Here, by increasing or decreasing the value of the X-Axis manage the Shape.
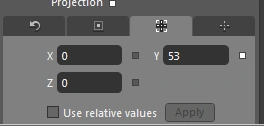
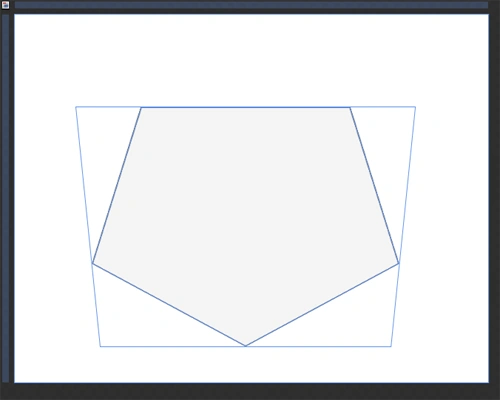
Note: Here, by increasing or decreasing the value of Y-Axis manage the Shape.
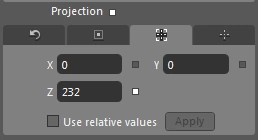
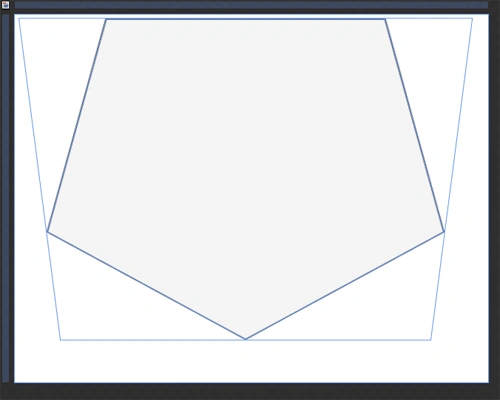
Note: Here, by increasing or decreasing the value of Z-Axis manage the Shape.
- Select Local Offset and see the effect as shown below:
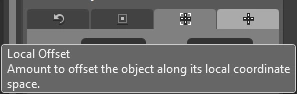
Note: See the description of the Local Offset.
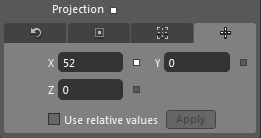
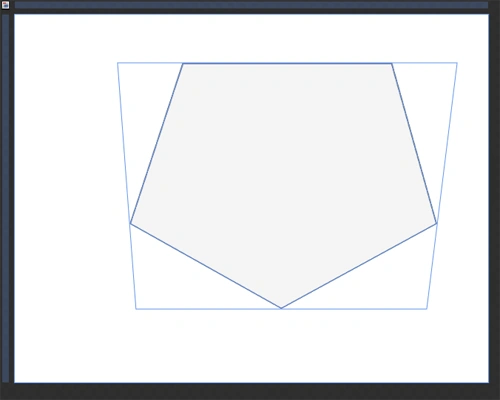
Note: Here, by increasing or decreasing the value of the X-Axis manage the Shape.
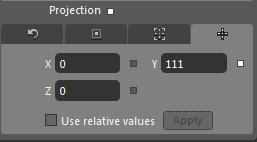
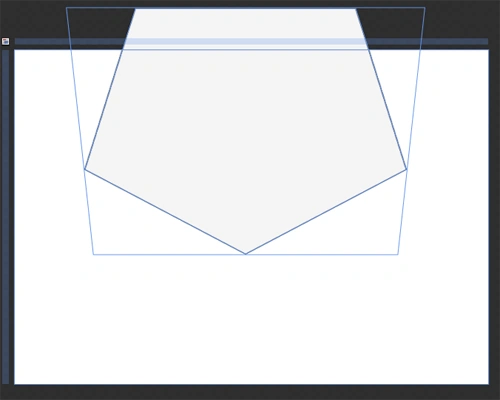
Note: Here, by increasing or decreasing the value of Y-Axis manage the Shape.
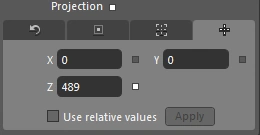
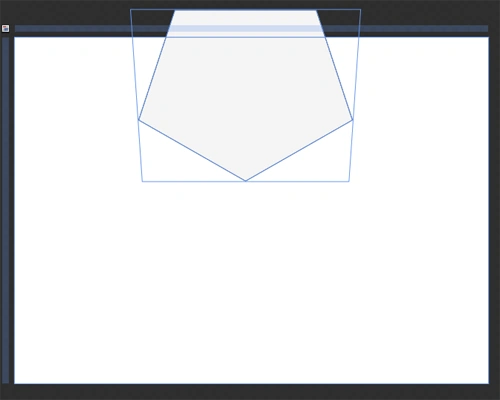
Note: Here, by increasing or decreasing the value of the Z-Axis manage the Shape.
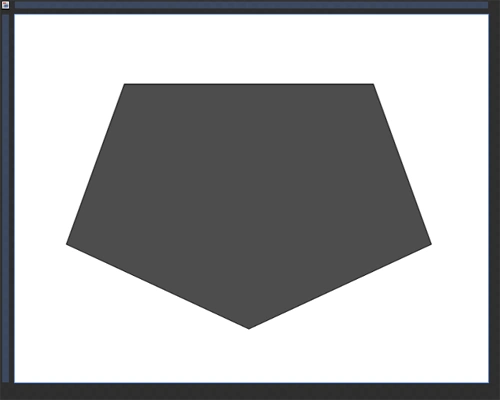
Step 5: Select Fill Property -> select Solid Color Brush -> select Gray Color and see the effect as shown below:
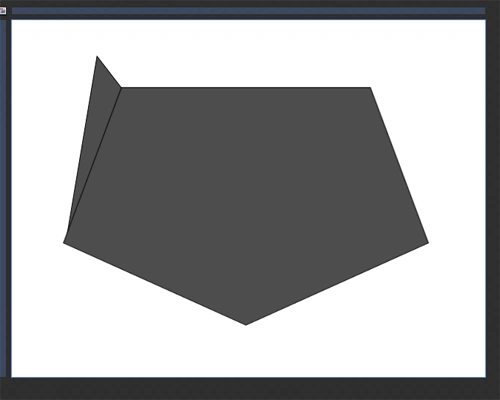
Step 6: Select Triangle Shape, draw Triangle, manage its width-height and send the shape to the back of the Pentagon Shape as shown below:
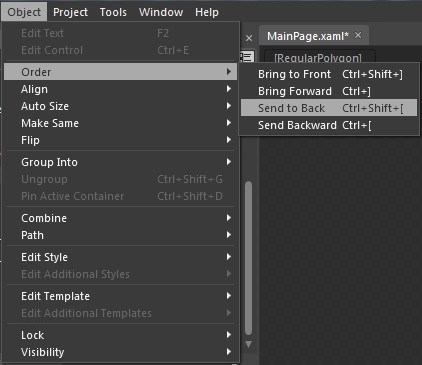
Note: Here, Select Object -> Order -> Send to Back as shown below:
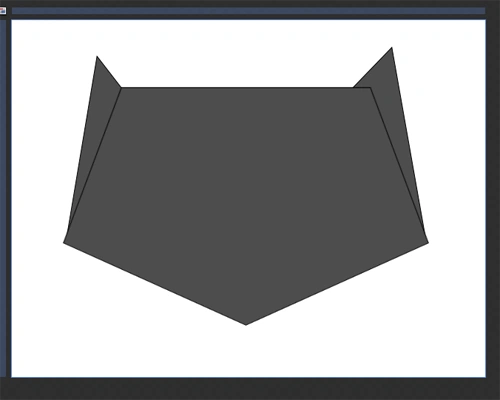
Step 7: Draw another Triangle Shape or copy and paste the above Triangle as shown below:
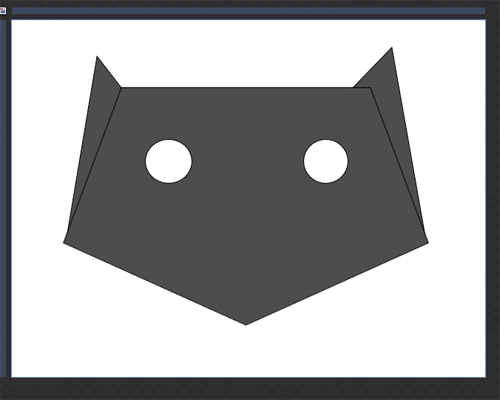
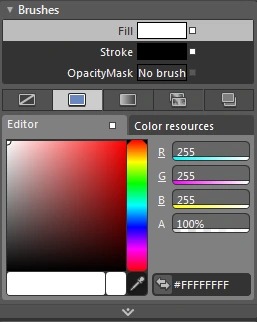
Step 8: Select Ellipse and Draw Eyes and fill with the White Color or Sky Blue Color as shown below:

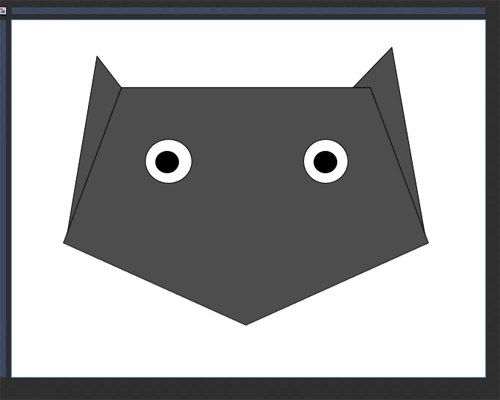
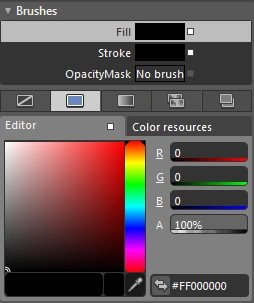
Step 9: Again select Ellipse and draw a Retina and fill with the Black Color or Brown Color as shown below:
Step 10: Select Triangle and draw a Nose and fill with the White Color as shown below:
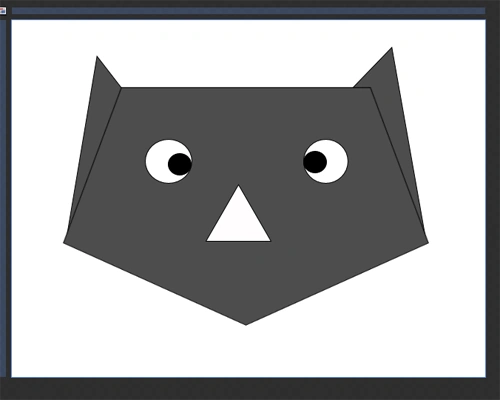
Here's the Origami Cat.
Summary
The objective of this article is to learn about the Projection Property, Order Tool, Ellipse Shape, Triangle Shape and Pentagon Shape.
Join the conversation! Your thoughts help the community grow.