

Step 1
Open Expression Blend 4 -> select Silverlight -> select Silverlight Applicatio+Website, change Name and Location accordingly, hit OK, a Blank Window appears.
Step 2
Select ToolBox -> Rectangle -> Draw Rectangle -> Select Rectangle-Shape -> Manage the width & height, Margin, Fill Color, Stroke Color, Stroke Thickness and Shadow Effect from the Property Panel as shown below:

Step 3
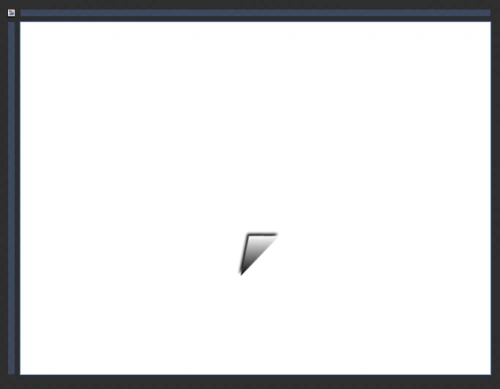
Select Assets -> Shapes -> Triangle, Draw Triangle -> Select Triangle-Shape -> Select Object Menu -> Path -> Convert To Path -> Select Direct Select Tool(A) from the ToolBox -> Manage the width & height, Margin, Fill Color, Stroke Color, Stroke Thickness and Shadow Effect from the Property Panel as shown below:
Step 4
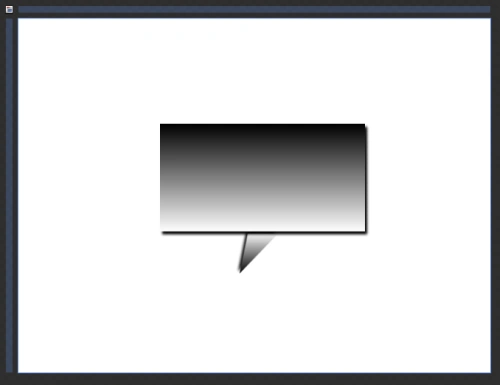
Have a look at the final result as "Comment-Icon" as shown below:
Note: Have a look at XAML-Coding as shown below:
<UserControl xmlns="http://schemas.microsoft.com/winfx/2006/xaml/presentation" xmlns:x="http://schemas.microsoft.com/winfx/2006/xaml" xmlns:d="http://schemas.microsoft.com/expression/blend/2008" xmlns:mc="http://schemas.openxmlformats.org/markup-compatibility/2006" mc:Ignorable="d"
x:Class="SilverlightApplication1.MainPage"
Width="640" Height="480">
<Grid x:Name="LayoutRoot" Background="White">
<Path Data="M73.872551,-6.4960461 L66.703796,27.115192 L41.290764,26.888084 z" Margin="231.936,224.996,0,200.425" RenderTransformOrigin="0.5,0.5" Stretch="Fill" UseLayoutRounding="False" HorizontalAlignment="Left" Width="52.982">
<Path.Fill>
<LinearGradientBrush EndPoint="0.5,1" StartPoint="0.5,0">
<GradientStop Color="Black" Offset="0"/>
<GradientStop Color="White" Offset="1"/>
</LinearGradientBrush>
</Path.Fill>
<Path.Effect>
<DropShadowEffect ShadowDepth="4"/>
</Path.Effect>
<Path.RenderTransform>
<CompositeTransform Rotation="179.489" TranslateX="67.671724122270092" TranslateY="66.091230526341292"/>
</Path.RenderTransform>
</Path>
<Path Data="M0.5,0.5 L277.5,0.5 L277.5,145.5 L0.5,145.5 z" Margin="192,142.667,170,191.333" Stretch="Fill" UseLayoutRounding="False">
<Path.Fill>
<LinearGradientBrush EndPoint="0.5,1" StartPoint="0.5,0">
<GradientStop Color="Black" Offset="0"/>
<GradientStop Color="White" Offset="1"/>
</LinearGradientBrush>
</Path.Fill>
<Path.Effect>
<DropShadowEffect/>
</Path.Effect>
</Path>
</Grid>
</UserControl>
Step 5
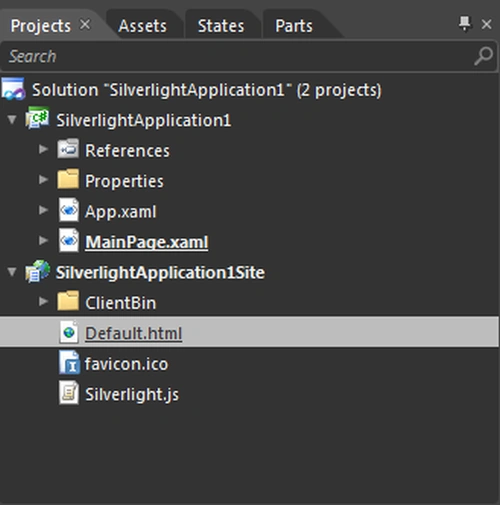
Along with the XAML code, the HTML code also exists because along with the Silverlight Application the Website Application is also added when we choose Silverlight Application + Website Option. The HTML code exists automatically according to the design. So, have a look at the design of the HTML code as shown below:
<! DOCTYPE html PUBLIC "-//W3C//DTD XHTML 1.0 Transitional//EN" "http://www.w3.org/TR/xhtml1/DTD/xhtml1-transitional.dtd">
<html xmlns="http://www.w3.org/1999/xhtml" >
<!-- saved from url=(0014)about:internet -->
Join the conversation! Your thoughts help the community grow.