

In this article, I will explain how to work with a Dynamic Data Entities Web Application which is available when a project is created.
In this article, I will show how to implement a CRUD operation without writing a single line of code and by just un-commenting a line in the Global.asax file.
The only thing you have to do is to add a reference in the Global.asax file with your project name you created. Since my project name is dynamicdataentities I will add this as a reference as follows:
- using dynamicdataentities;
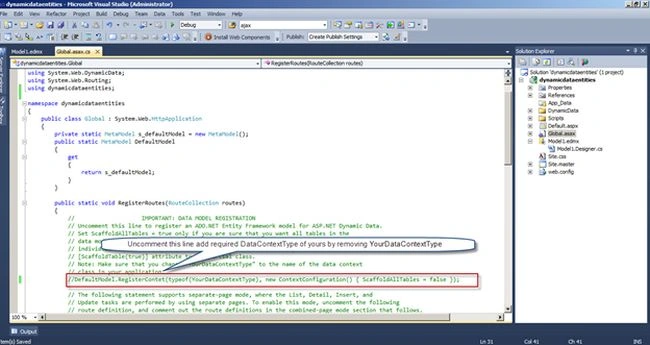
The only thing you have to do after this is to un-comment this line of code from the Global.asax file:
- DefaultModel.RegisterContext(typeof(YourDataContextType), new ContextConfiguration() { ScaffoldAllTables = false });
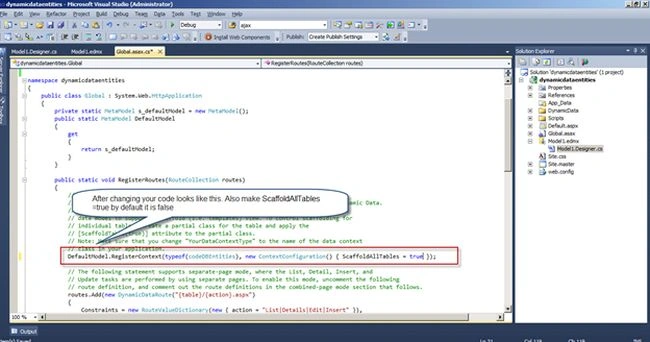
You have to replace this with the following:
- DefaultModel.RegisterContext(typeof(codeDBEntities), new ContextConfiguration() { ScaffoldAllTables = true });
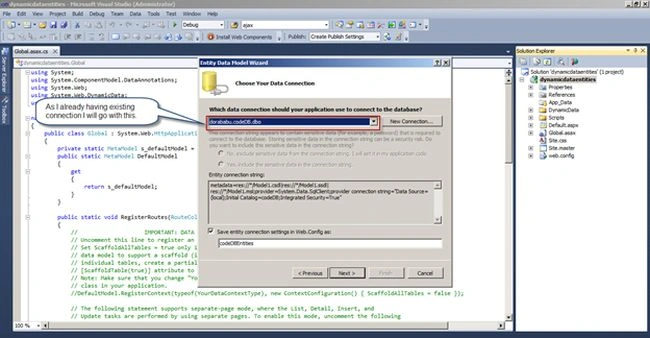
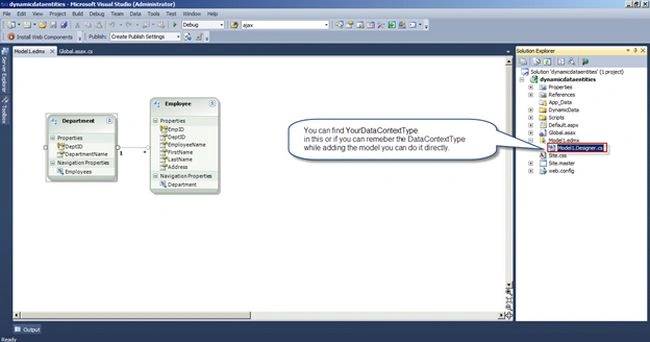
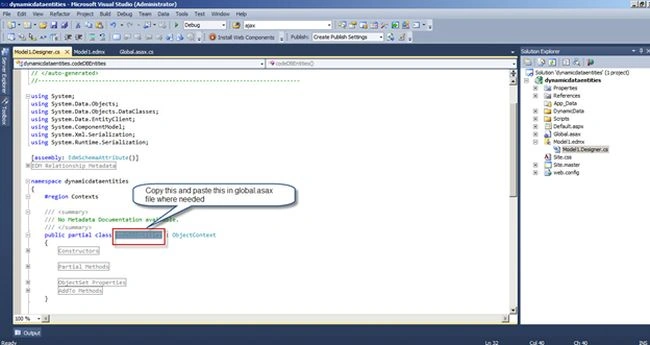
Here codeDBEntities is nothing but the connection string which is available in the Web.config file or you can find it in Model.edmx.
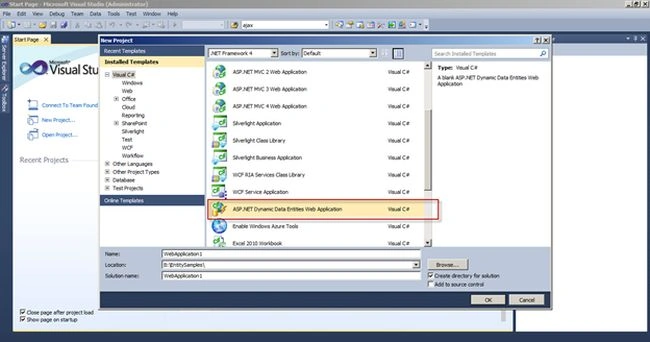
First, let us create a project by selecting ASP.NET Dynamic Data Entities Web Application as follows:
 This will create a project with a Master page, a Default page, and a Global.asax file along with script and CSS.
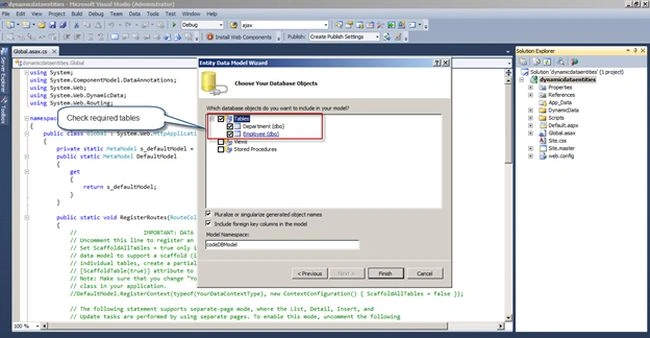
Now let us add an ADO.NET Entity Data Model as we did in our last article; see:
This will create a project with a Master page, a Default page, and a Global.asax file along with script and CSS.
Now let us add an ADO.NET Entity Data Model as we did in our last article; see:
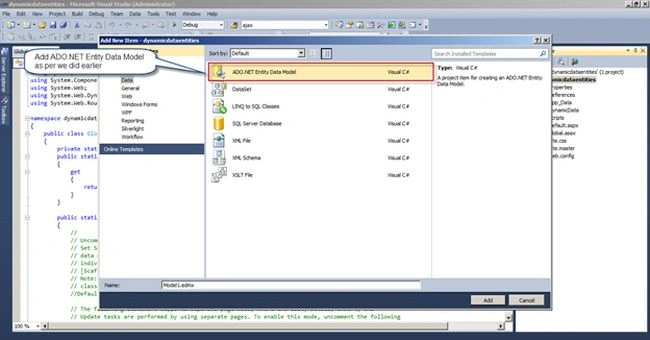
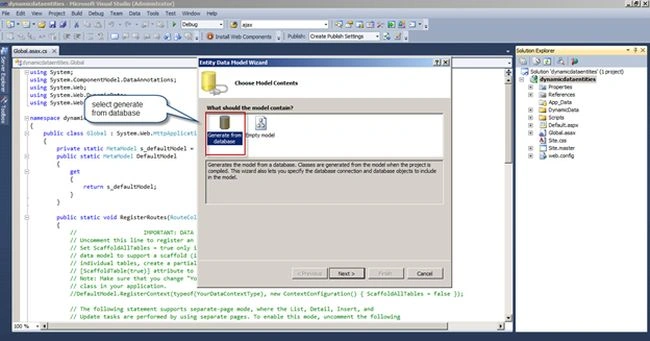 Since I already have a connection I am not showing how to add a connection; I will proceed with what I have.
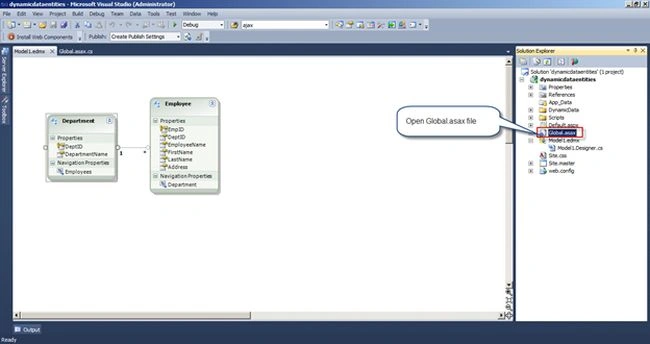
 Open the Global.asax file from the Solution Explorer:
 You can find some code with comments, we will un-comment the one we need as follows:
 Here in the place of YourDataContextType, you have to replace your context type which will be available in the web.config or Model.edmx:
 Now run your application.
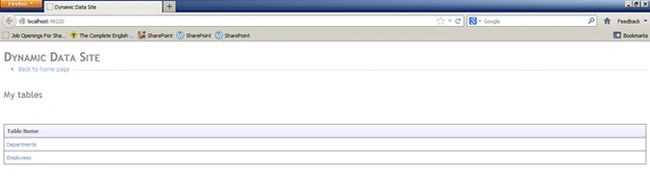 Since I integrated 2 tables it is showing those tables, select what is required to perform the CRUD operations.
I selected Employee and the details are as follows:
Since I integrated 2 tables it is showing those tables, select what is required to perform the CRUD operations.
I selected Employee and the details are as follows:
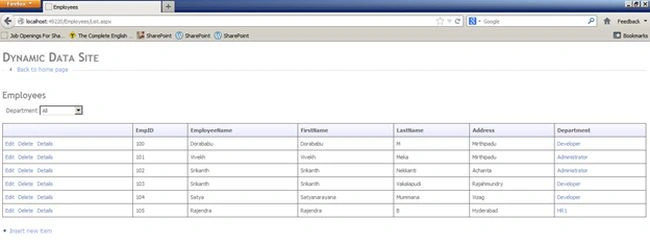 In the department dropdown you can determine the entire department listed, as follows:
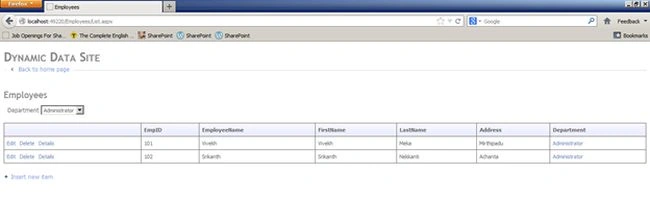
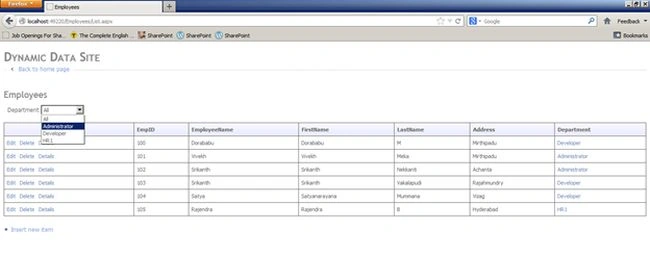 If I select any then the corresponding details are shown as follows:
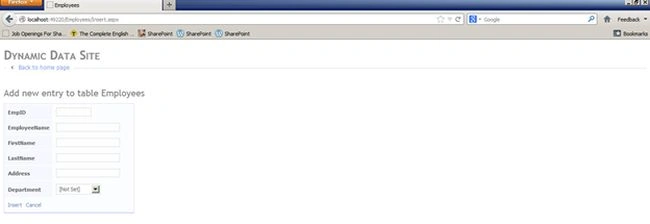
 Inserting details into Employee table, if you select Insert New Item then it will display as follows:
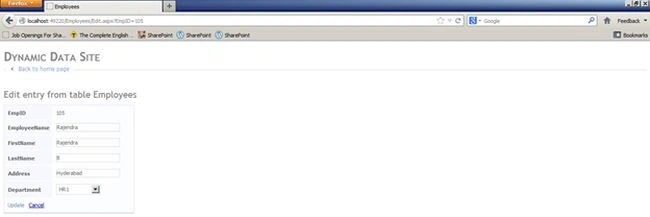
 Edit Update screen
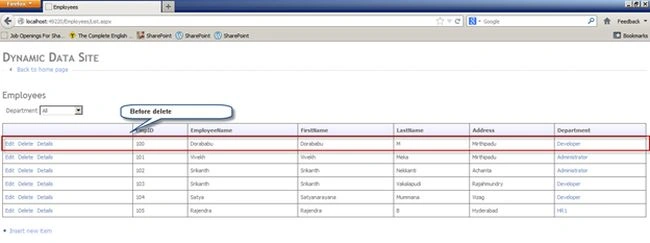
 Before Delete
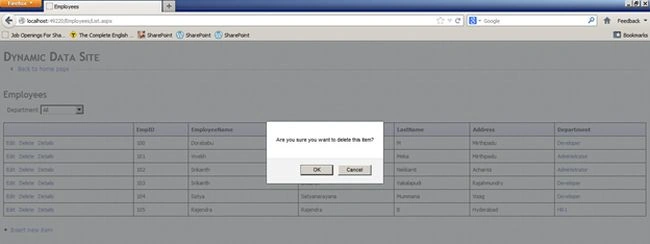
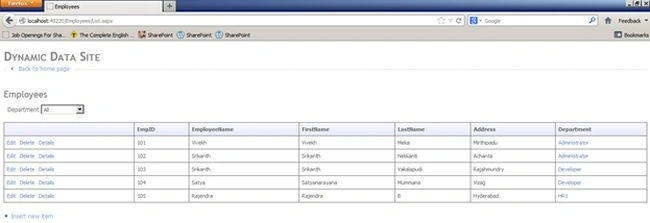
I will delete one of the records.
Before Delete
I will delete one of the records.
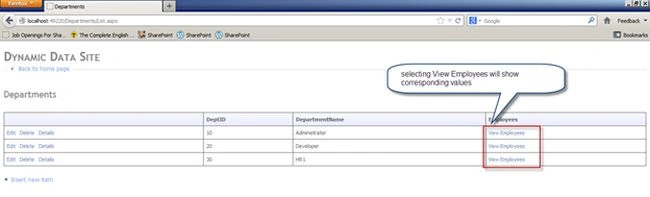
 Viewing Employees from the Department
 Details of selected Employee

Deleting a record
Manish SinghPosted Apr 30, 2014, 4:23 AM
Does anyone tried it in VS 2012 | 2013?
ashok kumarPosted Feb 7, 2013, 10:04 PM
Would you please tell me how to focus first control of form view in insert and update page or when any field required.
Anil KumarPosted Jan 5, 2013, 12:13 AM
good one...