

Before going through this article, I would recommend you read my previous article. The current article is in continuation of the previous one.
In around April 2017, Microsoft announced and released Office 365 Public CDN for SharePoint. Please refer to the below URL for more information.
Let’s get started.
Step 1
Step 2
Connect-SPOService -Urlhttps://<your-tenant-name>-admin.sharepoint.com
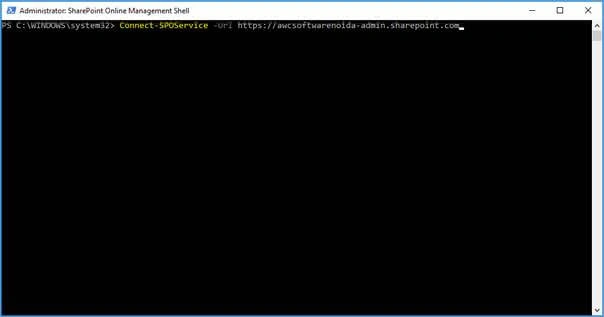
A pop-up will open which will ask for admin credentials.
Step 3
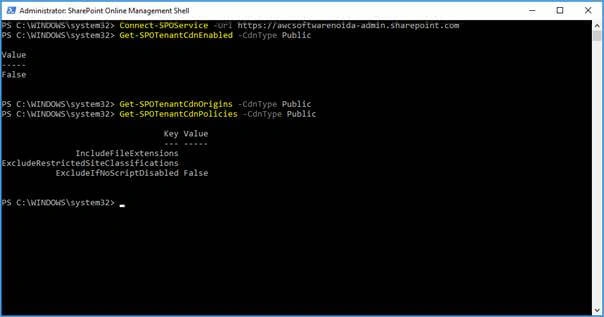
Get-SPOTenantCdnEnabled -CdnType Public
Get-SPOTenantCdnOrigins -CdnType Public
Get-SPOTenantCdnPolicies -CdnType Public
Step 4
Set-SPOTenantCdnEnabled -CdnType Public
** Confirm settings by selecting ‘Y’ and then Enter.
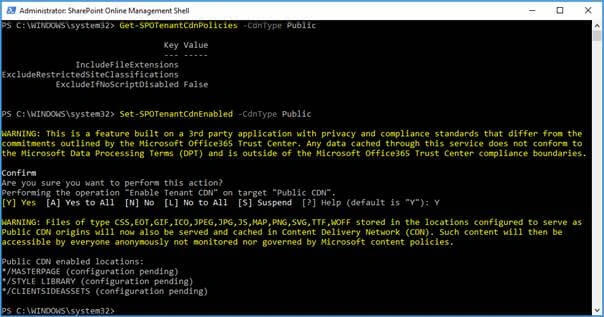
The above screenshot shows that a Public CDN has been enabled in the tenant and the following file types are supported.
CSS, EOT, GIF, ICO, JPEG, JPG, JS, MAP, PNG, SVG, TTF, and WOFF.
Step 6
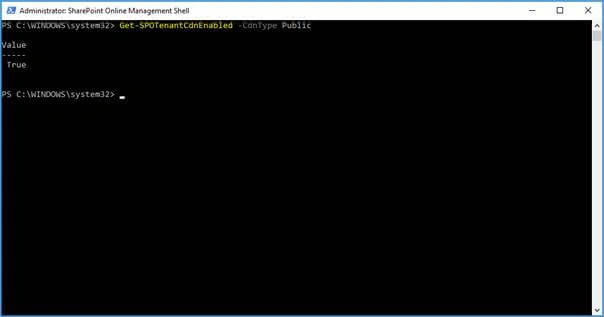
Get-SPOTenantCdnEnabled -CdnType Public
Step 7
Run the below command in command prompt to bundle the solution.
gulp bundle --ship
Step 8
gulp package-solution --ship
Step 9
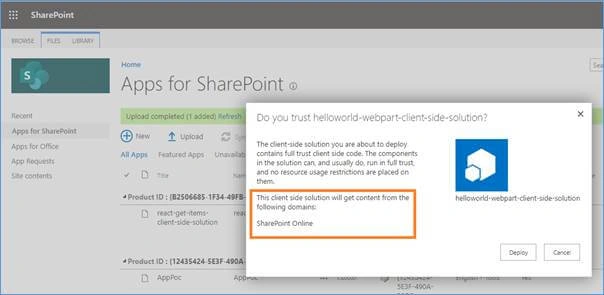
Notice how the domain list in the prompt says SharePoint Online. This is because the content is either served from the Office 365 CDN or from the app catalog, depending on the tenant settings. Select "Deploy".
Step 10
Summary
In this article, we saw how SPFx solution assets can be served using Office 365 CDN.
Happy Coding!
Join the conversation! Your thoughts help the community grow.