

When working with virtual machines in VMware, you might need to manage disk space efficiently by extending a volume group and creating a SWAP partition. In this guide, we will cover how to check existing disks, extend a volume group, and configure SWAP space in a Linux environment.
Step 1. Check Existing Disks and Volume Groups
Before making any changes, it's essential to check the available disks and the current state of volume groups.
Run the following commands.
lsblk   # Lists all block devices, including disks and partitions
pvs     # Displays information about physical volumes
vgs     # Shows details of existing volume groups

Step 2. Create a Physical Volume
If the new disk has not been initialized as a physical volume, you need to create one. Assuming the new disk is /dev/nvme0n2, use the following command:
pvcreate /dev/nvme0n2
This command initializes the disk to be used with LVM (Logical Volume Manager).

Step 3. Extend the Volume Group
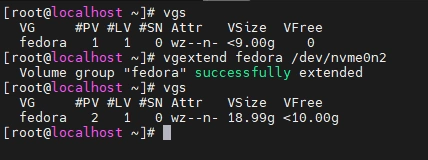
Identify the existing volume group where you want to add the new disk. If your volume group is named fedora, extend it using:
vgextend fedora /dev/nvme0n2
This command adds the newly created physical volume to the fedora volume group.
Step 4. Create a Logical Volume for SWAP
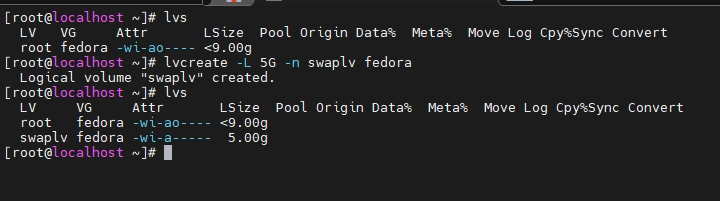
Now, create a logical volume named swaplv with a size of 5GB:
lvcreate -L 5G -n swaplv fedora
This will allocate 5GB from the volume group for SWAP space.
Step 5. Format the Logical Volume as a SWAP
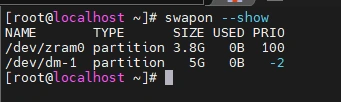
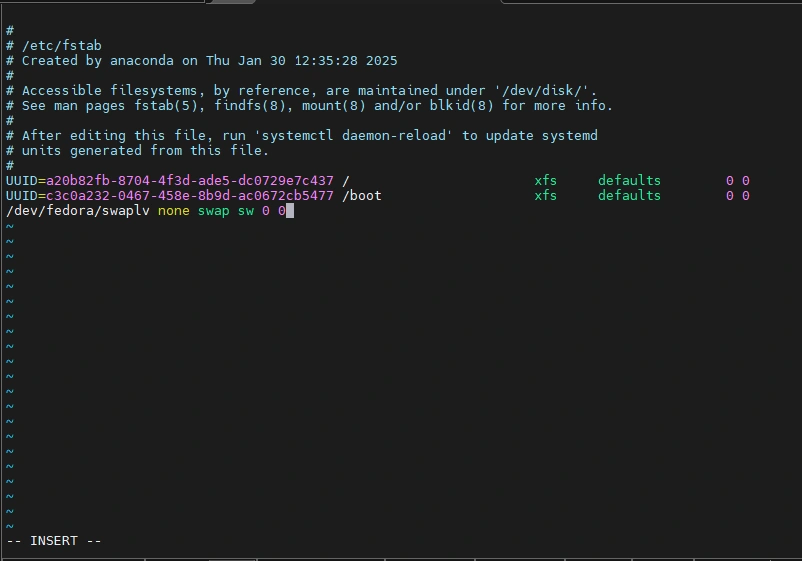
To make the newly created logical volume usable as SWAP, format it with the following command:
mkswap /dev/fedora/swaplv




Join the conversation! Your thoughts help the community grow.