

Introduction
Flyout represents a control that displays lightweight UI that is either information or requires user interaction. Unlike a dialog, a Flyout can be lightly dismissed by clicking or tapping outside of it, pressing the device’s back button, or pressing the ‘Esc’ key.
Step 1
Open a blank app and add Button and Flyout Control with a Textblock and button to it either from the toolbox or by copying the following XAML code into your grid.
- <TextBlock Text="Flyout Control" FontSize="20"></TextBlock>
- <StackPanel>
- <StackPanel Margin="20,30,0,0" Orientation="Horizontal">
- <TextBlock Text="Simple Flyout" VerticalAlignment="Center"></TextBlock <Button Name="myFlyoutButton" Content="Flyout" Margin="15,0,0,0">
- <Button.Flyout>
- <Flyout x:Name="myFlyout">
- <StackPanel>
- <TextBlock Text="This is a sample flyout"></TextBlock>
- <Button Name="innerflyoutButton" HorizontalAlignment="Right" Click="innerFlyoutButton_Click">Ok</Button>
- </StackPanel>
- </Flyout>
- </Button.Flyout>
- </Button>
- </StackPanel>
- </StackPanel>
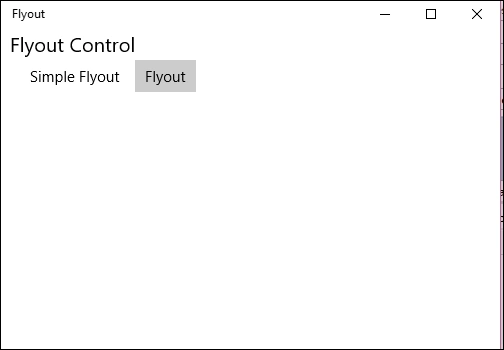
Copy and paste the following code to the innerFlyoutButton_Click event in the cs page to hide the Flyout by clicking the Ok button.
- myFlyout.Hide();
Step 3
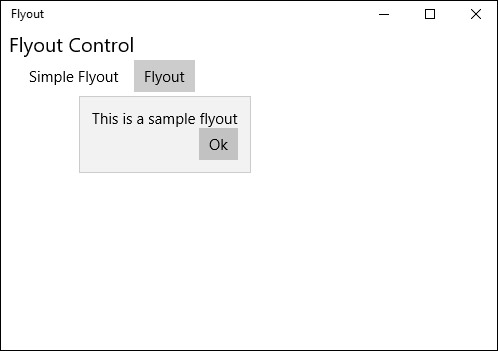
Run your application and click on the button which will pop up a flyout and clicking Ok or clicking anywhere else will also hide it.
Summary
In this article, we learned about Flyout Control For Windows 10.
Kuppurasu NagarajPosted Feb 11, 2016, 12:38 PM
Nice Ramees..
Sibeesh VenuPosted Oct 31, 2015, 6:14 AM
Nice Share
Harshad PansuriyaPosted Oct 31, 2015, 12:02 AM
Nice one
Mahesh ChandPosted Oct 30, 2015, 11:34 PM
Nice Ramees. Good to see some Windows 10 applications are being built.
Gowtham KPosted Oct 30, 2015, 12:46 PM
Good One
Nilesh JadavPosted Oct 30, 2015, 11:47 AM
Good Work sir !
RameesPosted Oct 30, 2015, 10:13 AM
Thanks :)
Mukesh KumarPosted Oct 30, 2015, 10:11 AM
Good Job