

In this article, we learn about JavaScript From Validations. In validate the form data on the client computer before sending it to the web server.
There are two type of Validations in JavaScript
- Client-side Validation
- Server-Side Validation
Client-side Validation
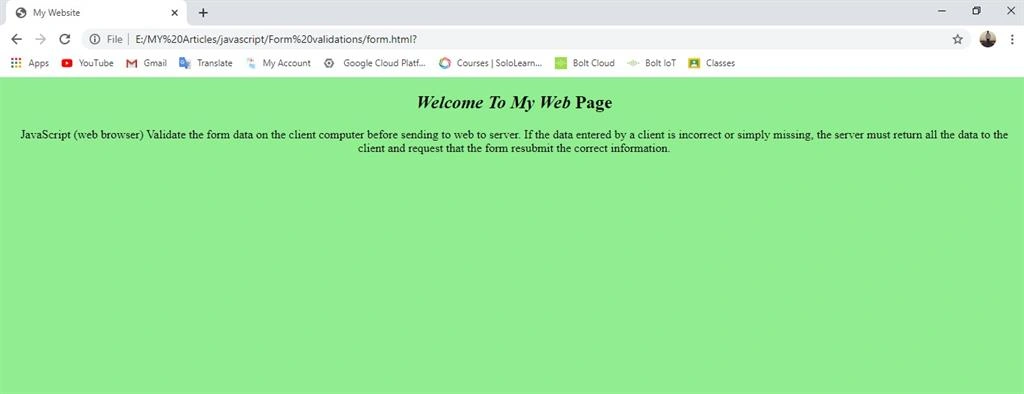
JavaScript (web browser) Validate the form data on the client computer before sending it to the web server. If the data entered by a client is incorrect or simply missing, the server must return all the data to the client and request that the form resubmit the correct information. In client side there are two types,
- Basic validation
- Data format validation
Basic Validation
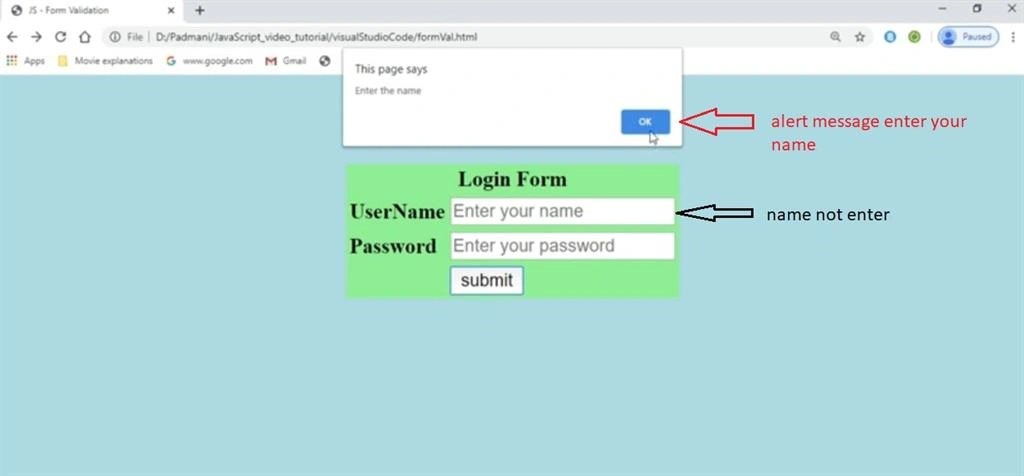
The form must be verified to ensure that all mandatory fields. This will require a rotation in each field on the form and check the data. It will check the data is entered or not in form, it is called the basic validation.
Data format validation
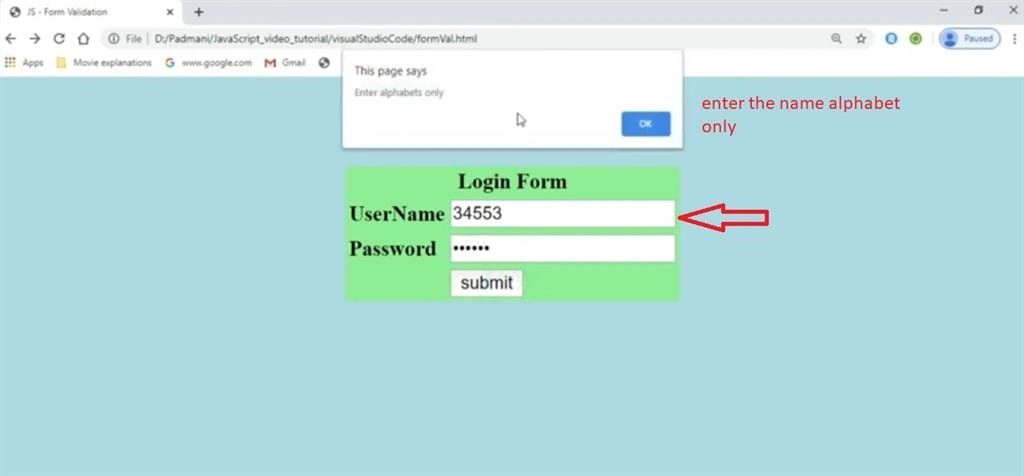
The data entered must be verified to the correct form and value. Your code is logic to test the correctness of the data. It checks the user entered data which is related to the field. For example, the name should be entered, the alphabet number must be entered digits only, it checks the data formats.
Server-side Validations
Validations can be done either on the server side or on the client side (web browser). The user input validation (or) verification takes place on the server side during a subsequent post session, called the server-side verification, and the user input verification is called the client-side validation (web browser) on the client side. JavaScript provides a way to check the form's data on the client's computer before sending it to the web server.
Advantage of Server-side validation
- High Security
- Validating if input is valid
- protection against malicious users
Create a Structure of HTML Form
We will create a simple HTML form that will verify on the client side using JavaScript when the user clicks the Submit button. Well, create a login form named "loginform.html" and put the following code in it, then save it to your Pc.
Example
- <!DOCTYPE html>
- <html>
- <head>
- <meta charset="utf-8">
- <link rel="stylesheet" type="text/css" href="style1.css">
- <script type="text/javascript" src="formvalidations.js"></script>
- </head>
- <title>Login Form</title>
- </head>
- <body>
- <div class="text">LOGIN FORM</div>
- <br>
- <form name="form1" onsubmit="return (validate());" action="E:\MY Articles\javascript\Form validations\form.html">
- <table align="center" bgcolor="lightgreen">
- <th></th>
- <tr>
- <td><b>User Name </b></td>
- <td><input type="text" id="name" placeholder="Enter your name"></td>
- </tr>
- <tr></tr>
- <tr>
- <td><b>Password </b></td>
- <td><input type="password" id="Pass" placeholder="Enter your Password"></td>
- </tr>
- <tr></tr>
- <tr>
- <td align="center">
- <input type="submit" id="btn" value="submit">
- </td>
- </tr>
- </table>
- </form>
- </body>
- </html>
Building the Form Validation Script
Now we are going to create a JavaScript file that contains our complete validation script. Now, create a JavaScript file named "formvalidator.js", and then save the previous HTML file in the same place where you saved it.
Example
- function validate() {
- var name1 = document.getElementsById("name").value;
- var pass = document.getElementsById("pass").value;
- //condtions
- if (name1 == "")
- {
- alert("Enter the Name");
- document.login1.name.focus();
- return false;
- }
- //check the name
- if (!isNaN name1 == "")
- {
- alert("Enter alphabet only");
- document.login1.name.value="";
- document.login1.name.focus();
- return false;
- }
- //password
- if (pass == "")
- {
- alert("Enter the password");
- document.login1.pass.focus();
- return false;
- }
- //check password length
- if (pass <6)
- {
- alert("Enter atleast 6 Characters");
- document.login1.pass.value="";
- document.login1.pass.focus();
- return false;
- }
- return true; //all the field user will be entered means goto next page
- }
Adding Stylesheet to the Form
Finally, create a file named "style.css", and then save the previous two files in the same location. That's it, now open the "loginform.html" file in a web browser and try to fill in some data and see how the script responds when incorrect data is entered in a form field.
Example
- body
- {
- margin: 0;
- padding: 0;
- background-color:#6abadeba;
- font-family: 'Arial';
- }
- .text{
- font-size: 2em;
- font-weight: bold;
- text-align: center;
- background: linear-gradient(blue, #fa709a);
- -webkit-text-fill-color:transparent;
- -webkit-background-clip: text;
- }
- .form{
- width: 382px;
- overflow: hidden;
- margin: auto;
- margin: 20 0 0 450px;
- padding: 80px;
- background: #23463f;
- border-radius: 15px ;
- }
- #name{
- width: 300px;
- height: 30px;
- border: none;
- border-radius: 3px;
- padding-left: 8px;
- }
- #pass{
- width: 300px;
- height: 30px;
- border: none;
- border-radius: 3px;
- padding-left: 8px;
- }
- #btn{
- width: 310px;
- height: 30px;
- border: none;
- border-radius: 5px;
- padding-left: 0px;
- color: blue;
- margin: auto;
- }
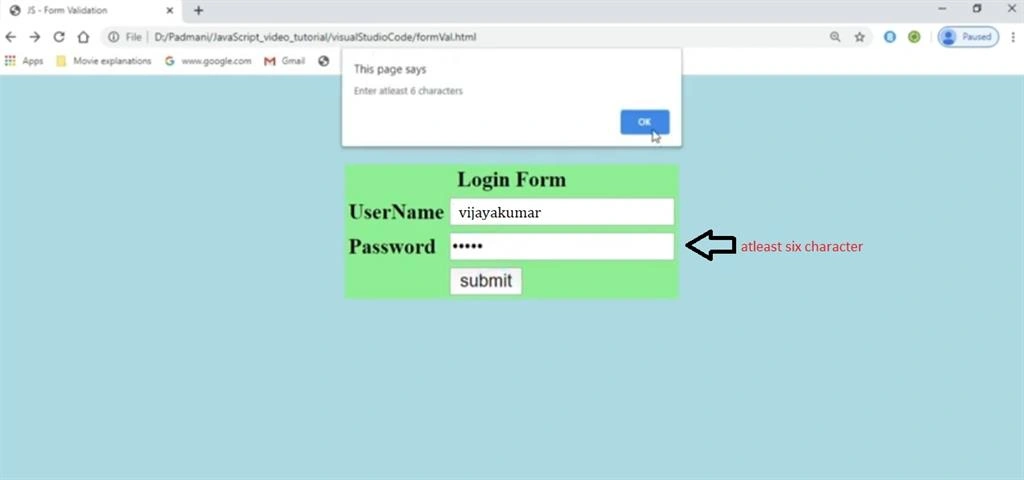
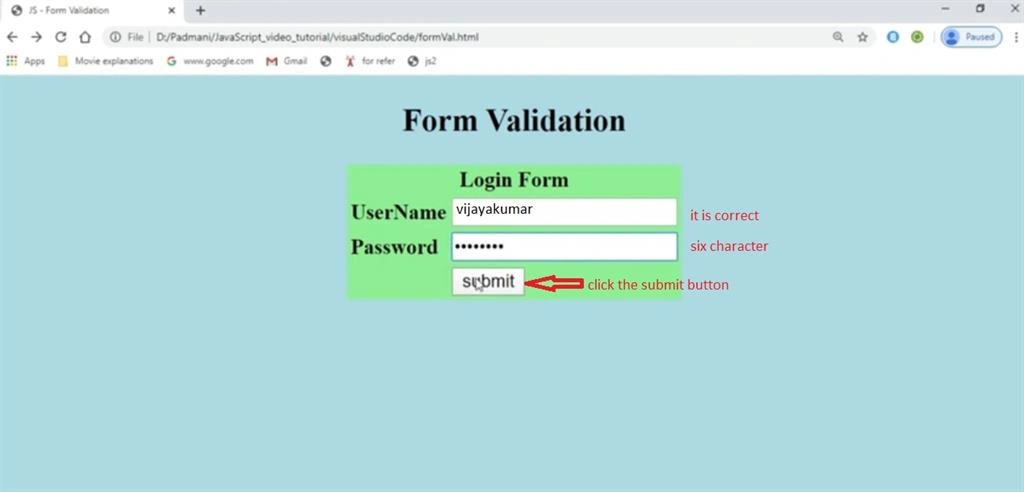
Output
Summary
In this article, we have seen form validations using JavaScript. I hope this article is useful to you.
Ankur MishraPosted Oct 3, 2013, 2:13 PM
yes We Can use in both.
Sam HobbsPosted Oct 2, 2013, 5:41 PM
Can PHP be used to do server-side validation? Can Java be used to do client-side validation?