

Email encryption is a critical part of protecting sensitive information in today’s digital workplace. Microsoft 365 offers several built-in encryption options to help secure email communication, whether it’s sent inside your organization or to external recipients. In this article, I’ll explore the key email encryption methods available in Microsoft 365 and how they help ensure your data stays protected.
Manual Encryption
- Email without Encryption.

- Email with Encryption (Adding manual encryption in OWA/Outlook).

How is email displayed to the recipient?

When clicking “Read the message”

There are two ways to read the message.
Sign in with Google
This will redirect to the Microsoft site, and you will be able to read the message.
However, Encrypted messages will display on the Microsoft site. By there, we can reply, copy, print, or forward.
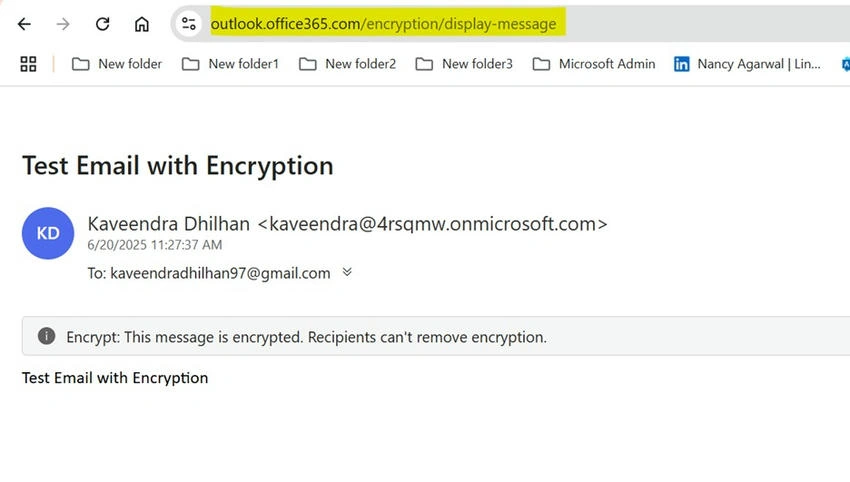

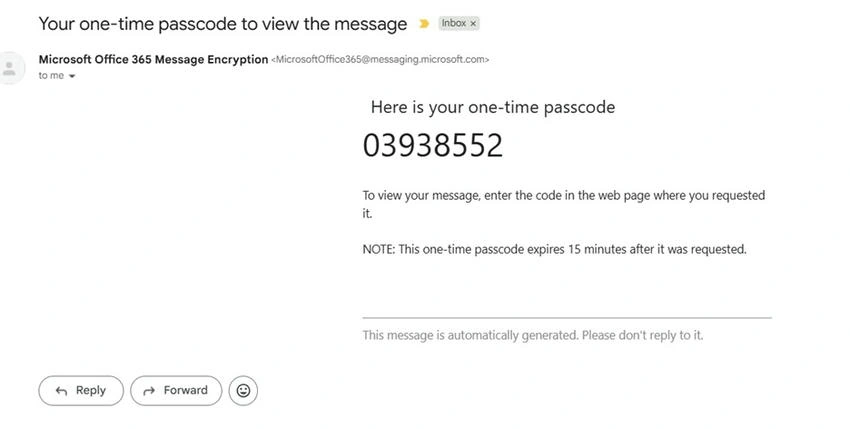
Request a one-time password.
A one-time password will be sent to the email, and by entering that, we can read the email.
If the user adds “Do not Forward” Encryption, the recipient can’t forward, print, or copy.


Encrypt Emails with a Sensitivity Label
- Create a Sensitivity label from the Microsoft Purview Portal and publish.
- Check my article for steps à Sensitivity Labels in Microsoft 365

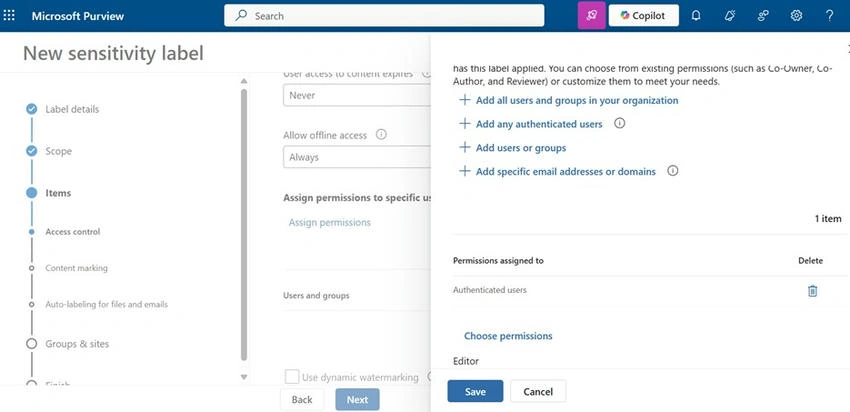
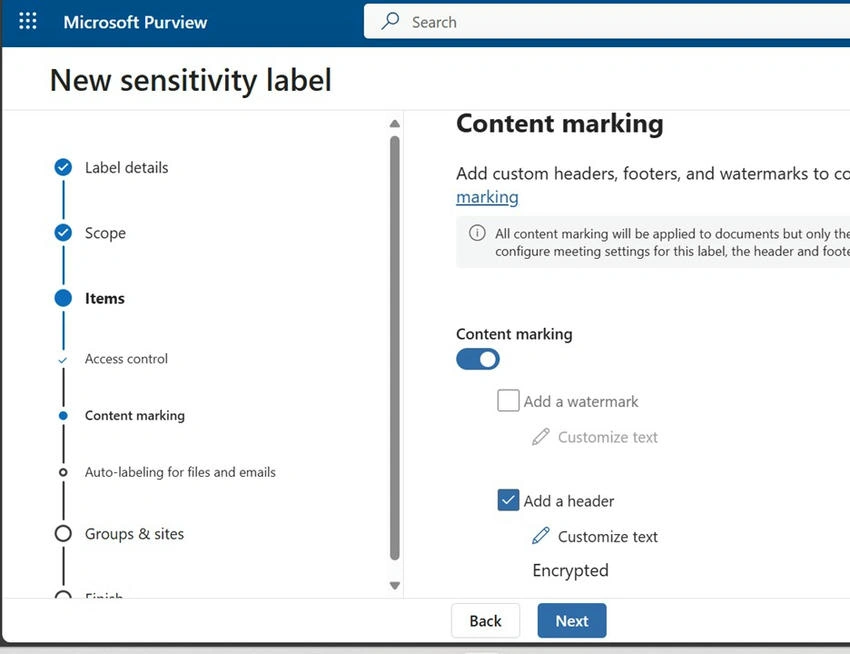
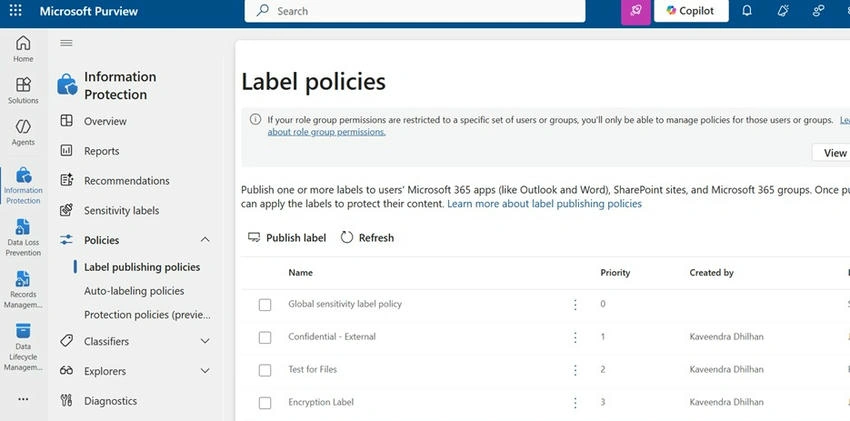
- After creating a label, create a Transport rule using the Exchange Admin Center.
- Choose Apply Office 365 Message Encryption.

- Add the created Sensitivity Label in the “Do the following” section.

Example: After adding a sensitivity label. This will display the default branding template for the external user.
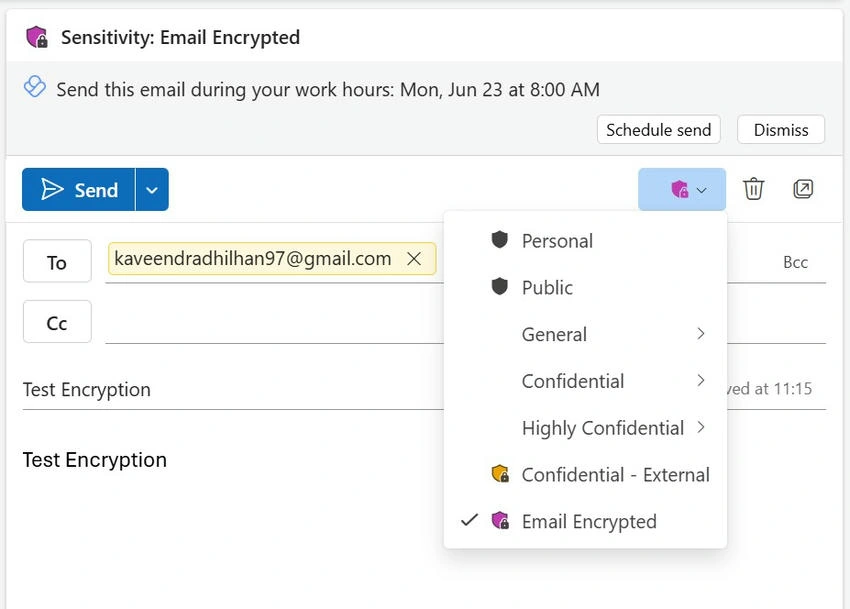

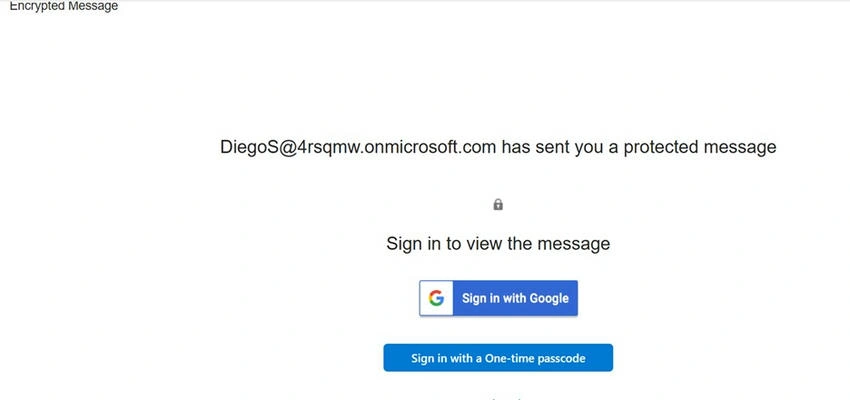
Adding Custom Branding Template for Encrypted Emails
Microsoft Purview allows organizations to customize the appearance of encrypted emails with their own branding, including.
- Company logo
- Brand colors
- Disclaimer text
- Customized sender portal URL
https://learn.microsoft.com/en-us/purview/add-your-organization-brand-to-encrypted-messages
We need to create a Branding Template using PowerShell.
Here are PowerShell commands.
Connect-ExchangeOnline
Modify the existing template. Check the existing branding template.
Get-OMEConfiguration

If you need to edit the existing template, use the command below.
Set-OMEConfiguration -Identity "OME Configuration" -BackgroundColor "#808080" -DisclaimerText "Add Disclaimer" -Image ([System.IO.File]::ReadAllBytes("image path.jpg"))

Refer below to get background colour codes.
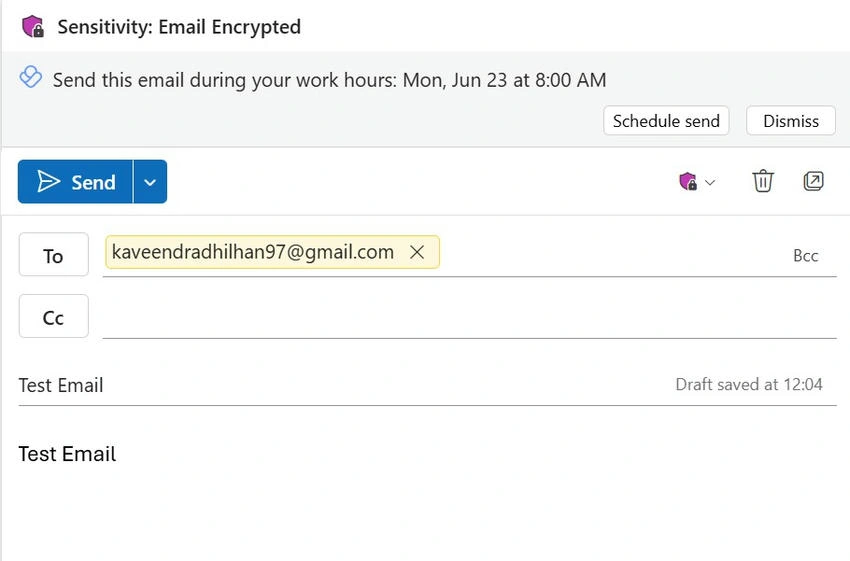
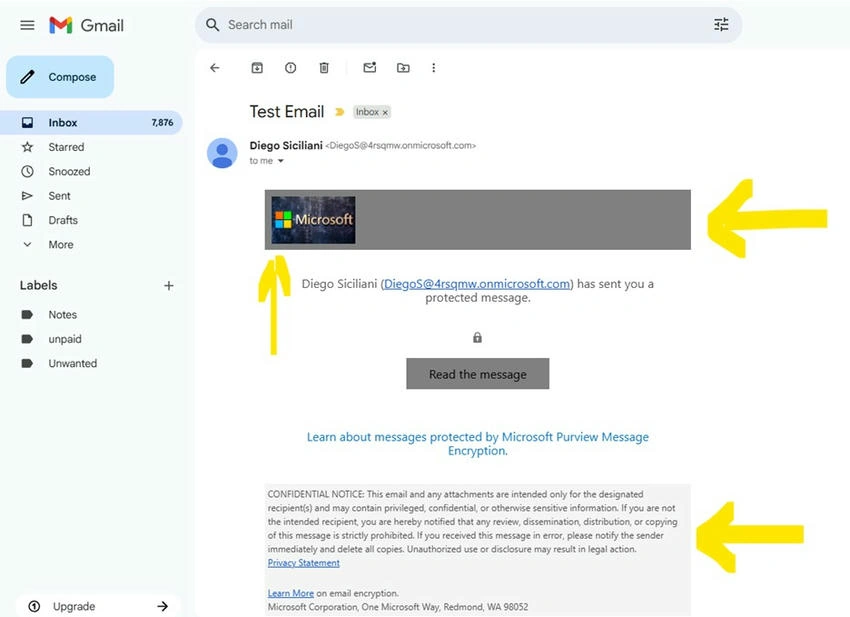
After modifying the existing Branding template, you can see the Logo, Background colour, and the disclaimer.
Optional
If you need to create a new branding template, use the command below.
New-OMEConfiguration -Identity "<OMEConfigurationName>"
After creating the Branding Template, go to Exchange Admin Center and create a Transport Rule and create a new rule to assign the new template.
Create a new rule and do the steps below.
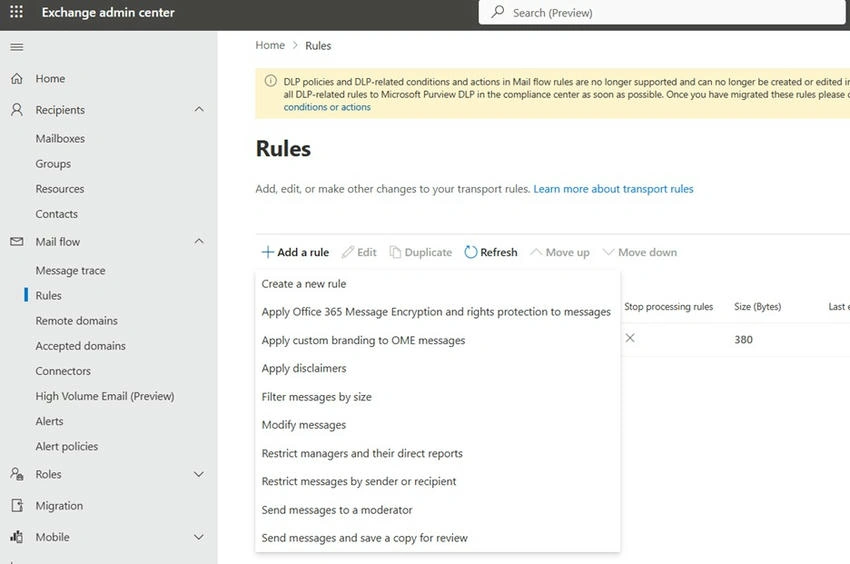
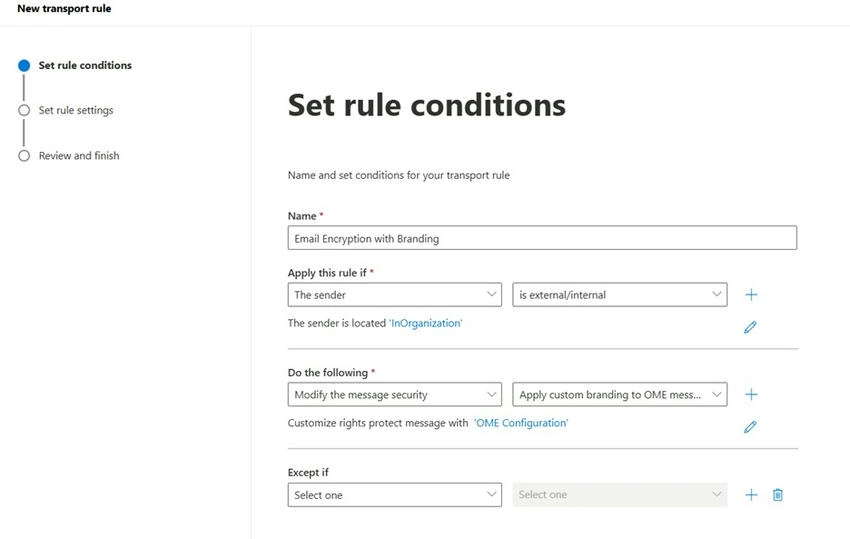
Note. If you have modified the existing Branding template, no need to create a new transport rule, as we have created a new rule for the Sensitivity label. If we create a new branding template and a Transport rule, without a Sensitivity label, it can encrypt all user emails.
Also, by Sensitivity label features, we can limit copy, forward, print, etc features.
Join the conversation! Your thoughts help the community grow.