

Introduction
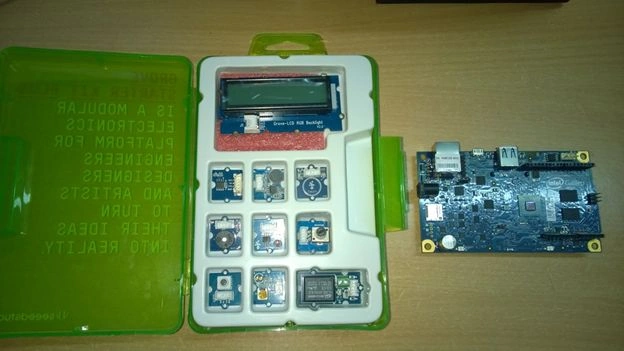
- It accelerates development and testing with IoT.
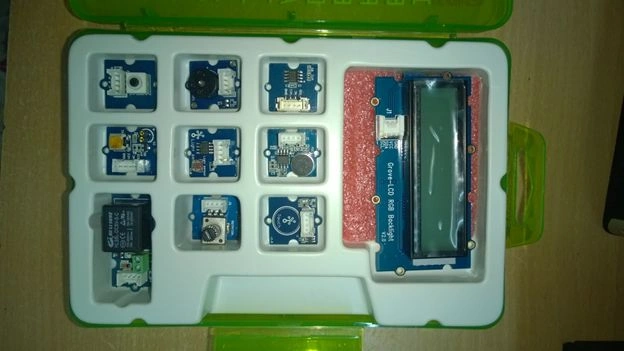
- The Grove shield and sensors have 4 pin connectors that allow us to plug in the sensor with ease rather than managing circuits and sensors using a breadboard.
- The Grove shield has been tested as compatible with Windows by the Windows IoT team.
- There is a huge variety of sensor modules available with Seed Studio.


Setting Up
Adding SketchBook to Arduino IDE
- Extract the downloaded Sketchbook Starter.
- Open Arduino IDE.
- Select “File" -> "Preferences”.
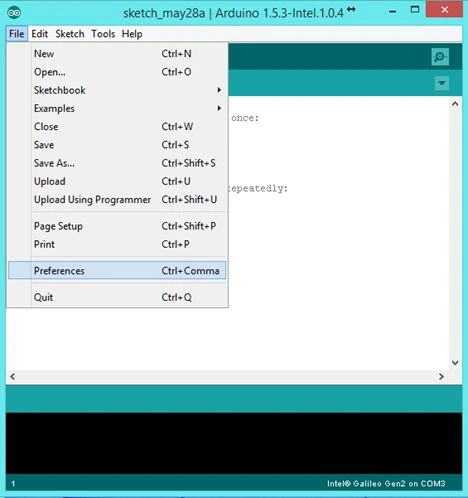
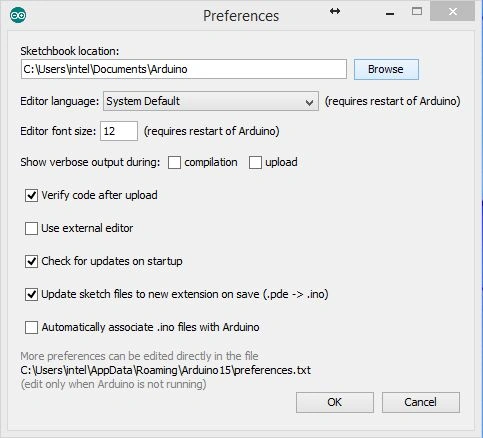
- View the “Sketchbook location” field.
- Click “Browse” and copy the Seed Studios Sketches folder you downloaded into the resulting folder and rename it something like “Sketchbook_Grove”.
- Restart your Arduino IDE.
Making Connections
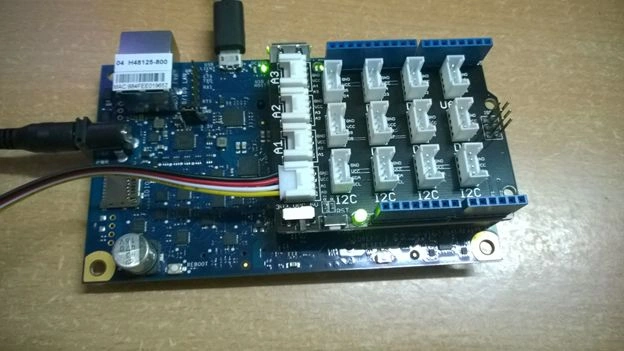
Power up the Galileo, you will see the power LED light up. Galileo will start booting from the customized version of Linux. Wait a few seconds. Note: unlike the Galileo Gen 1 board, the Galileo Gen2 board uses a 12 V power supply. Use the specific power adapter that is provided with the Galileo Gen2 board.
Now we are ready to make the rest of the connections, we will connect Galileo to the computer via USB cable. Now we see the USB LED will light up.
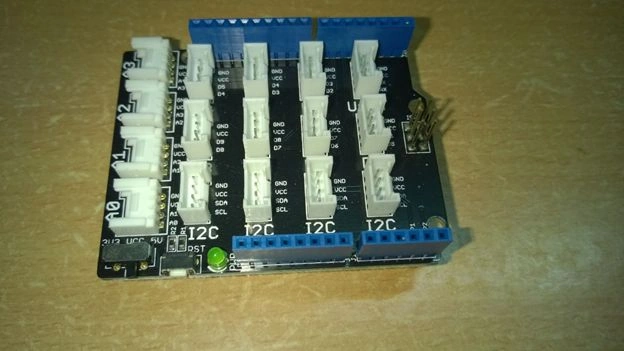
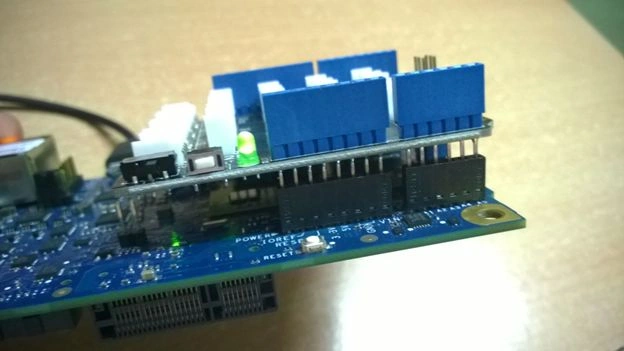
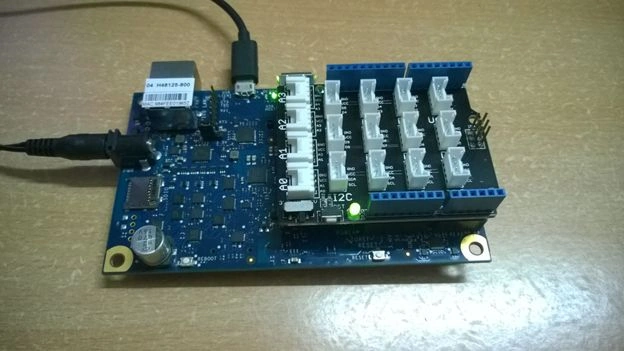
Adding Grove Base Shield
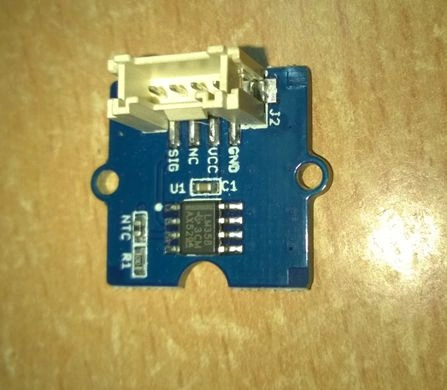
In the Grove, kit pulls up the Pink Styrofoam underneath the LED screen to locate the Base Shield.
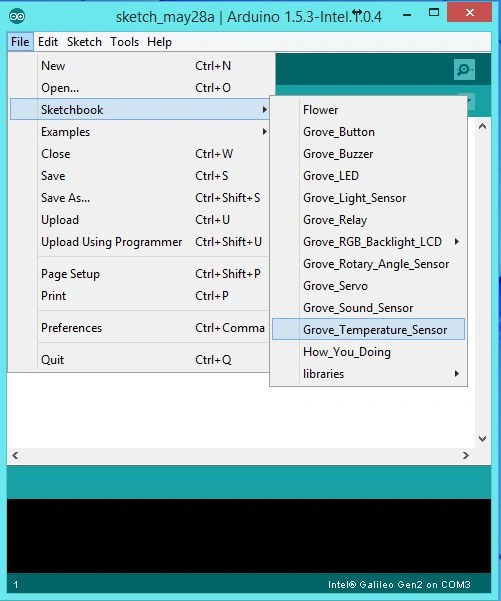
- // Define the pin to which the temperature sensor is connected.
- const int pinTemp = A0;
- // Define the B-value of the thermistor.
- // This value is a property of the thermistor used in the Grove - Temperature Sensor,
- // and used to convert from the analog value it measures and a temperature value.
- const int B = 3975;
- void setup()
- {
- // Configure the serial communication line at 9600 baud (bits per second.)
- Serial.begin(9600);
- }
- void loop()
- {
- // Get the (raw) value of the temperature sensor.
- int val = analogRead(pinTemp);
- // Determine the current resistance of the thermistor based on the sensor value.
- float resistance = (float)(1023-val)*10000/val;
- // Calculate the temperature based on the resistance value.
- float temperature = 1/(log(resistance/10000)/B+1/298.15)-273.15;
- // Print the temperature to the serial console.
- Serial.println(temperature);
- // Wait one second between measurements.
- delay(1000);
- }
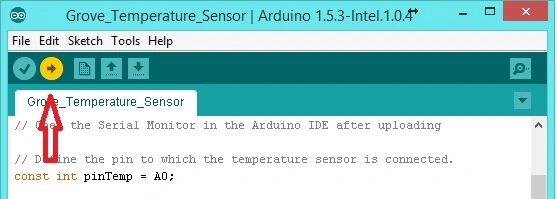
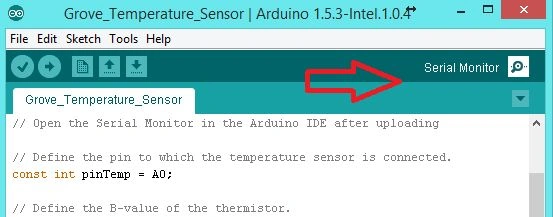
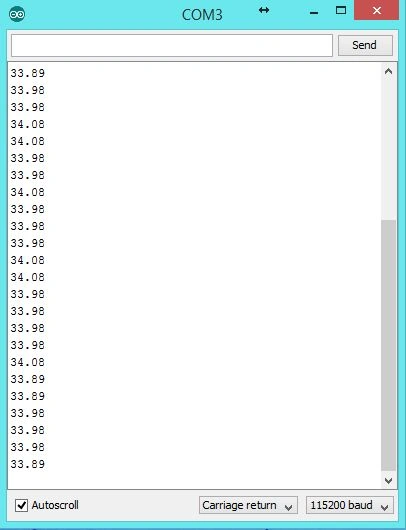
Ayush JaiswalPosted Jun 8, 2015, 12:49 AM
Good one
Rahul BansalPosted Jun 1, 2015, 12:10 AM
Great works with Galileo.keep it up.
Sibeesh VenuPosted May 30, 2015, 1:12 PM
Good one.
Santhakumar MunuswamyPosted May 30, 2015, 12:22 PM
Thanks for good show
Dinesh BeniwalPosted May 30, 2015, 10:17 AM
Thanks for sharing ;)
Carmelo La MonicaPosted May 30, 2015, 9:20 AM
Very nice :)
Shailesh UkePosted May 30, 2015, 9:17 AM
Nice ...
NitinPosted May 30, 2015, 8:24 AM
Excellent
Gopi ChandPosted May 30, 2015, 12:52 AM
Excellent content description...good effort
Abhishek JaiswalPosted May 30, 2015, 12:06 AM
Just got a question, did you used any sensor for particular functionality like Passive Infrared or some part of the grove starter kit; moreover Very cool and interesting stuff. Keep sharing more!! :)