

Introduction
Managing SharePoint Group permissions can become time-consuming when users are added individually. With Power Automate and the SharePoint REST API, multiple users can be added to a SharePoint Group using a single HTTP request.
This approach reduces the number of API calls and makes SharePoint permission management faster and more efficient.
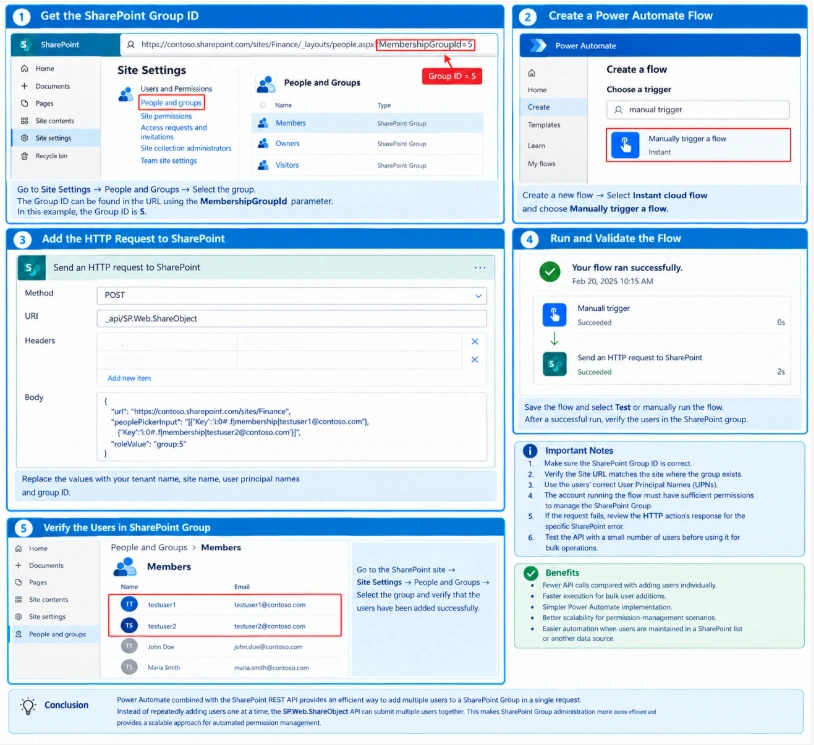
Step 1: Get the SharePoint Group ID
Go to your SharePoint Site → Site Settings → People and Groups.
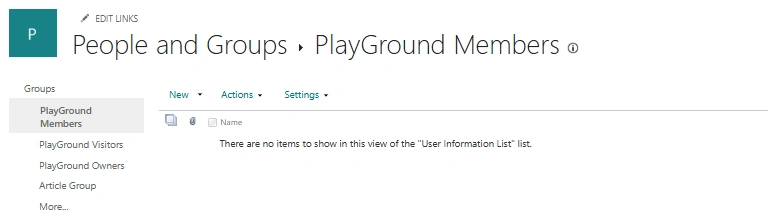
Select the SharePoint Group to which you want to add users.
The Group ID can be found in the URL using the MembershipGroupId parameter.
For example:
https://tenant.sharepoint.com/sites/SiteName/_layouts/people.aspx?MembershipGroupId=5In this example, the SharePoint Group ID is 5.
Note down the Group ID because it will be used in the API request.
Step 2: Create a Power Automate Flow
Go to Power Automate and create a new flow.
Select Instant cloud flow and use the Manually trigger a flow trigger.
This allows you to test the API request manually before integrating it into an automated process.
Step 3: Add the HTTP Request to SharePoint
Add the Send an HTTP request to SharePoint action.
Configure the action as follows:
Method:
POSTURI:
_api/SP.Web.ShareObjectBody:
{"url": "https://<TenantName>.sharepoint.com/sites/<SiteName>","peoplePickerInput": "[{'Key':'i:0#.f|membership|<UserPricipalName>'},{'Key':'i:0#.f|membership|<UserPricipalName>'}]","roleValue": "group:5"}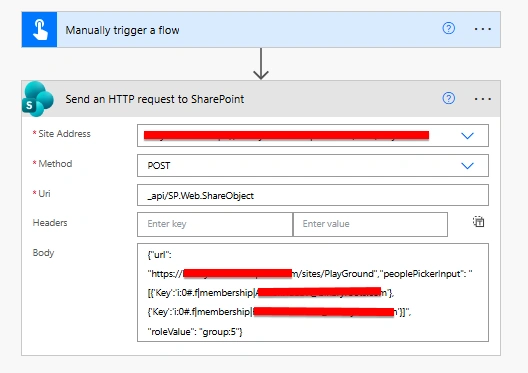
Replace the following values:
<TenantName>– Your Microsoft 365 tenant name.<SiteName>– Your SharePoint site name.<UserPrincipalName1>– Email/UPN of the first user.<UserPrincipalName2>– Email/UPN of the second user.5– SharePoint Group ID obtained in Step 1.
Example
For example, if you want to add two users:
{
  "url": "https://contoso.sharepoint.com/sites/Finance",
  "peoplePickerInput": "[{'Key':'i:0#.f|membership|[email protected]'},{'Key':'i:0#.f|membership|[email protected]'}]",
  "roleValue": "group:5"
}
You can extend the peoplePickerInput value to include additional users.
For example:
[{'Key':'i:0#.f|membership|[email protected]'},
 {'Key':'i:0#.f|membership|[email protected]'},
 {'Key':'i:0#.f|membership|[email protected]'}]
This allows multiple users to be submitted in the same request.
Step 4: Run and Validate the Flow
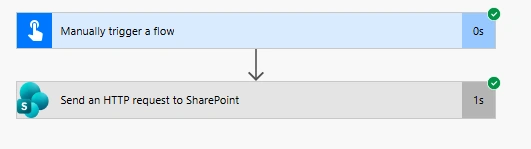
Save the flow and select Test or manually run the flow.
After a successful execution:
Go back to the SharePoint site.
Open Site Settings → People and Groups.
Select the SharePoint Group.
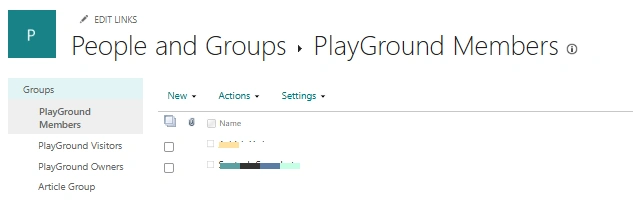
Verify that the users have been added successfully.
Important Notes
Make sure the SharePoint Group ID is correct.
Verify that the Site URL matches the site where the group exists.
Use the users' correct User Principal Names (UPNs).
The account running the flow must have sufficient permissions to manage the SharePoint Group.
If the request fails, review the HTTP action's response for the specific SharePoint error.
Test the API with a small number of users before using it for bulk operations.
Benefits
Using a single API request provides several advantages:
Fewer API calls compared with adding users individually.
Faster execution for bulk user additions.
Simpler Power Automate implementation.
Better scalability for permission-management scenarios.
Easier automation when users are maintained in a SharePoint list or another data source.
Conclusion
Power Automate combined with the SharePoint REST API provides an efficient way to add multiple users to a SharePoint Group in a single request.
Instead of repeatedly adding users one at a time, the SP.Web.ShareObject API can submit multiple users together. This makes SharePoint Group administration more efficient and provides a scalable approach for automated permission management.
Join the conversation! Your thoughts help the community grow.