

Power Apps code apps let you build a custom front end in a framework like React and TypeScript, then run it on the Power Platform. You get managed hosting, authentication, and connectors without leaving your own codebase.
In this article, I’ll walk through how to add a flow to a code app and call it from your code.
Why call a flow from a code app?
- Keep complex or long-running business logic out of your front end
- Reuse flows your team has already built
- Use the connectors and connections already configured in the flow
- Your app just calls the flow and passes parameters to it
Prerequisites
- A Power Platform environment with code apps enabled
- VS Code and Node.js installed
- An initialized code app (for example, scaffolded from the Vite template)
- A flow that meets the requirements below
Only flows that use the Power Apps trigger are supported, and you can’t add flows with other trigger types to a code app. The flow must also be solution-aware and be an instant flow with the PowerApps trigger type. If your flow isn’t in a solution yet, add it to one first.
Stepwise Implementation Guide
Step 1: Create the flow
- In Power Automate, create a solution (or open an existing one).
- Add a new instant cloud flow inside the solution.
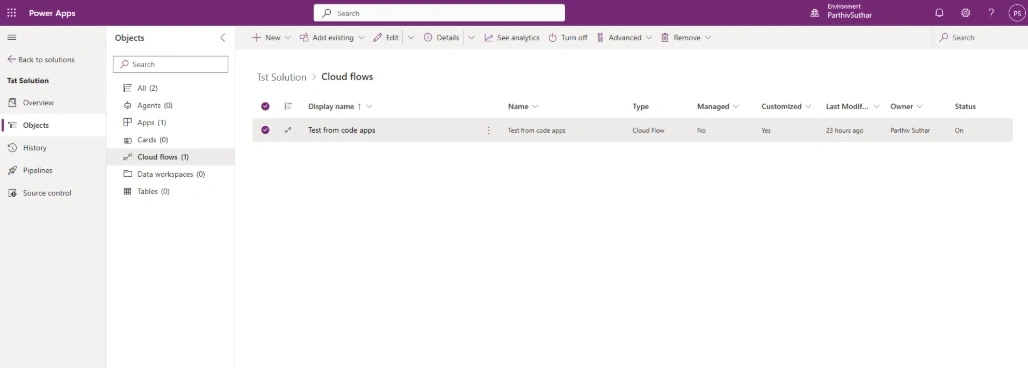
- Choose the “When Power Apps calls a flow (V2)” trigger.
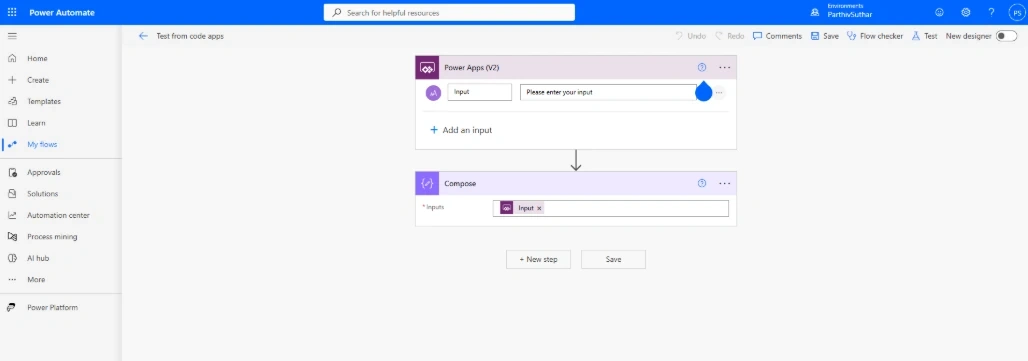
- Define the input parameters your app will send, then add your actions and a response.
- Save the flow.
Step 2: Find the flow ID
From your code app project folder, run this below command for list flows:
pa app list-flows

You can narrow the results with a search term, for example list-flows --search approval. Copy the Flow ID of the flow you want. If your flow isn’t listed, it’s probably not in a solution yet.
Step 3: Add the flow to your code app
pa app add flow --flow-id <flow id>
Running add-flow again with the same flow ID is safe, since it’s idempotent. The CLI also records the flow configuration in power.config.json. The person who runs the command must have access to the flow and its underlying connections.
A note on CLI versions: the npm-based power-apps CLI supports the flow commands, while the older Power Platform CLI (pac code) does not. Microsoft’s newer docs also describe a Power Apps CLI that uses pa app add flow. Check which one your installed version uses and write the commands accordingly.
Step 4: Call the flow from your app
After adding the flow, the CLI generates models and services you can import into your code. Call the generated service from an event handler, such as a button click, and pass your input parameters.
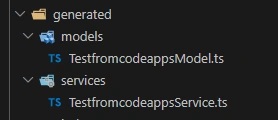
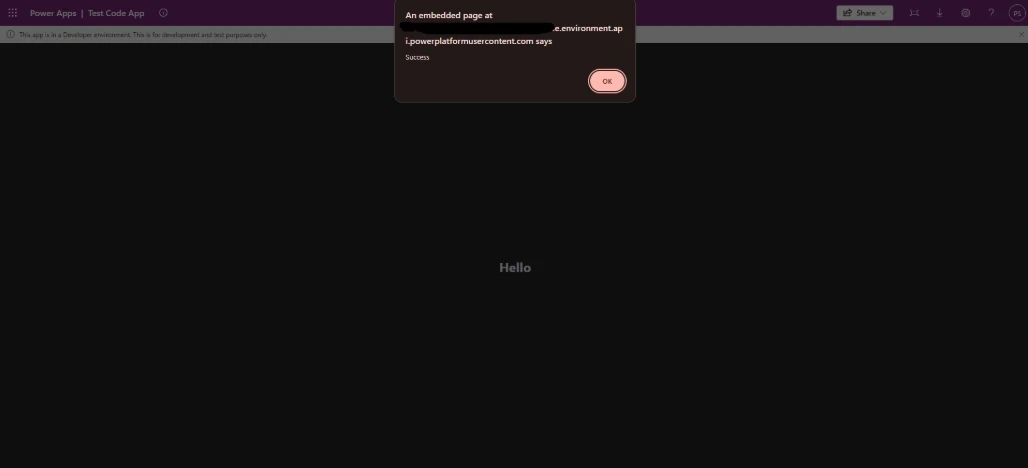
i have written this code in App.tsx that if flow ran successfully show success alert then log message in console otherwise show error in alert
import { useEffect } from "react";

import "./App.css";
import { TestfromcodeappsService } from "./generated";

function App() {

  const testName = "Testing";

  async function Test() {
    const result = await TestfromcodeappsService.Run({
      text: testName,
    });
    if (result.success) {
      alert("Success");
      console.log("Done");
    } else {
      alert(result.error);
    }
  }

  useEffect(() => {
    Test();
  }, []);

  return (
    <>
      <h2>Hello</h2>
    </>
  );
}

export default App;
Step 5: Build app and publish it
After adding code, build app and published compiled version to power apps.
npm run build
pa app push
After published it, make sure you added in solution where flow exist.
Step 6: Test locally
After adding code app in solution, run play mode of app.
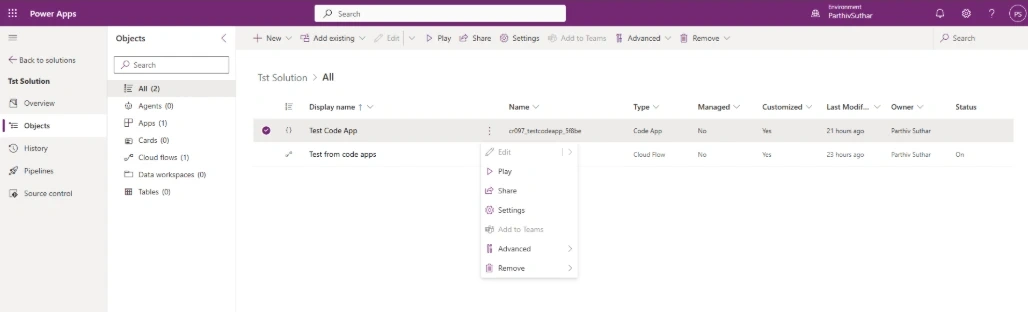
Result

References:
- https://learn.microsoft.com/en-us/power-apps/developer/code-apps/how-to/add-flows?source=recommendations
Conclusion
Here, we have learnt how adding a flow to a code app takes only a few commands: build the flow in a solution, find its ID, add it with the CLI, and call the generated service from your code.
Join the conversation! Your thoughts help the community grow.