

Here, you can add or remove the distribution groups with SharePoint users and configure them on SharePoint Administration.
How to manage?
Let’s open Central Admin of SharePoint on your machine. On your Windows desktop screen, click Start >> Administrative Tools >> SharePoint 2013 Central Administration.
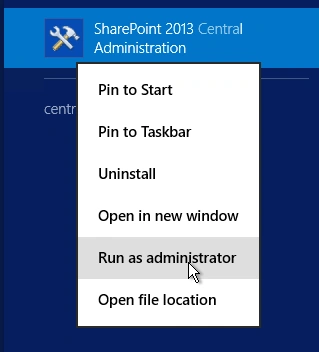
- Run it as an administrator to have the elevated privileges.
- You will see the screenshot given below.
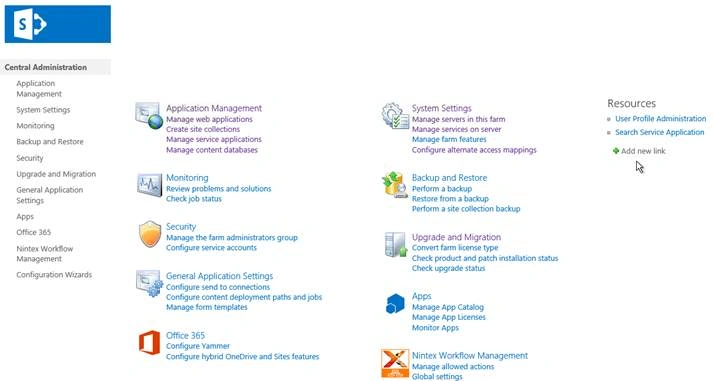
- Central Admin is configured under the categories given above.
- Click Security.
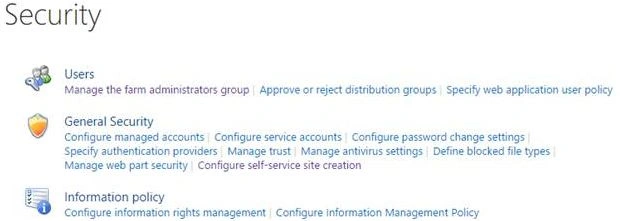
- Go to Users.

- Click Approve or reject distribution groups.
- You will see the screen given below.
Configure
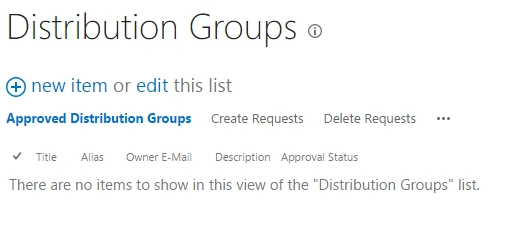
- Click New Item to create a new distribution group.
- You will see the screen given below.
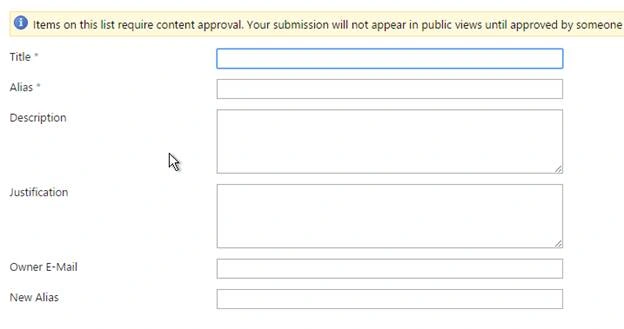
Here, you add a distribution group by providing the details given below.
- Title – Provide a title to your distribution group.
- Alias- Provide an alias to the group.
- Description – Provide a description to the group.
- Justification – Provide a justification to create a distribution group.
- Owner E-Mail – Provide the owner Email address.
- New Alias - Provide an alias to the group.
Here, you can manage the distribution groups by adding or editing the aliases on the Central Admin Server. Once the configuration is done, these distribution groups will be a part of Central Admin of SharePoint.
In this article, we saw how to approve or reject the distribution groups in SharePoint 2013 Central Administration. There are more articles to come on Central Administration. Until then, keep reading and keep learning!
Join the conversation! Your thoughts help the community grow.